I remember sitting at my tiny kitchen table in San Francisco, surrounded by half-empty bottles of epoxy and a mountain of sticky, ruined coasters, wondering why I’d ever thought this was a good idea. I had just spent my entire weekend trying to master resin crafts for beginners, only to end up with a cloudy, bubbled mess that looked more like a science experiment gone wrong than a piece of art. It’s so easy to feel like you need a professional studio or a massive bank account to get started, but let me tell you: the secret isn’t in the expensive equipment, it’s in the process and the patience.
In this guide, I’m stripping away all the intimidating fluff and getting straight to the practical stuff you actually need to know. I’ll walk you through the essential toolkit, how to avoid those dreaded air bubbles, and how to manage your budget so your new hobby doesn’t drain your savings. Whether you’re looking for a creative escape after a long day at the office or just want to make some stunning custom gifts, I’m here to help you navigate resin crafts for beginners with total confidence.
Table of Contents
- Step-by-Step Instructions
- Investing Wisely in Essential Resin Art Supplies
- Mastering Resin Mixing Ratios for Beginners and Safety
- Five Pro-Tips to Keep Your Resin Journey Smooth (and Budget-Friendly!)
- Final Thoughts: Making Resin Work for Your Life and Your Wallet
- Finding Your Flow in the Mess
- Finding Your Flow with Resin
- Frequently Asked Questions
Guide Overview
Tools & Supplies
- Silicone molds for shaping the resin
- Mixing cups for combining components
- Wooden stir sticks for blending
- Heat gun or lighter to remove bubbles
- Digital scale for precise measuring
- Epoxy resin and hardener kit (approx. 8oz-16oz)
- Silicone molds (various shapes)
- Liquid pigments or mica powder for color
- Nitrile gloves for skin protection
- Safety mask for fumes
Step-by-Step Instructions
- 1. First things first, we need to talk about your workspace. Just like prepping a kitchen for a complex reduction sauce, you can’t just wing it. You’ll need a flat, level surface covered in a silicone mat or even some old parchment paper—resin is notoriously unforgiving when it comes to spills. Make sure you’re in a well-ventilated room, because breathing in those fumes isn’t exactly part of a healthy lifestyle, and honestly, it’s much better to stay focused on the fun part!
- 2. Next up is the gear. Think of this as your essential mise en place. You’ll want to grab a high-quality epoxy resin kit (look for one specifically labeled for beginners), some silicone molds, stirring sticks, and most importantly, protective gear. I’m talking nitrile gloves and even a mask. It might feel a little overkill, but just like wearing an apron to protect your favorite vintage cookbook, this is all about protecting your investment—and by investment, I mean your health!
- 3. Now, let’s get into the chemistry. Most beginner resins are a two-part system: the resin and the hardener. This is where your inner analyst comes in handy. You must measure these out with extreme precision according to the manufacturer’s instructions. If you’re off by even a tiny fraction, your project might end up feeling tacky or never fully hardening, which is a total waste of your hard-earned hobby budget.
- 4. Once you’ve measured, it’s time to stir. This part requires a bit of patience, much like waiting for a sourdough starter to peak. Stir the mixture slowly and steadily for at least three full minutes. You want to avoid creating air bubbles, so resist the urge to whip it like you’re making meringue. If you see tiny bubbles forming, you can gently pop them with a toothpick or a heat gun once you pour the resin into your mold.
- 5. Time for the creative infusion! This is my favorite part because it’s where your personal flair comes in. You can add mica powders, dried flowers, or even a bit of gold leaf to create something truly unique. Just remember to start small with your additives; you don’t want to overwhelm the resin and mess with the chemical balance. It’s all about finding that perfect, harmonious blend.
- 6. Once your resin is poured into the mold, it’s time to let it do its thing. This is the hardest part for me—the waiting! You need to leave it in a dust-free environment to cure completely. Depending on the brand, this could take anywhere from 12 to 24 hours. Try to avoid touching it or moving the mold during this window, as even a tiny disturbance can leave a permanent fingerprint on your beautiful new creation.
- 7. Finally, once everything is rock solid, carefully de-mold your piece. If you’re working with something that has sharp edges, you might want to do a little light sanding with high-grit sandpaper to smooth it out. Take a moment to step back and admire what you’ve made. Whether it’s a coaster or a piece of jewelry, you’ve just successfully balanced a new skill with your busy life, and that is something worth celebrating!
Investing Wisely in Essential Resin Art Supplies
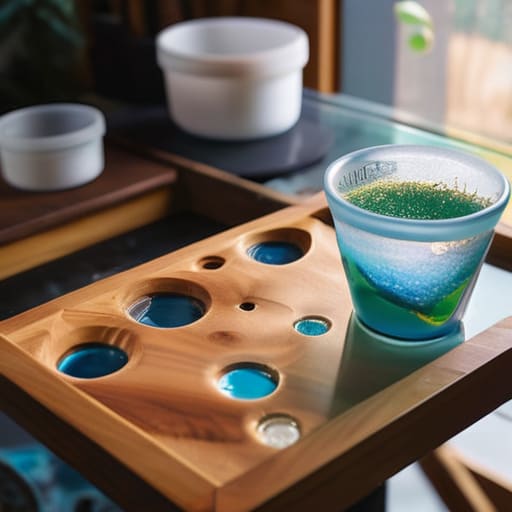
When I first transitioned from analyzing spreadsheets to experimenting with textures in the kitchen—and later, in my studio—I quickly learned that quality matters more than quantity. It is so tempting to grab every cheap kit you see on a late-night shopping spree, but trust me, your wallet (and your sanity) will thank you for being selective. Instead of buying a massive, generic set, focus on sourcing high-quality essential resin art supplies that actually perform. Investing in a reliable brand of epoxy means you won’t be fighting through a cloudy mess or a failed project that ends up in the trash.
Think of it like buying a good chef’s knife; you want something that lasts and makes the process intuitive. One area where you shouldn’t skimp is on your protective gear. I can’t stress enough how important it is to prioritize safety precautions for working with epoxy, such as high-quality respirators and nitrile gloves. Protecting your health is the ultimate way to ensure your new hobby remains a source of joy rather than a stressful chore. Take it slow, buy the good stuff, and your creative journey will feel much more seamless.
Mastering Resin Mixing Ratios for Beginners and Safety
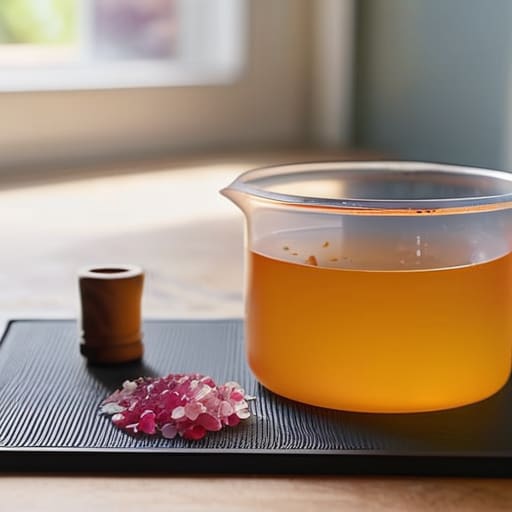
Now, let’s talk about the part that used to make my inner economist sweat: the math. When I first started, I treated resin like a recipe, but unlike my sourdough starter, you can’t just “eyeball” this. Understanding resin mixing ratios for beginners is the absolute foundation of a successful project. Most epoxy resins require a precise 1:1 or 2:1 ratio by volume, and if you’re off by even a tiny fraction, you might end up with a sticky, tacky mess that never truly hardens. I highly recommend using graduated silicone mixing cups; they make the measurement process so much more intuitive and help you avoid that dreaded “failed batch” heartbreak.
Beyond the math, we have to talk about your well-being. Just as I wouldn’t skimp on high-quality ingredients for a signature dish, you shouldn’t skimp on your safety precautions for working with epoxy. Always work in a well-ventilated space and, please, wear your gloves! It might feel a bit extra at first, but protecting your skin and lungs is non-negotiable. Think of it as the “overhead cost” of your new creative venture—essential for long-term success and keeping the joy in your craft.
Five Pro-Tips to Keep Your Resin Journey Smooth (and Budget-Friendly!)
- Master the art of the “mini-batch.” Just like I learned when I first started testing fusion recipes in my tiny SF kitchen, you don’t need to mix a massive vat of resin all at once. Starting with small amounts helps you avoid waste and prevents that frantic race against the clock before the resin sets!
- Create a dedicated “clean zone.” Resin can get messy fast, and trust me, you don’t want stray droplets on your favorite vintage cookbooks. Set up a specific area with silicone mats—they’re a total lifesaver for easy cleanup and help keep your creative space organized without breaking the bank.
- Don’t underestimate the power of patience. It’s so tempting to want to peel your creation out of the mold immediately, but rushing the curing process is a recipe for heartbreak (and wasted money). Think of it like slow-cooking a complex sauce; the best results always come to those who wait.
- Level up your bubble-busting game. There is nothing more frustrating than a beautiful piece ruined by tiny air bubbles. A simple handheld heat gun or even a quick pass with a lighter can work wonders, ensuring your finished product looks professional and polished.
- Document your “fails” as much as your wins. In the financial world, we call this data collection, but in the crafting world, it’s just learning! Keep a little notebook of what worked and what didn’t—it’s the most cost-effective way to sharpen your skills and build your confidence.
Final Thoughts: Making Resin Work for Your Life and Your Wallet
Don’t feel pressured to buy every fancy pigment or glitter kit on day one; start with high-quality basics to keep your initial investment low while you find your creative rhythm.
Prioritize your safety and your space by treating resin like a serious kitchen experiment—proper ventilation and precise mixing are non-negotiable for a stress-free experience.
Remember that perfection is the enemy of progress, so embrace the little bubbles or wonky edges as part of your learning curve while you balance this new passion with your busy schedule.
Finding Your Flow in the Mess
“Think of resin art like a perfectly balanced recipe: it requires a bit of precision and a lot of patience, but once you stop worrying about the perfect ratio and start enjoying the creative process, you realize that the most beautiful things often come from a little bit of calculated chaos.”
Rachel Anderson
Finding Your Flow with Resin
Taking your first steps into the world of resin can definitely feel a bit overwhelming, especially when you’re trying to balance a budget and a busy schedule. We’ve covered a lot of ground today—from selecting the right essential supplies without overspending, to the precision required for mixing ratios and staying safe in your workspace. Remember, the goal isn’t to achieve perfection on your very first pour; it’s about understanding the foundational mechanics of the medium. By investing thoughtfully in quality tools and mastering those technical basics, you’re setting yourself up for a much more rewarding—and much less frustrating—creative journey.
At the end of the day, whether you are looking for a way to decompress after a long day at the office or you’re scouting for a new side hustle, don’t let the fear of a “failed” project hold you back. I’ve learned through my own transition from finance to food that the most beautiful things often come from a bit of trial and error. Resin is just like a complex recipe; sometimes the first batch doesn’t turn out quite right, but that’s just part of the process. So, grab your gear, embrace the mess, and pursue your creative curiosity with everything you’ve got. You’ve totally got this!
Frequently Asked Questions
How can I balance the cost of high-quality resin with my monthly budget without feeling like I'm overspending on a hobby?
Think of resin like high-quality saffron in a recipe: you don’t need a mountain of it to make an impact. Instead of buying massive kits, I treat my supplies like a “sinking fund.” I set aside a small, fixed amount each month specifically for my hobby. This way, when I find that premium, crystal-clear resin I’ve been eyeing, it’s already accounted for in my budget, and I can indulge without any financial guilt!
Is it possible to incorporate resin crafts into a busy work week, or does it require a massive time commitment to get right?
I totally get it—between spreadsheets and meal prepping, time feels like a luxury! Honestly, you don’t need a massive time commitment to enjoy resin. I treat it like my “culinary experiments”: I set aside small, intentional pockets of time. You can prep your molds on a Tuesday night and let them cure while you tackle your work week. It’s all about micro-sessions; even thirty minutes can be incredibly restorative!
What are some creative ways to repurpose old kitchen items or vintage finds using resin to add a personal touch to my creations?
Since I’m constantly hunting for vintage cookbooks, I’ve realized that old kitchenware is a goldmine for resin! I love taking those mismatched, chipped vintage saucers and using resin to encase dried botanicals or even gold leaf, turning them into stunning coasters. You can also pour resin into old, ornate silver spoons to create unique jewelry or use antique tea tins as sculptural bases. It’s such a soulful way to breathe new life into history!