I was standing in the middle of my first tiny kitchen studio, staring at a half-assembled spice rack and a very expensive, very intimidating power tool, feeling like a total fraud. I had spent years analyzing complex market trends in San Francisco, but suddenly, I couldn’t figure out how to use a drill without feeling like I was about to demolish my own walls. We often think that being “handy” is some innate, mystical talent you’re either born with or you’re not, but I promise you, it’s much more like mastering a delicate reduction sauce—it’s all about technique and patience.
In this guide, I’m stripping away the intimidation factor and giving you the straight talk you won’t find in a dense technical manual. I’ll walk you through the essential mechanics, from choosing the right bit to maintaining control, so you can stop outsourcing your small fixes and start building your own space. My goal is to help you gain the confidence to create and the practical skills to maintain your environment, ensuring your home is as stable and well-constructed as your financial future.
Table of Contents
- Step-by-Step Instructions
- Mastering Drill Bit Types and Uses for Every Project
- Adjusting Drill Torque Settings for Precision and Success
- Precision and Patience: My Top 5 Pro-Tips for Drilling Success
- Final Thoughts: Building Your Confidence, One Hole at a Time
- Building Your Own Foundation
- Drilling Into Your Next Big Adventure
- Frequently Asked Questions
Guide Overview
Tools & Supplies
- Power drill (cordless or corded)
- Drill bits (various sizes for drilling and driving)
- Workpiece (wood, metal, or plastic)
- Safety glasses (1 pair)
Step-by-Step Instructions
- 1. First things first, let’s talk about your gear. Just like prepping your mise en place before a big dinner service, you need to make sure you have the right drill bit for the job. If you’re working with wood, you’ll want a standard wood bit, but if you’re tackling a wall, you’ll need a masonry bit. Choosing the wrong tool is a recipe for frustration and ruined materials, so take a second to double-check your specs before you start.
- 2. Once you’ve picked your bit, it’s time to secure it into the chuck—that’s the “mouth” of the drill. You’ll usually need to twist the chuck to open it up, insert the bit firmly, and then tighten it back down. I always tell my friends to make sure it’s tightly secured so the bit doesn’t wobble; a wobbly bit is just as dangerous as a dull knife in a professional kitchen.
- 3. Before you even pull the trigger, find your mark. Use a pencil to dot exactly where you want the hole to go. If you’re working on something a bit more delicate, like a shelf for your vintage cookbook collection, I highly recommend using a piece of masking tape as a guide. This helps prevent the bit from skating across the surface and making a mess of your beautiful workspace.
- 4. Now, get into position. Hold the drill with both hands if you can—one on the grip and one on the back or the side handle for stability. You want to apply steady, even pressure against the surface. Think of it like kneading dough; you don’t want to be aggressive and erratic, but you do need enough force to get the job done effectively.
- 5. When you’re ready, squeeze the trigger slowly. You don’t want to go from zero to sixty instantly, or you might lose control. Start at a low speed to create a small pilot hole, and then gradually increase the pace as the bit finds its rhythm. It’s all about that controlled momentum to ensure the hole is clean and straight.
- 6. As you’re drilling, keep an eye on the debris. If you’re working with wood, you’ll see sawdust flying, which is totally normal. However, if you feel the drill suddenly “catch” or struggle, stop immediately. It’s much better to pause and reassess your angle than to force it and risk snapping a bit or damaging your project.
- 7. Finally, once you’ve reached the desired depth, slowly release the trigger and pull the drill straight back out of the hole. Don’t just yank it out sideways! Once the bit is clear, remove it from the chuck and give your workspace a quick sweep. Keeping a clean station is the best way to maintain your momentum for the next part of your DIY adventure.
Mastering Drill Bit Types and Uses for Every Project
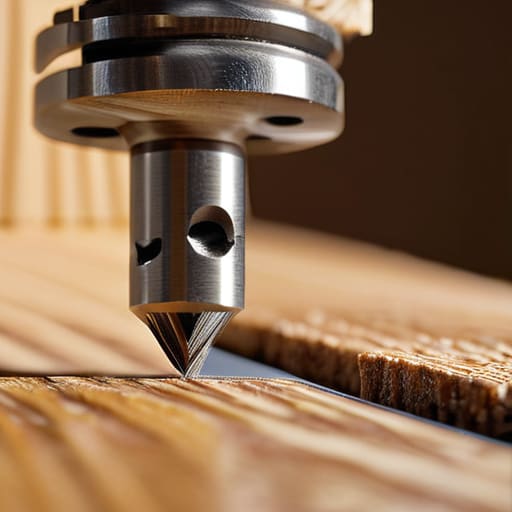
Think of selecting the right bit like choosing the perfect knife for a delicate julienne versus a heavy-duty cleaver; using the wrong tool won’t just make the job harder, it might actually ruin your materials. Understanding different drill bit types and uses is a total game-changer for your DIY confidence. For instance, when you’re working on a new shelving unit, you’ll notice a massive difference in technique when drilling into wood vs metal. Wood bits have a sharper, more aggressive point to slice through fibers, while metal bits are designed to shave away material more steadily to prevent overheating.
Once you’ve picked your bit, don’t forget that the machine itself needs a little fine-tuning. I always recommend adjusting drill torque settings based on the resistance you’re feeling; you want enough power to drive the screw, but not so much that you strip the head or crack the wood. It’s all about that delicate balance of control and precision. Just like finding the sweet spot in a recipe, mastering these small technical nuances will make your home projects feel less like a chore and more like a rewarding creative outlet.
Adjusting Drill Torque Settings for Precision and Success
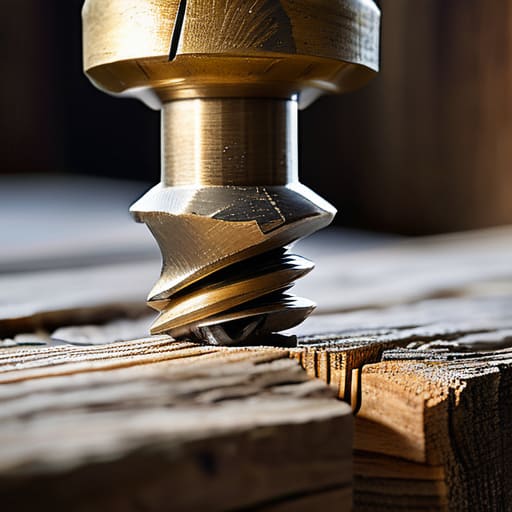
Think of adjusting your torque settings like fine-tuning the seasoning in a delicate reduction sauce—it’s all about finding that perfect balance so you don’t overpower your ingredients. In the world of DIY, the torque setting controls how much twisting force your drill applies before it “slips” or clicks. If you’re working on a delicate project, like driving a small screw into a piece of reclaimed wood, you’ll want a lower setting. This prevents you from stripping the screw head or, worse, sinking it too deep into your hard-earned materials.
When you’re transitioning between tasks, such as drilling into wood vs metal, your torque needs will shift dramatically. For metal, you’re often looking for more consistent power, whereas wood requires a bit more finesse to avoid splitting. I always tell my friends that mastering adjusting drill torque settings is the secret to moving from a hobbyist to someone who works with real confidence. It’s that extra layer of control that ensures your projects look professional and, more importantly, that your materials stay intact. Taking that extra second to dial it in is a small investment that pays huge dividends in your final result.
Precision and Patience: My Top 5 Pro-Tips for Drilling Success
- Always mark your spot with a tiny pilot hole first; it’s just like prepping your mise en place in the kitchen—it prevents a messy disaster before you even start.
- Keep a firm, two-handed grip on your drill to maintain control, because much like managing a volatile stock market, losing your grip can lead to unexpected consequences.
- Don’t force it! Let the drill do the heavy lifting by applying steady, even pressure, rather than leaning into it like you’re trying to rush a complex recipe.
- Wear your safety gear every single time, because protecting your eyes and ears is just as essential as protecting your emergency fund.
- Listen to the sound of the motor; if it starts to strain or whine, you’re likely applying too much pressure or using the wrong bit, so take a breath and adjust your technique.
Final Thoughts: Building Your Confidence, One Hole at a Time
Treat your tools with the same respect you’d give a high-end chef’s knife; understanding your equipment is the first step toward making professional-grade results happen in your own home.
Don’t let the fear of a wrong move stop you from starting—just like pivoting a career or perfecting a tricky soufflé, mastering a new skill is all about patience and learning from the occasional wobble.
View DIY projects as an investment in your personal agency, proving to yourself that you have the capability to build, repair, and create the life (and the home) you’ve always envisioned.
Building Your Own Foundation
“Whether you’re mounting a shelf for your vintage cookbooks or building a brand from the ground up, mastering a new tool is a lot like perfecting a complex recipe: it’s about finding that perfect balance of steady pressure, the right technique, and the confidence to know when to push forward.”
Rachel Anderson
Drilling Into Your Next Big Adventure
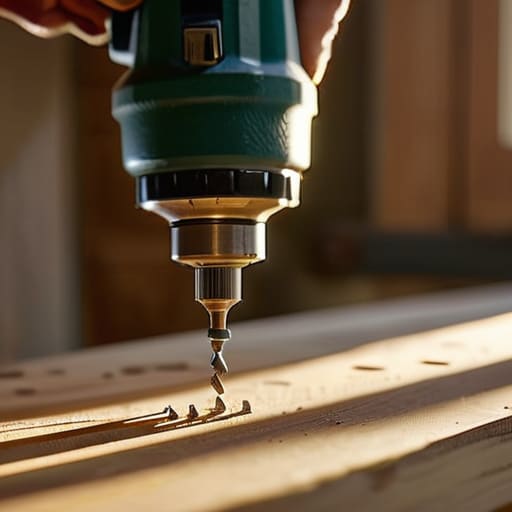
At the end of the day, mastering a drill is about much more than just making holes in a wall; it’s about understanding the mechanics of your tools so you can execute your vision with confidence. We’ve covered everything from selecting the right bit for the job to fine-tuning your torque settings to ensure you don’t strip a screw or damage your materials. Remember, whether you are assembling a new bookshelf for your kitchen or tackling a larger home renovation, the key is to approach every task with patience and the right technical foundation. By treating your tools with respect and following these fundamental steps, you are essentially building the technical literacy needed to take control of your own environment.
As I look back on my own transition from the predictable world of spreadsheets to the beautiful chaos of a professional kitchen, I’ve realized that many of life’s most rewarding shifts require a bit of “hands-on” learning. Just like perfecting a complex fusion recipe or navigating a career pivot, learning a new skill can feel intimidating at first, but the sense of autonomy you gain is absolutely worth the initial learning curve. Don’t be afraid to make a few mistakes or drill a hole in the wrong spot—that’s just part of the process. Keep practicing, stay curious, and remember that building a life you love often starts with the courage to pick up a new tool and try.
Frequently Asked Questions
How do I know if I should invest in a high-end cordless drill or if a basic budget model will suffice for my home projects?
Think of it like choosing kitchenware: you wouldn’t buy a professional-grade Vitamix if you only make occasional smoothies, but you also wouldn’t want a dull knife for a complex dinner party. If you’re just hanging a few pictures, a budget model is a smart, low-risk investment. But if you’re planning a major DIY renovation, invest in the high-end cordless drill. It’s better to pay more upfront for reliability than to let a cheap tool stall your momentum.
What are the most important safety precautions I should take to avoid damaging my materials or hurting myself while drilling?
Safety is everything—think of it like prepping your mise en place before a big service; if you aren’t organized and careful, things can get messy fast. Always wear eye protection to keep debris out of your eyes, and make sure your workpiece is clamped down tight so it doesn’t spin. Most importantly, watch your pressure. Applying too much force is like overworking a delicate dough; it’s easy to slip and cause damage. Stay steady!
I’m worried about making a mistake—how can I tell if I'm using the wrong bit or the wrong speed for the specific surface I'm working on?
I totally get that anxiety—I remember feeling the same way when I first transitioned from spreadsheets to kitchen renovations! Think of it like seasoning a dish: too much of the wrong thing can ruin the whole experience. If you hear a high-pitched screeching or feel the drill slipping, stop immediately. That’s usually a sign of too much speed or the wrong bit. When in doubt, start slow and test on a scrap piece first!
