I was standing in my tiny kitchen last summer, staring at a pile of expensive subway tiles and a tub of mortar, feeling a wave of pure, unadulterated panic. My background in financial analysis had taught me how to mitigate risk on paper, but nothing prepared me for the high-stakes reality of wondering if I was about to ruin my only workspace. Most people will tell you that learning how to tile a backsplash is a specialized skill reserved for contractors with decades of experience, but I’m here to tell you that’s a total myth. It isn’t about having a professional’s hands; it’s about having the right system and the courage to get a little messy.
In this guide, I’m stripping away the intimidating jargon to give you a realistic, no-nonsense roadmap to success. We aren’t just going to talk about theory; I’m going to walk you through the actual logistics of budgeting for materials and the precise steps to ensure your lines are straight. You’ll learn exactly how to tile a backsplash without blowing your savings or your sanity, turning your kitchen into a space that finally feeds your soul and your creative ambition.
Table of Contents
- Step-by-Step Instructions
- Measuring Backsplash Area and Choosing Subway Tile Layout Patterns
- Mastering Kitchen Tile Installation Tools and Cutting Tile for Outlets
- Pro-Tips from My Kitchen to Yours: Avoiding the Costly Mistakes
- My Golden Rules for a Kitchen Transformation That Lasts
- The Intersection of Precision and Passion
- The Final Grout and Beyond
- Frequently Asked Questions
Guide Overview
Tools & Supplies
- Manual tile cutter for straight cuts
- Notched trowel for spreading adhesive
- Rubber grout float for applying grout
- Tile spacers to maintain even gaps
- Sponge and bucket for cleaning
- Backsplash tiles (amount depends on area)
- Tile adhesive or thin-set mortar (1 bag/container)
- Grout (1 bag/container)
- Tile sealer (optional)
Step-by-Step Instructions
- 1. Before you even touch a tile, you have to prep your canvas. Clear off your countertops and make sure the wall is clean, dry, and free of any grease—nothing ruins a project faster than trying to bond something to a layer of old cooking oil. I like to go a step further and use a bit of painter’s tape to protect my backsplash edges and any surrounding cabinets, because while we’re aiming for perfection, a little bit of accidental adhesive on your expensive quartz is a headache nobody needs.
- 2. Once the surface is ready, it’s time to layout your pattern without actually using any glue. This is where your inner economist comes in—it’s all about resource allocation and planning. Lay out your tiles on the counter or even tape them to the wall to see how they hit the corners and the outlets. You want to avoid having tiny, awkward slivers of tile at the ends, so if the math doesn’t look right, shift your starting point. Trust me, measuring twice is much easier than trying to fix a wonky layout once the mortar is dry.
- 3. Now, grab your thin-set mortar and a notched trowel. You’ll want to spread the mortar onto a small section of the wall at a time, working in an upward motion. Think of it like spreading butter on toast—you want an even, consistent layer that isn’t too thick or too thin. Use the notched side of the trowel to create those little ridges; those grooves are what actually create the suction needed to keep your beautiful new tiles in place.
- 4. This is the part where you actually start seeing the vision come to life. Press your tiles into the mortar, giving them a gentle twist as you go to ensure they’re fully seated. Use a level frequently to make sure everything is staying straight, especially if you’re doing a subway tile pattern. If you’re feeling a bit nervous, don’t worry—just take it one row at a time and breathe through the process.
- 5. While your tiles are setting, it’s the perfect time to grab a glass of wine or a good cup of coffee and reflect on how far you’ve come. Once the mortar has cured (usually about 24 hours), you can move on to grouting. Mix your grout to a peanut butter consistency and use a rubber grout float to push it into the spaces between the tiles. Make sure you fill every single gap completely, then use a damp sponge to wipe away the excess from the tile faces.
- 6. The final stretch is all about the polish. Once the grout has dried and you’ve wiped away the haze, your backsplash is officially ready for its debut. I always tell my friends that the real magic happens when you turn on your kitchen lights and see that texture reflecting against your cookware. It’s not just a renovation; it’s about investing in your space and creating a backdrop for all the delicious meals you’re about to cook.
Measuring Backsplash Area and Choosing Subway Tile Layout Patterns
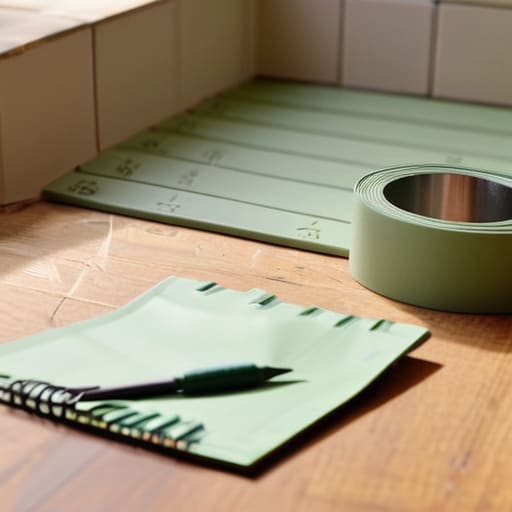
Before you even touch a trowel, you need to get your numbers right. I remember my first DIY project; I was so eager to start that I skipped the precision phase, and let’s just say my tile math was… optimistic. When measuring backsplash area, don’t just calculate the square footage of the wall. Always add a 10-15% buffer to your total. This “oops factor” is essential for those inevitable moments when you’re cutting tile for outlets or making a mistake on a tricky corner. It’s much cheaper to buy an extra box of tile now than to realize you’re one piece short halfway through a Sunday afternoon.
Once you have your measurements, the real fun begins: picking your aesthetic. Since we’re working with classics, exploring different subway tile layout patterns is where you can really inject your personality into the kitchen. You could go with a traditional offset brick pattern for a timeless look, or try a vertical stack if you’re feeling a bit more modern and architectural. I personally love a herringbone pattern—it feels a bit more luxurious and intentional, almost like a well-curated vintage cookbook recipe that requires just a little extra effort but delivers a stunning result.
Mastering Kitchen Tile Installation Tools and Cutting Tile for Outlets
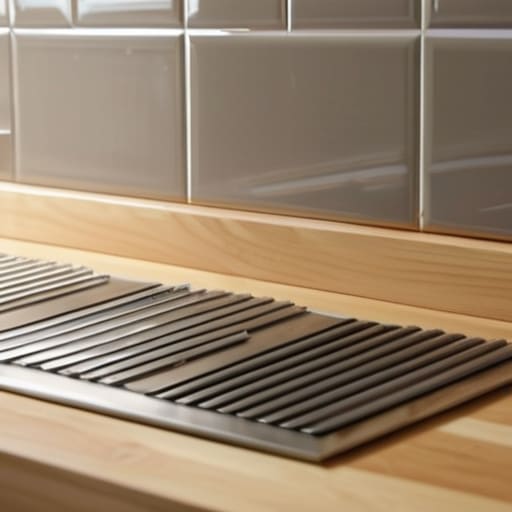
Before you dive into the actual installation, let’s talk gear. I remember my first DIY project; I thought I could wing it with a kitchen knife and a hammer, but let me tell you, that was a recipe for disaster! To do this right, you need to invest in the proper kitchen tile installation tools. A good notched trowel is your best friend for ensuring even coverage, and a manual tile cutter will save you so much heartache. Think of it like my old days in finance: you wouldn’t attempt a complex market analysis without the right software, right? Having the right kit ensures your hard work actually looks professional.
Now, let’s tackle the part that usually makes people nervous: cutting tile for outlets. It feels intimidating, but it’s really just a game of precision. I like to use a diamond-tipped drill bit to create a small hole at the corner of the outlet first; this prevents the tile from cracking when you go in with your nippers. Take your time with these cuts. It’s all about that meticulous attention to detail that turns a simple DIY job into a stunning kitchen centerpiece.
Pro-Tips from My Kitchen to Yours: Avoiding the Costly Mistakes
- Don’t skimp on the grout color. I learned the hard way that a high-contrast grout can make your beautiful subway tiles look like a grid of math equations, while a matching grout creates that seamless, high-end look that makes a kitchen feel much more expensive than it actually is.
- Always buy about 10-15% more tile than your measurements suggest. Between accidental breaks and those tricky cuts around outlets, you’ll be so glad you have that extra box in the pantry instead of having to pause your project and hunt down a matching dye lot.
- Check your level constantly. It’s tempting to just start sticking tiles to the wall, but if your first row isn’t perfectly level, that tiny error will snowball into a massive, crooked headache by the time you reach the upper cabinets.
- Use spacers like your life depends on it. In my finance days, we talked about the importance of precision, and tiling is no different—consistent grout lines are the difference between a DIY project that looks “charming” and one that looks professionally installed.
- Clean your tiles as you go. If you let thin-set or grout dry on the face of your tiles, it can be a nightmare to scrub off later, and you don’t want to lose that beautiful finish you worked so hard to achieve.
My Golden Rules for a Kitchen Transformation That Lasts
Don’t skimp on the prep work; a little extra time spent measuring twice and layout planning ensures you won’t be scrambling for extra tiles (or extra cash) halfway through the project.
View the backsplash as more than just a functional barrier—it’s a design investment that bridges the gap between your kitchen’s aesthetic and your personal culinary style.
Embrace the learning curve of DIY, but remember that precision is your best friend; mastering those tricky outlet cuts is what separates a “home project” from a professional-looking sanctuary.
The Intersection of Precision and Passion
“Tiling a backsplash is a lot like building a business plan or perfecting a complex reduction sauce—it requires meticulous attention to the tiny details today so that you can truly enjoy the beautiful, cohesive result tomorrow.”
Rachel Anderson
The Final Grout and Beyond
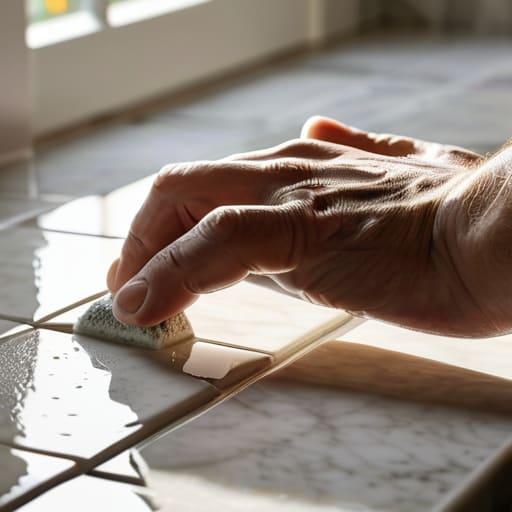
Taking on a backsplash project is definitely a marathon, not a sprint, but seeing those tiles line up perfectly makes every bit of prep work worth it. From the initial math of measuring your square footage to the precision required when cutting around those pesky electrical outlets, you’ve navigated the most technical hurdles of the job. Remember, the secret to a professional finish isn’t just in the tools you use, but in the patience you practice during the setting and grouting phases. Once you’ve cleaned up the excess grout and polished those surfaces, you’ll realize that you haven’t just updated a kitchen; you’ve mastered a new skill that bridges the gap between manual grit and aesthetic vision.
As I look back on my own transition from analyzing spreadsheets to analyzing the perfect tile spacing, I’ve learned that the most rewarding investments are often the ones we make with our own two hands. Whether you’re doing this to save a little capital for your next big venture or simply to create a more beautiful space to cook your favorite fusion recipes, remember that growth happens outside your comfort zone. Don’t be afraid to get a little messy or make a mistake along the way; that’s just part of the seasoning of life. Now, grab a glass of wine, admire your handiwork, and get ready to cook something incredible in your brand-new sanctuary.
Frequently Asked Questions
How do I know if my kitchen walls are actually straight enough to start tiling, or will I end up with a wonky pattern?
This is such a valid fear! I remember staring at my own kitchen walls, convinced they were leaning like the Tower of Pisa. Before you commit, grab a long level or a straight edge and check for bows or dips. If the walls are wildly uneven, don’t panic—you can use a thicker layer of thin-set to “build out” the low spots. It’s all about that strategic prep work to ensure your beautiful pattern stays perfectly aligned.
Is it worth investing in high-end grout, or should I save my budget for better tiles and just go with the standard stuff?
This is such a classic “ROI” question! Coming from a finance background, I always look at where the marginal utility hits hardest. Honestly? Invest in the tiles first. The tiles are the star of the show—they’re the visual foundation of your kitchen. Standard grout works beautifully if you choose the right color. Just don’t skimp on quality within that budget; a high-quality, stain-resistant grout is worth it to save your sanity during cleanup!
What's the best way to handle those tricky corners where the backsplash meets the side of the cabinets without it looking messy?
Oh, those corners! They’re exactly where a DIY project can either look like a professional chef’s kitchen or a messy afterthought. To keep things looking polished, I swear by using a tile nipper for those tight, awkward angles. If you’re feeling a bit more “pro,” investing in a wet saw makes those cuts much cleaner. And don’t skip the color-matched caulk at the seams—it provides that flexible, seamless finish that makes everything look intentional and high-end.
