I remember sitting in a sun-drenched corner of a tiny bistro in Florence last year, staring at a plate of handmade pappardelle that looked like a literal masterpiece. I spent ten minutes fiddling with my settings, trying to capture that perfect golden glow, only to end up with a blurry, washed-out mess that looked nothing like the sensory magic right in front of me. It was incredibly frustrating because I realized that despite all my spreadsheets and analytical training, I was completely failing at the one thing that mattered: documenting the joy. We often think we need a thousand-dollar DSLR to capture our lives, but honestly, learning how to take better phone photos isn’t about the gear you buy; it’s about how you see the world through that little lens in your pocket.
I’m not here to sell you on expensive filters or complicated technical jargon that feels like a finance textbook. Instead, I want to share the practical, no-nonsense shortcuts I’ve discovered while balancing my culinary ventures and documenting my journey. I’m going to show you how to master lighting, composition, and those tiny adjustments that turn a quick snap into a stunning memory. Let’s make sure your digital archives are just as delicious as your real-life adventures.
Table of Contents
Mastering Mobile Photography Composition Rules for Daily Joys
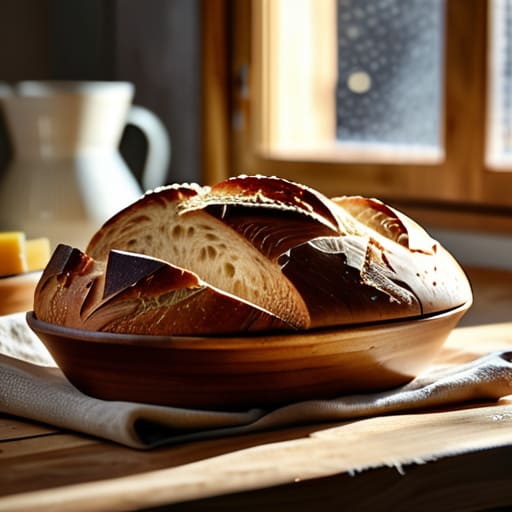
When I first started transitioning from spreadsheets to sourdough, I realized that a beautiful dish is only half the battle; if you can’t capture that golden, crusty texture, did it even happen? One of my favorite mobile photography composition rules is the Rule of Thirds. Instead of plopping your plate dead center like a boring tax return, try placing your main subject along those imaginary grid lines. It creates a sense of movement and energy that makes your food look like it’s part of a lived-in, vibrant moment rather than a sterile laboratory sample.
Don’t forget that your phone is a powerful little tool if you know how to nudge it in the right direction. I’ve found that playing with smartphone portrait mode tips—like slightly blurring a busy kitchen background—can instantly make a simple bowl of ramen look like it belongs in a high-end culinary magazine. It’s all about directing the eye to what truly matters. Whether you’re documenting a massive career win or just a perfectly poached egg, intentional framing is what turns a quick snapshot into a story worth sharing.
Best Mobile Camera Settings for Every Fulfilling Moment
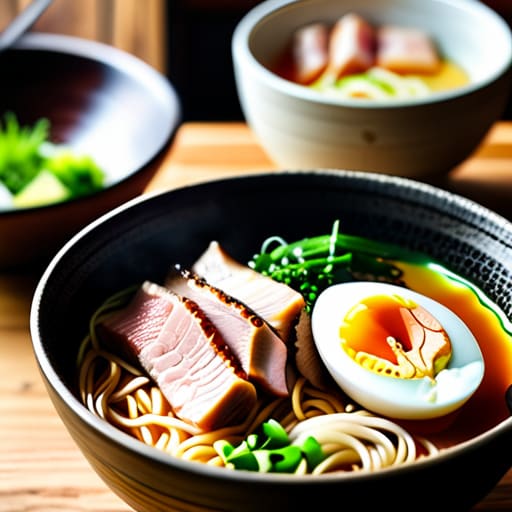
Now, let’s get into the nitty-gritty of the tech itself. You don’t need a professional DSLR to capture the steam rising from a fresh bowl of ramen or that perfect shot of your new office setup; you just need to know which buttons to press. First things first, head into your settings and ensure you’re shooting in the highest resolution possible. Improving mobile image quality often starts with simply turning off that annoying “Live Photo” feature if you’re looking for a crisp, still shot, or toggling on the HDR setting to balance out those tricky shadows and highlights.
When you’re sitting at a candlelit bistro or a dimly lit cafe, don’t let the darkness ruin your vibe. Instead of relying on that harsh, artificial flash—which, trust me, can make even the most gourmet dish look unappealing—try tapping your screen on the brightest part of the subject to manually adjust the exposure. This little trick is one of my favorite smartphone lighting techniques for keeping things looking natural. If you’re feeling a bit more adventurous, playing around with smartphone portrait mode tips can also help you achieve that gorgeous, professional-looking background blur that makes your subject truly pop.
My Secret Sauce for Picture-Perfect Moments
- Chase the Natural Light: Just like a perfectly balanced vinaigrette, lighting is everything. Skip the harsh overhead office lights and head toward a window; soft, natural light makes everything from your avocado toast to your new workspace look a thousand times more inviting.
- Clean Your Lens (Seriously!): I can’t tell you how many times I’ve gone to snap a shot of a stunning fusion dish only to realize my lens was covered in a smudge. A quick wipe with your shirt can be the difference between a blurry mess and a crisp, professional-looking memory.
- Find Your Angle: Don’t just stand there and shoot from eye level! Try getting low to the table to capture the texture of your food, or find a high vantage point to document a busy day in the city. Changing your perspective adds that extra layer of storytelling to your shots.
- Use the Focus Lock: We’ve all been there—trying to capture a fleeting moment of joy only for the camera to focus on the background instead. Tap your screen on the most important subject to lock that focus, ensuring your “star of the show” stays sharp and clear.
- Edit with Intention, Not Excess: I love a good filter as much as the next person, but remember that less is often more. Use editing apps to subtly enhance the colors and brightness of your photos to reflect how the moment actually felt, rather than over-saturating them until they look artificial.
Quick Wins for Your Culinary and Career Gallery
Don’t let technical perfection get in the way of the moment; use natural light and simple composition to capture the raw, beautiful reality of your food and your wins.
Treat your camera settings like a well-managed budget—optimize them to work for you so you aren’t wasting precious time or energy when the perfect shot presents itself.
Remember that the best photos aren’t just about the subject, but the story they tell, so frame your shots to reflect the passion and journey behind your daily adventures.
Framing Your Passion
“Whether you’re capturing a perfectly plated fusion dish or a milestone moment in your new career, remember that the best photos aren’t just about the technical settings—they’re about how you frame the joy you’ve worked so hard to build.”
Rachel Anderson
Capturing the Magic in Every Frame
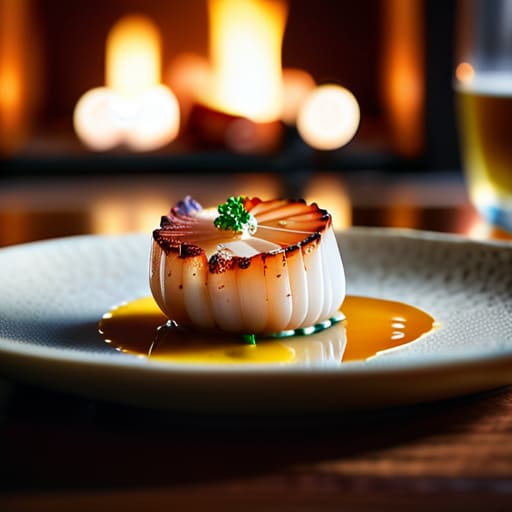
As we wrap this up, remember that great mobile photography isn’t about having the most expensive gear; it’s about how you see the world. By mastering those composition rules like the rule of thirds and fine-tuning your camera settings to match the lighting of your environment, you’re doing more than just taking a picture. You are intentionally documenting the textures of a perfectly seared scallop or the way the light hits your workspace during a breakthrough moment. Whether you are adjusting your exposure for a dim bistro setting or framing a shot to tell a story, these small technical shifts make a massive difference in how your memories feel when you look back on them.
At the end of the day, don’t let the pursuit of a “perfect” shot stop you from actually living the moment. I’ve learned through my own transition from spreadsheets to sourdough that the most beautiful things in life are often a little messy and unplanned. Use your phone to capture the essence of your journey—the career wins, the culinary experiments, and the quiet joys in between. Chase the light, take the risk, and remember that every photo is a tiny investment in your own personal history. Life is far too delicious to let these moments slip by without a beautiful frame to hold them.
Frequently Asked Questions
How can I make my food photos look professional without investing in a fancy DSLR camera?
Trust me, I’ve been there—staring at a gorgeous plate of fusion tacos and feeling frustrated that my phone wasn’t doing it justice. You don’t need a heavy DSLR to capture that magic! The secret lies in lighting. Always aim for natural, indirect sunlight; a window seat is your best friend. Also, try using “Portrait Mode” to get that soft, blurred background. It mimics that professional depth of field perfectly without breaking your budget!
Are there any specific lighting tricks I can use when I'm dining in dimly lit restaurants?
Ugh, the “dimly lit bistro” struggle is so real! I used to dread those moody, candlelit dinners because my photos always turned out grainy and dark. My biggest tip? Lean into the glow. If there’s a single candle or a soft pendant light, position your plate so the light hits it from the side—it creates beautiful depth. And please, avoid the harsh overhead flash! It kills the vibe. Instead, use a second phone’s flashlight held off-camera for a softer, natural look.
What are your favorite free editing apps for adding a little extra personality to my shots?
Honestly, I’m a bit of a perfectionist when it comes to how my food looks on screen! For quick, professional tweaks, I swear by Lightroom Mobile—it’s a game-changer for lighting. If I want to add some soulful, vintage vibes (think of my old cookbooks!), I reach for VSCO. And for those playful, creative edits that really capture my mood, Tezza is my absolute go-to. They’re all free and perfect for storytelling!
