I was standing in my tiny San Francisco kitchen last Tuesday, staring down a stubborn heirloom tomato, when my chef’s knife decided to give up on life entirely. Instead of a clean slice, I got a mangled, bruised mess that looked more like a crime scene than a salad. It’s a frustrating reality: most people think they need to buy a brand-new, expensive blade every time things get difficult, but that is a total myth. The truth is, learning how to sharpen tools isn’t about spending more money; it’s about respecting the equipment you already own. Whether you’re transitioning from a corporate desk to a professional kitchen or just trying to master a Sunday brunch, your tools are an extension of your ambition.
In this guide, I’m stripping away the intimidating jargon to give you a no-nonsense approach to maintenance. I’ll walk you through the exact techniques I use to keep my knives razor-sharp, from choosing the right whetstone to mastering that perfect angle. You won’t find any high-priced gadget fluff here—just practical, actionable steps to ensure your kitchen stays efficient and your culinary journey stays smooth and effortless.
Table of Contents
- Step-by-Step Instructions
- The Art of Cleaning Tools Before Sharpening for Success
- Choosing Best Sharpening Stones for Beginners and Beyond
- Pro-Tips for a Razor-Sharp Edge (and a Stress-Free Kitchen)
- Final Thoughts: Investing in Your Kitchen’s Future
- The Philosophy of the Edge
- Honing Your Skills for the Long Haul
- Frequently Asked Questions
Guide Overview
Tools & Supplies
- Bench Grinder (for heavy reshaping)
- Handheld Honing Rod (for fine finishing)
- Whetstone Set (1 Double-sided)
- Honing Oil or Water (1 bottle)
- Microfiber Cloth (1 piece)
- Safety Glasses (1 pair)
Step-by-Step Instructions
- 1. First things first, you need to grab a whetstone. I know, I know—it feels a bit more intimidating than those little pull-through gadgets you see at big-box stores, but think of it like diversifying your investment portfolio. A pull-through sharpener is a quick fix, but a whetstone is a long-term asset that will actually preserve the integrity of your high-quality blades. Just make sure to soak your stone in water for about 10 to 15 minutes before you start, until the bubbles stop rising.
- 2. Once your stone is prepped, find a stable surface. I like to place a damp kitchen towel underneath my stone to prevent it from sliding around while I’m working. There is nothing more stressful than a slipping knife when you’re trying to focus on precision, and we definitely want to avoid any kitchen mishaps while we’re honing our skills.
- 3. Now, let’s talk about the angle. This is where most people get tripped up, but it’s the most crucial part of the process. For most Western chef’s knives, you’re looking for about a 15 to 20-degree angle. A pro tip from my years of trial and error: if you hold your hand at an angle that matches the space between your thumb and index finger, you’ll usually be right in the sweet spot.
- 4. Start with the coarse side of the stone. Hold the handle firmly and place the heel of the blade on the stone, then slowly sweep the knife across the surface in a smooth, rhythmic motion toward the tip. You aren’t trying to hack away at the metal; it’s more about consistent, controlled pressure. You’ll actually feel a tiny bit of a “burr” forming on the opposite side of the edge—that’s a good sign! It means you’re actually doing the work.
- 5. After you’ve worked one side, flip the knife over and repeat the process on the other side. You want to aim for an equal amount of time on each side to ensure the blade remains perfectly centered. It’s a bit like balancing a budget; if you lean too heavily on one side, the whole thing becomes unstable and ineffective.
- 6. Once you’ve finished the heavy lifting on the coarse side, switch to the fine-grit side of your whetstone. This is the “polishing” phase, much like the final touches on a complex fusion recipe. Use lighter pressure here and focus on smoothing out that edge to achieve a razor-sharp finish. This step is what turns a “working knife” into a true culinary instrument.
- 7. Finally, it’s time for a quick test. Grab a piece of paper and see if your knife can slice through it with almost zero effort. If it glides through like butter, you’ve nailed it! Just make sure to wipe your blade clean with a damp cloth before you start prepping your ingredients, because we want our food to be as clean and crisp as our tools.
The Art of Cleaning Tools Before Sharpening for Success
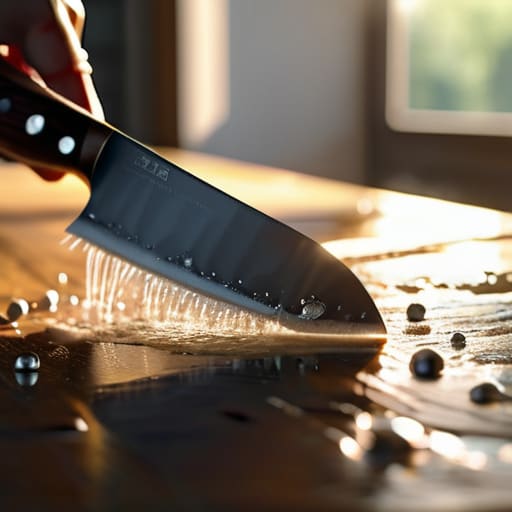
Before you even think about reaching for your stones, we need to talk about the prep work. I used to think I could just dive straight into the process, but I quickly learned that a dirty blade is a recipe for a frustrating afternoon. Think of it like auditing a balance sheet; if your initial data is messy, your entire analysis is going to be off. Cleaning tools before sharpening isn’t just about hygiene; it’s about removing any stubborn grease, mineral buildup, or dried food particles that could clog your abrasive surface or create uneven friction. A quick scrub with warm, soapy water and a thorough drying session ensures that nothing stands between your steel and a perfect edge.
Once your tools are pristine, you’re actually setting the stage for maintaining blade edge longevity. When you work with a clean surface, you can feel the subtle resistance of the metal much more clearly. This tactile feedback is everything when you’re trying to find that perfect rhythm. If you’re just starting out, don’t rush this part. Taking those extra two minutes to ensure your knives are spotless will make the entire experience feel much more professional and, frankly, a lot more rewarding.
Choosing Best Sharpening Stones for Beginners and Beyond
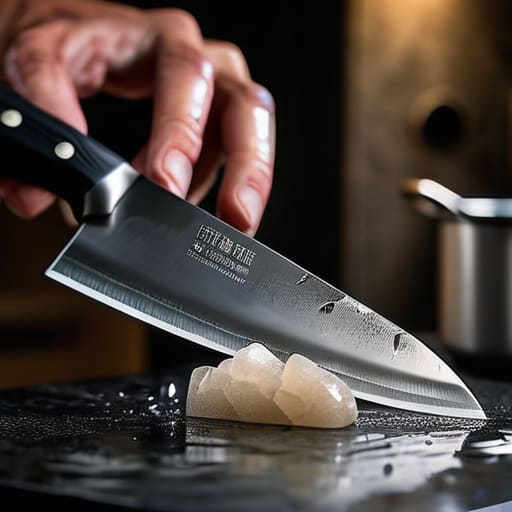
When I first transitioned from analyzing spreadsheets to managing a commercial kitchen, I thought a cheap pull-through sharpener would suffice. I was wrong. If you’re looking to invest in your craft, understanding the difference between honing steel vs sharpening is your first real hurdle. A honing steel is fantastic for realigning an edge between tasks, but it won’t actually remove metal to fix a dull blade. For true restoration, you’ll want to dive into the world of water stones.
If you’re just starting out, I highly recommend looking for a combination stone. These are a lifesaver for your budget and your countertop space. Usually, they feature a coarse grit side for repairing damaged edges and a finer grit side for polishing. Finding the best sharpening stones for beginners means looking for something around 1000/6000 grit; it’s the “sweet spot” that allows you to master basic whetstone sharpening techniques without feeling overwhelmed by technicality. Just remember, whether you’re prepping a simple mirepoix or a complex fusion dish, your tools are only as good as the care you give them.
Pro-Tips for a Razor-Sharp Edge (and a Stress-Free Kitchen)
- Listen to the sound, not just the movement; a consistent, rhythmic “swish” against the stone tells you you’ve found the right angle, much like a steady heartbeat in a high-stakes trading floor.
- Don’t rush the process, because much like building a startup or a complex recipe, skipping steps leads to a messy, unstable result—patience is your best ingredient here.
- Keep your stones wet to avoid friction heat, which can actually damage the temper of your steel; think of it as the essential liquidity needed to keep a smooth financial transaction moving.
- Always check your progress with a piece of paper; if the blade glides through without snagging, you’ve successfully transitioned from “dull and daunting” to “precise and professional.”
- Invest in a decent honing rod for daily maintenance between deep sharpening sessions, because a little bit of consistent upkeep saves you from the massive “capital expenditure” of replacing a ruined knife later.
Final Thoughts: Investing in Your Kitchen’s Future
Think of sharpening as a long-term investment; taking a few minutes to maintain your blades now prevents the “sunk cost” of replacing expensive tools later.
Don’t let the fear of making a mistake stop you—just like pivoting a career, mastering a new skill like knife maintenance takes patience, practice, and a little bit of grit.
A well-maintained toolkit isn’t just about efficiency; it’s about respecting the craft and ensuring that every meal you create is as seamless and joyful as possible.
The Philosophy of the Edge
“Just like pivoting from a spreadsheet to a sauté pan, sharpening your tools isn’t just about maintenance—it’s about preparing yourself to meet your passions with precision, intention, and the readiness to perform when the heat is on.”
Rachel Anderson
Honing Your Skills for the Long Haul
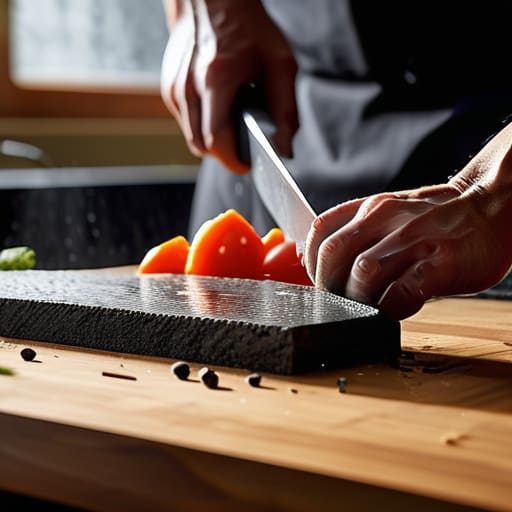
Taking the time to master your sharpening technique might feel like a detour when you’re hungry and ready to cook, but it is truly an investment in your culinary future. We’ve covered everything from the essential step of deep-cleaning your blades to selecting the perfect grit of stone to suit your needs. Remember, the goal isn’t just to fix a dull edge, but to maintain a consistent rhythm in your kitchen workflow. By treating your tools with this level of respect, you aren’t just prepping ingredients; you are ensuring that every slice is precise, every movement is efficient, and every meal is a success.
As I reflect on my own journey from analyzing spreadsheets to managing a bustling kitchen, I’ve realized that the most important lessons often lie in the small, repetitive details. Much like building a stable financial portfolio or perfecting a complex fusion recipe, sharpening your tools is about cultivating patience and precision. Don’t let the fear of making a mistake keep you from picking up that whetstone. Embrace the process, trust your hands, and remember that life is far too short to settle for anything less than excellence—whether that’s in your career, your bank account, or the sharpness of your favorite chef’s knife.
Frequently Asked Questions
How often should I actually be sharpening my knives versus just using a honing rod?
Think of it like this: a honing rod is your daily maintenance—it’s like a quick morning stretch to realign the edge. But actual sharpening? That’s the deep tissue massage. I usually find myself reaching for the whetstone every few months, or whenever I feel that slight “drag” during prep work. Don’t wait until you’re hacking away at a shallot like it’s a chore; stay ahead of the curve to keep your kitchen flow seamless.
Is it worth investing in professional sharpening services for my high-end chef's knives, or can I master this at home?
Honestly, it’s a bit of a balancing act between ROI and passion. If you’re rocking a high-end Japanese steel knife, I’d say treat it like a premium investment: take it to a pro. The cost of a mistake on a $300 blade is a steep price to pay! However, mastering a whetstone at home is incredibly rewarding. Think of it as a meditative skill—once you nail it, you’ll save a fortune and feel like a total kitchen pro.
Are there specific safety tips I should keep in mind so I don't end up with a trip to the ER while practicing?
Oh, I hear you! When I first started, I definitely had a few “heart-in-mouth” moments. Safety is non-negotiable—think of it like managing risk in a portfolio; you want to mitigate the downsides before they happen. Always keep your fingers tucked away from the edge, use a stable, non-slip surface, and never rush the process. If you feel yourself getting frustrated or tired, step away. A dull blade is dangerous, but a rushed hand is even worse!
