I was standing in my kitchen last Tuesday, staring at this gorgeous, mid-century teak sideboard I’d found at a garage sale, feeling that familiar wave of dread. It was covered in decades of scratches and a weird, cloudy finish that made the wood look absolutely lifeless. Most people would tell you that learning how to refinish furniture requires a professional workshop and a massive budget, but honestly? That’s just a myth that keeps us from being creative. Coming from a finance background, I’m obsessed with maximizing value, and there is nothing more rewarding than taking a “diamond in the rough” and turning it into a centerpiece that looks like it cost a fortune.
In this guide, I’m stripping away all the complicated jargon and expensive, unnecessary tools to give you a realistic roadmap. I’ll walk you through the exact process I use to prep, sand, and seal my pieces so they don’t just look good for a week, but actually last for years. Whether you’re looking to save money or just want to inject some soul into your living space, I’m going to show you how to achieve professional results without losing your mind (or your entire savings account) in the process.
Table of Contents
- Step-by-Step Instructions
- Mastering Wood Stripping Techniques for a Fresh Start
- Choosing the Right Furniture Restoration Tools for Success
- Pro-Tips from My Workbench: Avoiding the Costly Mistakes
- Final Thoughts: Making Your Mark on Every Piece
- The Art of the Second Chance
- The Sweetest Finish
- Frequently Asked Questions
Guide Overview
Tools & Supplies
- Sandpaper (various grits for smoothing)
- Screwdriver (to remove hardware)
- Paintbrush or Foam roller (for applying finish)
- Tack cloth (to remove dust)
- Wood filler (small container for cracks)
- Degreaser or TSP (small bottle for cleaning)
- Paint or Stain (1 quart)
- Protective topcoat/Polyurethane (1 quart)
Step-by-Step Instructions
- 1. First things first, you need to clear your workspace and gather your supplies. Just like prepping a kitchen before a big dinner service, you don’t want to be hunting for a screwdriver or a piece of sandpaper halfway through the process. Grab some sandpaper in varying grits, a high-quality screwdriver, some wood cleaner, and your chosen finish. I always find that having everything laid out in front of me makes the whole project feel way less intimidating and much more like a fun weekend project.
- 2. Next, you’ll want to strip the piece down to its bones. Use your screwdriver to carefully remove any hardware—think those beautiful vintage brass pulls that add so much character. If the piece has a heavy lacquer or old paint, you might need a chemical stripper, but for most of my thrifted finds, a good, steady sanding session does the trick. Think of this as the essential prep work that ensures your final “dish” looks as good as it tastes.
- 3. Once the old finish is off, it’s time to get smooth. This is where most people get impatient, but trust me, you can’t rush the sanding process if you want a professional result. Start with a coarser grit to level out the surface and gradually move to a finer grit until the wood feels as soft as silk under your hand. It’s actually a surprisingly meditative experience once you get into a rhythm, almost like the repetitive motion of kneading dough.
- 4. Now, you have to clean the surface thoroughly. Even the tiniest speck of dust or leftover residue can cause your new stain or paint to bubble or peel later on. I like to use a tack cloth or a slightly damp microfiber cloth to wipe everything down. You want that wood to be perfectly pristine before you move on to the fun part, because in both finance and furniture, the details are what prevent future headaches.
- 5. This is the moment of truth: applying your color or finish. If you’re using a stain, remember to work in the direction of the wood grain to avoid any messy streaks. If you’re going for a painted look, use thin, even layers rather than trying to cover everything in one heavy coat. I find that applying the finish in small, intentional strokes gives you much more control and prevents those dreaded drips that can ruin your hard work.
- 6. Finally, once your finish is dry, you might want to add a protective topcoat like wax or polyurethane. This is your “security deposit”—it protects your investment and ensures your beautiful piece can handle the wear and tear of daily life. Let it cure completely before you start putting your books or decor back on it. There is honestly no better feeling than stepping back, sipping a glass of wine, and admiring a piece of history you’ve brought back to life.
Mastering Wood Stripping Techniques for a Fresh Start
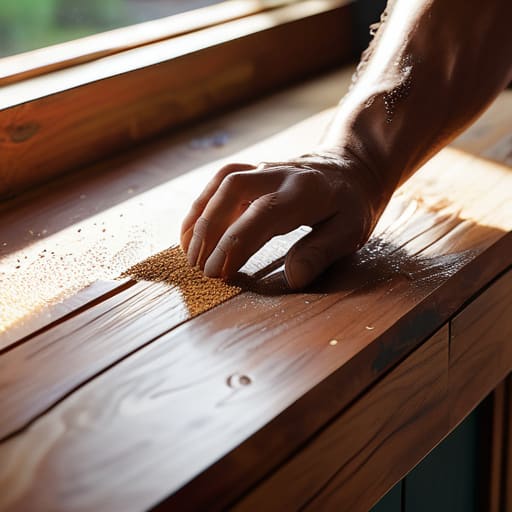
Now, I know what you’re thinking—stripping old finish sounds like a messy, daunting chore. Believe me, I felt the same way when I first tried to salvage a mid-century sideboard I found at a thrift store. But honestly, mastering different wood stripping techniques is where the real magic happens. If you’re dealing with a stubborn, thick layer of old paint, a chemical stripper is your best friend. It does the heavy lifting so you don’t have to spend hours sweating over a piece. Just remember to work in small sections; it’s a bit like reducing a complex sauce—patience is everything to get that perfect consistency and result.
Once the bulk of the gunk is gone, the real finesse begins with removing old varnish and preparing the grain. This is where you transition from the “messy” phase to the “precision” phase. I always tell my friends that you can’t rush this part if you want a professional finish. If you skip the deep cleaning or leave tiny bits of residue behind, your new stain will look blotchy and uneven. Think of it as setting the foundation for your masterpiece; once that wood is clean and bare, you’re finally ready to let its natural beauty shine.
Choosing the Right Furniture Restoration Tools for Success
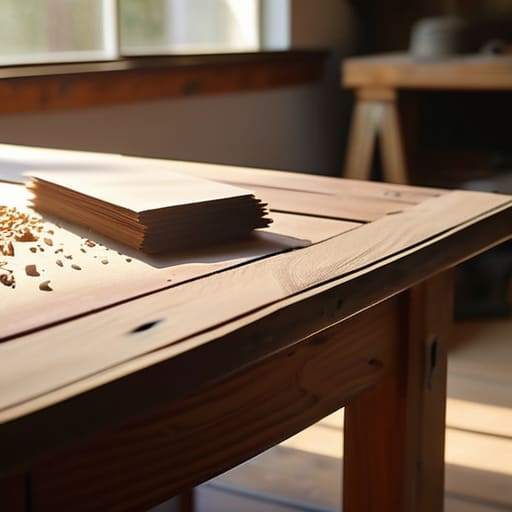
Before you dive in, I want to share a little secret from my days in finance: investing in quality upfront saves you a fortune in the long run. The same logic applies to your toolkit. While it’s tempting to grab the cheapest sandpaper from the local hardware store, having a solid furniture sanding grits guide on hand is a total game-changer. You’ll want a range of grits—starting coarse to level out those imperfections and moving to finer grits for that silky-smooth finish. Trust me, skipping the progression is the quickest way to end up with scratches that show through your final coat.
Beyond the sandpaper, don’t overlook the importance of choosing between different finishes. When you reach the final stage, you’ll likely face the classic debate of furniture lacquer vs polyurethane. If you’re looking for something incredibly durable that can handle the daily chaos of a busy kitchen or living room, polyurethane is your best friend. I always tell my friends that while the initial setup might feel like a lot, having the right brushes and scrapers makes the entire process feel less like a chore and more like a creative escape.
Pro-Tips from My Workbench: Avoiding the Costly Mistakes
- Don’t rush the drying process! I know how tempting it is to jump straight to the staining phase because you’re excited to see the final result, but if your stripper or primer hasn’t fully cured, you’ll end up with a finish that looks blotchy and uneven. Think of it like letting a complex sauce simmer—patience is your best ingredient here.
- Test your finishes on a hidden spot first. Just like I wouldn’t invest a huge chunk of my budget into a new restaurant concept without a pilot run, don’t commit your expensive stain to the entire tabletop without seeing how it reacts to the wood grain. A tiny sample on the underside can save you a massive headache (and a lot of money) later.
- Invest in quality sandpaper, not just the cheapest pack you find. In my finance days, I learned that cutting corners often leads to higher long-term costs. Using low-grit sandpaper that’s too coarse can leave deep scratches that are a nightmare to buff out, so treat your tools like the essential assets they are.
- Work in a well-ventilated space, always. This isn’t just about being comfortable; it’s about safety. Whether you’re using chemical strippers or heavy-duty sprays, you want to protect your lungs just as much as you protect your investment. A little bit of airflow goes a long way in keeping the project—and you—healthy.
- Embrace the imperfections of vintage wood. One thing I’ve learned from collecting old cookbooks and antique furniture is that the “flaws” often tell the best story. Instead of trying to make a piece look brand new and factory-made, try to enhance the character of the wood. That slight dent or unique grain pattern is what gives the piece its soul and makes it worth the effort.
Final Thoughts: Making Your Mark on Every Piece
Don’t let the fear of a mistake stop you; much like pivoting from a spreadsheet to a sauté pan, the real magic happens when you embrace the learning curve and trust your instincts.
Quality tools and patience are your best investments, ensuring that the time and money you pour into your project yield a beautiful, long-lasting result you’ll be proud to display.
View every piece of furniture as a chance to practice mindful creativity, finding that sweet spot where hard work meets the pure, soulful joy of bringing something old back to life.
The Art of the Second Chance
“Refinishing a piece of furniture feels a lot like pivoting a career; it’s about looking past the worn-out exterior, stripping away what no longer serves you, and having the courage to apply a fresh layer of potential to reveal something truly beautiful underneath.”
Rachel Anderson
The Sweetest Finish
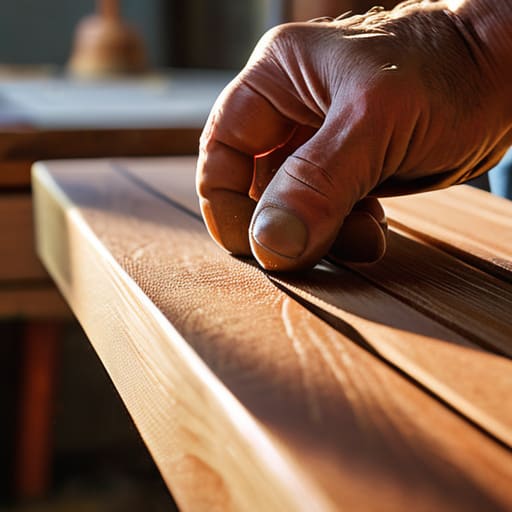
Taking a piece of forgotten, worn-out furniture and breathing new life into it is such a rewarding process. We’ve covered a lot of ground together, from selecting the perfect professional-grade tools to mastering those tricky wood stripping techniques that ensure a clean slate. It’s not just about the physical labor; it’s about understanding how each layer of sanding and every coat of stain contributes to the final result. Remember, the secret to a professional look lies in the patience you show during the preparation phase. When you respect the wood and follow the steps, you aren’t just fixing a table—you are investing in something beautiful that will last for years to come.
As I often tell my friends when they’re contemplating a big life change, whether it’s a career pivot or a DIY project, the most important ingredient is your own passion. Refinishing furniture is a lot like my journey from financial analysis to the culinary world; it requires a solid foundation, a bit of grit, and the courage to embrace the messiness of the process. Don’t be afraid to make mistakes or try a bold new color. At the end of the day, your home should be a reflection of your unique story and the joy of creating something with your own hands. Now, go grab a coffee, put on your favorite playlist, and let’s get to work!
Frequently Asked Questions
How do I know if a piece of furniture is actually worth the investment of time and money to refinish, or if I should just save my budget for something else?
This is the million-dollar question—literally! Coming from a finance background, I always look at this through a “cost-benefit” lens. Before you dive in, check the bones: is it solid wood or cheap veneer? Is the joinery sturdy? If it’s high-quality hardwood, the ROI on your time and materials is huge. But if it’s particle board, save your budget. I only invest my energy when the craftsmanship promises a piece that will last a lifetime.
Is it safe to use chemical strippers in a small apartment, or should I stick to more natural, eco-friendly methods?
Since I’m working out of my cozy San Francisco apartment, I’ve definitely wrestled with this! Honestly, if you’re in a small space, chemical strippers can be a real headache with those intense fumes. Unless you have amazing ventilation, I’d lean toward eco-friendly options or heat guns. It’s a bit more labor-intensive, but it keeps your living space feeling fresh and safe—which is much better when you’re trying to enjoy a glass of wine later!
Once I’ve got the wood looking beautiful, how do I choose a finish that won't just peel off in six months?
Choosing a finish is where the real magic—and a bit of the science—happens! Think of it like choosing the right base for a complex reduction; if the foundation isn’t right, the whole dish fails. For something that actually lasts, I swear by high-quality oils or a durable polyurethane. Avoid the cheap, spray-on stuff that flakes. Invest a little more in a professional-grade sealant; it’s much better to spend extra now than to redo the whole project in six months!
