I remember sitting on my kitchen floor last summer, surrounded by half-empty cans of primer and a growing sense of dread, wondering if I’d just made a massive financial mistake. I had this vision of a bright, airy sanctuary perfect for my new culinary experiments, but instead, I was staring at a sticky, uneven mess that looked nothing like the Pinterest boards I’d been obsessing over. Most people will tell you that learning how to paint kitchen cabinets is a simple weekend project, but let’s be real: without a strategic plan, it’s a recipe for a total kitchen catastrophe.
I’ve spent years analyzing spreadsheets and balancing budgets, so I look at home DIY through a very specific lens: how do we achieve a high-end, professional look without draining our savings? In this guide, I’m stripping away the fluff and giving you my no-nonsense, step-by-step roadmap to success. We’re going to dive into the essential tools, the proper prep work that actually matters, and the smart investment strategies for choosing the right finishes. I promise to help you transform your kitchen into a space you actually love to cook in, all while keeping your bank account perfectly intact.
Table of Contents
- Step-by-Step Instructions
- The Ultimate Cabinet Painting Supplies Checklist for Success
- Mastering How to Prep Cabinets for Painting Like a Pro
- Pro Secrets for a Flawless Finish (Without the Professional Price Tag)
- Final Thoughts: Investing in Your Kitchen’s Transformation
- ## The ROI of a Kitchen Refresh
- The Final Transformation
- Frequently Asked Questions
Guide Overview
Tools & Supplies
- Screwdriver and drill to remove hardware
- Sandpaper (various grits) for surface preparation
- High-quality synthetic brush for edges
- Small foam roller for smooth finishes
- Microfiber cloth for dust removal
- Degreaser or TSP (1 bottle)
- Primer (1-2 gallons depending on size)
- Cabinet-grade paint (1-2 gallons)
- Painter's tape (1-2 rolls)
- Drop cloths (2-3 large sheets)
Step-by-Step Instructions
- 1. First things first, we need to clear the decks—literally. You’ll want to remove all your dishes and decor, but the real heavy lifting is taking the cabinet doors and hardware off. I know, it feels like a lot of manual labor, but think of this as the essential mise en place for your project. You wouldn’t start a complex risotto without prepping your aromatics, and you shouldn’t start a paint job without a clear workspace. Lay everything out on a clean drop cloth so you don’t lose those tiny screws!
- 2. Once the doors are off, it’s time to get down to the “dirty” work: cleaning. Kitchen cabinets are magnets for grease and cooking oils, and if you don’t strip that away, your beautiful new color will never truly bond to the surface. Use a high-quality degreaser or a mixture of warm water and mild dish soap to scrub every inch. It’s a bit like cleaning a well-loved cast iron skillet—you have to be thorough to ensure the foundation is perfect.
- 3. Now, we move into the sanding phase. You don’t need to sand down to the bare wood, but you do need to scuff up the existing finish so the primer has something to “grip.” I like to use a fine-grit sandpaper to create a subtle, matte texture. It’s a meditative process, honestly; just you, some music, and the rhythmic sound of sanding. Just be careful not to go too heavy—we’re looking for a gentle etch, not a deep gouge.
- 4. This is where most people try to cut corners, but as a former analyst, I’m telling you: do not skip the primer. Applying a high-quality, stain-blocking primer is your insurance policy against future frustration. It seals the wood and ensures your final color looks uniform and professional rather than streaky. It’s the financial equivalent of building a solid emergency fund; it might feel like an extra step now, but it prevents a total meltdown later.
- 5. Once your primer is dry and lightly sanded, it’s finally time for the fun part—the paint! I highly recommend using a specialized cabinet paint or a high-quality enamel, as these are designed to withstand the daily wear and tear of a busy kitchen. Apply your first coat in thin, even layers. It’s tempting to try and cover everything in one go, but much like layering flavors in a complex sauce, it’s all about patience and building up the depth slowly.
- 6. After your first coat is completely dry, give it one more very light sand with your finest sandpaper to smooth out any tiny imperfections. This is the secret to that luxurious, factory-smooth finish we all crave. Wipe away any dust with a tack cloth before applying your final coat. This extra bit of diligence is what separates a DIY “project” from a kitchen transformation that looks like it cost thousands of dollars.
- 7. The final step is the most rewarding: the reassembly. Once your doors are dry and the paint has had time to “cure” (give it at least 24-48 hours!), screw your hardware back in and hang the doors. There is something so incredibly satisfying about seeing your vision come to life. Now, grab a glass of wine, admire your handiwork, and get ready to host your next dinner party in your beautifully refreshed sanctuary.
The Ultimate Cabinet Painting Supplies Checklist for Success
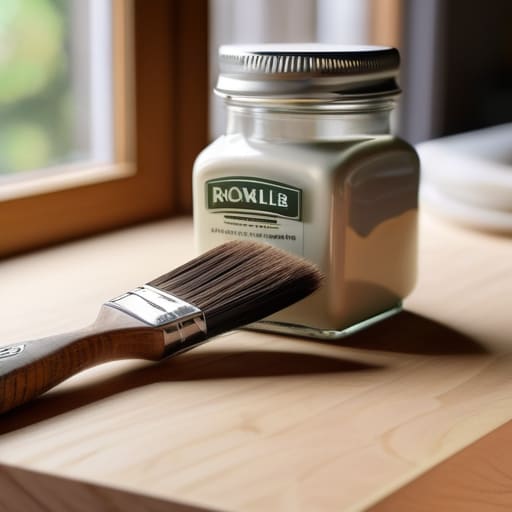
Before you dive into the actual work, I want you to think of your supply run as the “mise en place” of your home renovation. Just like I wouldn’t dream of starting a complex reduction without my high-quality stock and aromatics, you shouldn’t start this project without a solid cabinet painting supplies checklist. I used to think I could just grab whatever was on sale at the local hardware store, but my experience in finance has taught me that cutting corners early on leads to much higher costs later. Investing in high-quality rollers and a decent brush isn’t an extravagance; it’s an insurance policy against frustration.
When you’re browsing the aisles, pay extra attention to your cabinet primer and topcoat guide. The secret to that smooth, factory-like finish isn’t just in your steady hand; it’s in the chemistry of the products you choose. Look for specialized formulas designed to withstand the humidity and frequent cleaning that a kitchen demands. If you choose the right materials, you’ll find that preventing brush marks on cabinets becomes much easier, leaving you with a kitchen that feels brand new and ready for your next culinary adventure.
Mastering How to Prep Cabinets for Painting Like a Pro
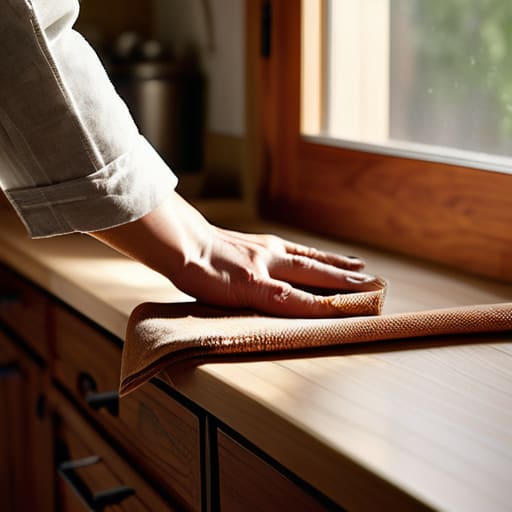
If there is one thing my years in financial analysis taught me, it’s that the most important work happens before the big numbers ever hit the spreadsheet. The same logic applies to your kitchen. You can buy the most expensive cans of paint on the market, but if you rush the cleaning phase, you’re essentially investing in a losing stock. How to prep cabinets for painting is truly where the battle is won or lost. I always tell my friends to treat this stage like a slow-simmered reduction; you can’t rush the depth of flavor, and you certainly can’t rush the removal of every bit of grease and old wax.
Once the surfaces are squeaky clean, don’t skip the sanding. It might feel tedious, but creating that micro-texture is what allows your new finish to bond securely. If you want to achieve those professional cabinet refinishing techniques without hiring a crew, focus on the edges. This is where most DIYers stumble. By smoothing out the transitions between the door and the frame, you’re setting the stage for a flawless finish that looks like it came straight from a showroom rather than a weekend project.
Pro Secrets for a Flawless Finish (Without the Professional Price Tag)
- Don’t skimp on the primer; think of it as the foundation of a solid investment. Just like a well-balanced portfolio, if your base isn’t strong, everything built on top of it is at risk of crumbling—or in this case, peeling.
- Embrace the “thin coat” philosophy. It’s tempting to try and cover everything in one go, but much like layering flavors in a complex sauce, multiple thin, even layers will always yield a more sophisticated and durable result than one thick, gloppy mess.
- Control your environment like you control your kitchen workflow. Dust is the enemy of a smooth finish, so try to paint on a day when the weather is calm and keep your workspace as tidy as possible to avoid “texture” that you definitely didn’t plan for.
- Invest in high-quality brushes and rollers. I know, I know—it feels like an extra expense, but as someone who used to obsess over every decimal point in a financial report, I can tell you that the ROI on a good tool is massive when you consider the time and frustration you’ll save.
- Patience is your most valuable ingredient. It is incredibly tempting to start reassembling your cabinets the moment the paint feels dry to the touch, but give them the full curing time they deserve. A little bit of delayed gratification now means a kitchen that stays beautiful for years to come.
Final Thoughts: Investing in Your Kitchen’s Transformation
Treat your prep work like a complex recipe; the more time you spend on the “mise en place” of cleaning and sanding, the more seamless and professional your final “dish” will look.
Don’t skimp on your tools, because high-quality brushes and rollers are much like high-quality ingredients—they are the difference between a mediocre result and a kitchen you’re actually proud to cook in.
Remember that this project is an investment in your home’s soul, so embrace the process and enjoy the financial win of a high-end look without the high-end renovation price tag.
## The ROI of a Kitchen Refresh
“Think of repainting your cabinets not just as a DIY project, but as a strategic investment in your home’s soul; it’s the perfect way to marry fiscal responsibility with the pure, creative joy of a space that finally feels like you.”
Rachel Anderson
The Final Transformation
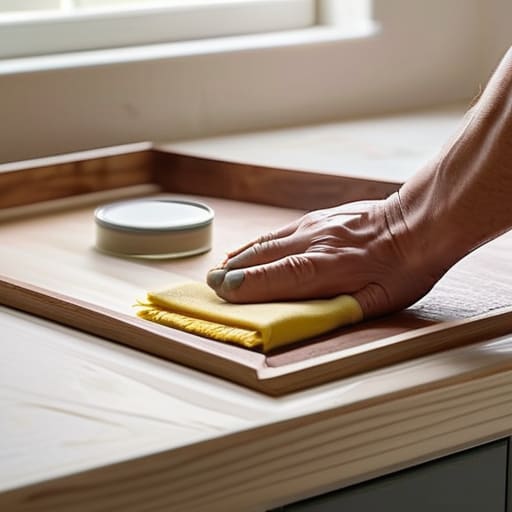
As you step back to admire your handiwork, remember that the magic really lies in the details we covered. From curating that essential supplies checklist to the meticulous, almost meditative process of sanding and priming, every single step was an investment in your home’s future. It might feel overwhelming when you’re staring at a pile of drop cloths and half-empty paint cans, but sticking to a disciplined preparation routine is exactly what separates a DIY disaster from a professional-grade finish. By treating your kitchen renovation with the same precision I used to use when analyzing market trends, you’ve ensured that your hard work will stand the test of time.
Beyond the fresh color and the smooth finish, I hope this project reminds you of something even more important: the power of taking agency over your environment. Transitioning from a high-stakes finance career to the kitchen taught me that we are capable of much more than our job titles suggest. Whether you are balancing a budget or a paintbrush, it is all about pursuing intentional growth. Don’t be afraid to get your hands a little messy in the pursuit of something beautiful. Your kitchen is the heart of your home, and you’ve just given it a whole new beat. Now, go grab a glass of wine and enjoy the view!
Frequently Asked Questions
How do I choose between a professional-grade sprayer and a traditional brush/roller setup without overspending on equipment?
This is the classic “investment vs. efficiency” dilemma I used to face with market volatility! If you’re tackling a small kitchen or a single accent piece, stick to high-quality brushes and microfibers; it’s budget-friendly and gives you more control. But, if you’re looking for that flawless, factory-smooth finish across a large area, a sprayer is worth the splurge. Just remember: a cheap sprayer is a recipe for heartbreak, so invest in quality or stay manual!
Is it actually worth the extra time to sand everything down, or can I get away with just a good cleaning and a high-quality primer?
I totally get the temptation to skip the sanding—when you’re staring at a mountain of cabinets, every minute feels precious! But, looking at this through my old analyst lens: skipping sanding is a high-risk, low-reward move. While a great primer is your best friend, a light sanding creates the “tooth” needed for real adhesion. If you want a finish that lasts through years of messy cooking and late-night snacks, don’t skimp on the prep!
How can I ensure my new cabinet color won't show every single fingerprint and smudge a month after I'm finished?
I totally get this—there is nothing more heartbreaking than pouring your heart (and your savings!) into a DIY project only to see greasy fingerprints marring your beautiful new finish. To keep things looking pristine, I highly recommend investing in a high-quality, durable topcoat. Look for a satin or semi-gloss finish with added scuff resistance. Think of it like a good emulsification in a sauce; that extra layer provides the protection and longevity your kitchen deserves.
