I was standing in the middle of my first tiny studio apartment, staring at a wall of depressing, nicotine-stained beige, clutching a single roller like it was a lifeline. I had this grand vision of a vibrant, sage-green sanctuary, but my bank account—and my complete lack of DIY experience—told a very different story. I quickly learned that knowing how to paint a room isn’t just about picking a pretty color from a swatch; it’s about the strategic allocation of resources to ensure you don’t end up with a patchy mess and a drained savings account.
In this guide, I’m stripping away the intimidating jargon and the overpriced “pro” secrets to give you a realistic, budget-friendly roadmap. We are going to walk through everything from prepping your surfaces (the part everyone tries to skip!) to choosing the right finish that actually lasts. My goal is to show you how to achieve that high-end, polished look without the professional price tag, so you can spend less time worrying about drips and more time enjoying your beautifully transformed space.
Table of Contents
- Step-by-Step Instructions
- Curating Your Essential Painting Supplies Checklist
- Mastering How to Prep Walls for Painting Perfection
- The Finishing Touches: My Pro-Tips for a Flawless Result
- Lessons from the Canvas: My Top Three Takeaways
- The Investment of Color
- The Final Stroke: From Prep to Perfection
- Frequently Asked Questions
Guide Overview
Tools & Supplies
- Paintbrush for cutting in edges
- Roller and tray for large surfaces
- Painter's tape for clean lines
- Drop cloths to protect floors
- Interior paint (1-2 gallons per room)
- Painter's tape (1-2 rolls)
- Sandpaper (medium grit for smoothing)
- Spackle (small tub for patching holes)
Step-by-Step Instructions
- 1. First things first, we need to talk about the “mise en place” of painting. Just like when I’m prepping ingredients for a complex fusion dish, you can’t start cooking if your station is a mess. Clear out the furniture or push it to the center of the room, and most importantly, protect your floors with heavy-duty drop cloths. I’ve learned the hard way that a spilled gallon of “Sunset Ochre” is much harder to clean up than a dropped jar of saffron!
- 2. Once the space is clear, it’s time for the deep clean. Grab a damp cloth and wipe down your walls to remove any dust or lingering oils. If you have any small cracks or dents, don’t just paint over them—that’s like trying to hide a burnt sauce with extra salt. Use a little bit of spackle to smooth out those imperfections first, then sand them down until they’re flush with the wall.
- 3. Now, let’s get tactical with the prep work by applying painter’s tape. Run the tape along your baseboards, window frames, and ceiling edges. This is where most people get lazy, but if you want those crisp, professional lines that make a room feel expensive, you have to be meticulous with your edges. It’s a small investment of time that pays huge dividends in the final aesthetic.
- 4. Don’t skip the primer! I know, it feels like an extra, unnecessary expense—kind of like buying premium organic flour when the cheap stuff is right there. But if you’re changing colors significantly, a good primer ensures your new shade looks exactly like the swatch you fell in love with. It creates a uniform surface that helps the paint adhere perfectly, saving you money on multiple coats later.
- 5. When you’re ready to actually apply the color, start with the “cutting in” phase. Use a high-quality brush to paint a border around the edges of the room, the corners, and around the trim where a roller can’t reach. Think of this as the delicate garnishing stage of your project; it requires a steady hand and patience, but it sets the stage for the heavy lifting.
- 6. Once your edges are set, grab your roller and start working in large, even strokes. I like to use a “W” or “M” pattern to distribute the paint across the wall, which helps prevent those annoying streak marks. It’s all about maintaining a consistent rhythm to ensure the coverage is even and smooth from top to bottom.
- 7. Finally, the hardest part: waiting. Resist the urge to touch the wall or move the furniture back too soon. Let the first coat dry completely before deciding if you need a second. Just like letting a reduction simmer to reach the perfect consistency, patience is your best friend here. Once it’s dry, peel off your painter’s tape while the paint is still slightly tacky to get those flawless, sharp lines we worked so hard for.
Curating Your Essential Painting Supplies Checklist
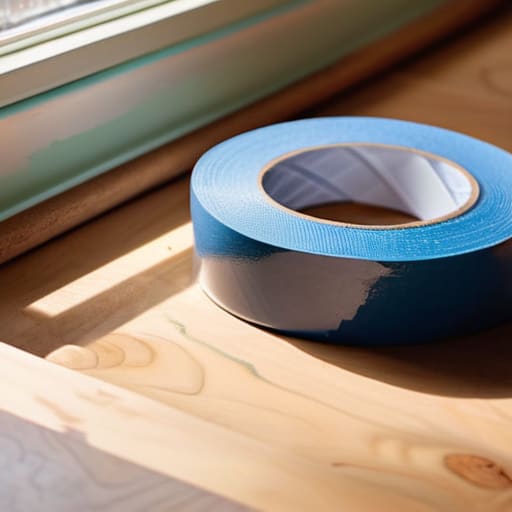
Now, before you start splashing color onto your walls, let’s talk about the “mise en place” of home improvement. Just like in my kitchen, if you don’t have your ingredients prepped and organized, things can get messy fast. I always tell my friends that building an essential painting supplies checklist is the secret to avoiding those mid-project trips to the hardware store that kill your momentum. You’ll need more than just a bucket; think high-quality brushes, a sturdy tray, and, most importantly, painter’s tape to keep those edges crisp.
One thing I learned the hard way during my first DIY project was that protecting furniture while painting is just as vital as the painting itself. Don’t just throw a thin sheet over your sofa; use heavy-duty drop cloths to ensure a stray drip doesn’t ruin your favorite velvet armchair. While you’re gathering your gear, keep in mind that investing a little extra in the best paint for interior walls can save you a massive headache later. It’s much better to spend a few extra dollars now than to spend your entire weekend trying to fix uneven coverage.
Mastering How to Prep Walls for Painting Perfection
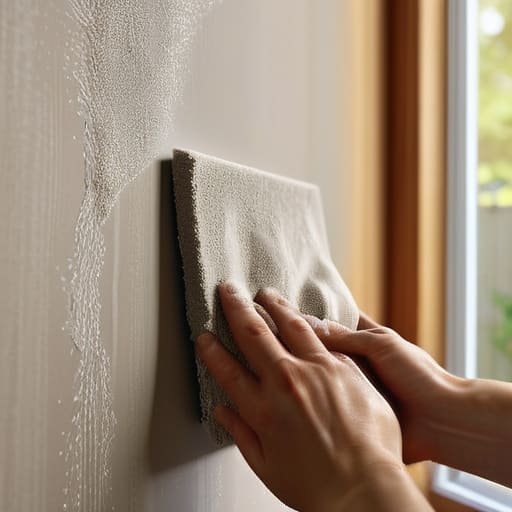
If there is one thing my years in financial analysis taught me, it’s that the foundation determines the entire outcome—whether you’re looking at a balance sheet or a fresh coat of sage green. You can’t just slap paint over imperfections and hope for the best; that’s a recipe for a headache later. When learning how to prep walls for painting, the real secret lies in the details. I always start by giving the walls a good wipe down with a damp cloth to remove dust. If you have any small nicks or dents, grab some spackle and fill them in. Once it’s dry, a quick sand will make the surface silky smooth, ensuring your final finish looks professional rather than amateur.
While you’re at it, don’t underestimate the importance of protecting furniture while painting. I like to think of this like mise en place in a kitchen—if your workspace is organized and shielded, the actual “cooking” part becomes much more enjoyable. Drag your heavy pieces to the center of the room and cover them with drop cloths. It might feel like an extra step, but it saves you from the stress of cleaning up unexpected splatters, allowing you to focus entirely on the creative joy of your transformation.
The Finishing Touches: My Pro-Tips for a Flawless Result
- Don’t skimp on the lighting—I know it sounds simple, but switching from your standard overhead light to a bright, natural lamp can reveal shadows or uneven patches you’d totally miss otherwise.
- Think like an economist and invest in high-quality painter’s tape; it might cost a few extra dollars upfront, but it prevents the massive headache (and wasted time) of trying to scrape dried paint off your baseboards later.
- Practice the “wet edge” technique to avoid those dreaded lap marks; try to keep your brush strokes moving continuously so the paint blends seamlessly before it has a chance to dry.
- Always do a small test swatch on a piece of cardstock first—colors look completely different under your specific living room lights than they do on a tiny sample in a bright store.
- Treat yourself to a little “reward ritual” once the rollers are cleaned; there’s nothing quite like the feeling of a freshly painted room paired with a glass of wine and a small plate of tapas to celebrate your hard work.
Lessons from the Canvas: My Top Three Takeaways
Don’t skimp on the “ingredients”—just like in a complex reduction sauce, using high-quality brushes and primer is the difference between a professional finish and a stressful mess.
Patience is your most valuable tool; rushing the prep work or the drying time is a recipe for disaster, so give your project the time it needs to truly settle.
View the process as an investment in your environment, because creating a space that reflects your true self is just as important as keeping your bank account in balance.
The Investment of Color
“Think of painting a room much like building a business or perfecting a signature recipe: it’s not just about the final splash of color, but about the intentionality you put into the foundation. When you invest the time to do it right, you aren’t just changing a wall—you’re creating a space that nourishes your soul and supports your next big dream.”
Rachel Anderson
The Final Stroke: From Prep to Perfection
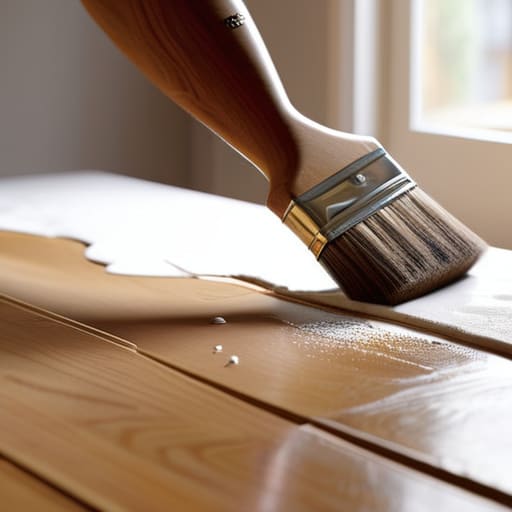
Now that you’ve navigated the technicalities—from gathering your essential supplies to the heavy lifting of prepping those walls—you’re finally standing on the threshold of a transformed space. It’s easy to feel a bit overwhelmed by the logistics, but remember that the magic really happens in the details. By investing that extra time into a clean surface and the right tools, you’ve essentially laid the financial and physical foundation for a professional-grade finish. You haven’t just painted a room; you’ve executed a project with the same precision I used to use for quarterly budget reports, ensuring that the final result is something you can truly be proud of.
As you step back to admire your handiwork, I hope you realize that this project is about so much more than just a new color on the walls. It’s a tangible reminder that we have the power to reshape our surroundings and, by extension, our lives. Just like my transition from the high-stakes world of finance to the sensory joy of a professional kitchen, taking this leap into a DIY project is an act of reclaiming your creative agency. So, grab a glass of something delicious, take a seat in your beautiful new sanctuary, and celebrate the fact that you had the courage to build something beautiful with your own two hands.
Frequently Asked Questions
How do I figure out how much paint I actually need to buy so I don't end up wasting money on extra cans?
Calculating paint needs is actually a lot like budgeting for a new restaurant venture—you want enough to cover your costs without leaving money sitting idle on the shelf. To avoid that “extra can” guilt, measure your wall height and width to get the total square footage, then subtract any windows or doors. A good rule of thumb is that one gallon covers about 350–400 square feet. Always account for two coats, though!
Is it worth investing in high-end brushes and rollers, or can I get away with the budget-friendly options?
This is the classic “cost vs. value” debate I used to obsess over back in my analyst days! Honestly, if you’re looking at your budget, think of it like buying a chef’s knife: you can get a cheap one, but it’s going to make the work much harder. I’d suggest investing in high-quality brushes and rollers. They hold paint better and leave a smoother finish, saving you time—and time is money!
How can I choose a paint finish that looks professional but is also easy to clean if I have kids or pets?
This is where my “finance brain” meets my “chaos-coordinator brain.” If you have kids or pets, skip the flat/matte finishes—they’re gorgeous but a nightmare to scrub. Instead, go for an eggshell or satin finish. They offer that sophisticated, soft glow that looks high-end, but they have just enough sheen to let you wipe away those accidental crayon marks or muddy paw prints without ruining the texture of the wall. It’s all about that smart, durable investment!
