I was staring at my favorite vintage linen blazer—the one I bought at a flea market in Oakland during my first year out of Berkeley—and realized I was about to toss it because of a tiny, fraying seam. For a long time, I fell into the trap of thinking that if something wasn’t perfect, it was disposable, a mindset that’s honestly as bad for your soul as it is for your bank account. But I’ve realized that learning how to mend clothes isn’t just about being frugal; it’s about honoring the stories woven into our fabrics and breaking that cycle of mindless consumerism.
In this guide, I’m stripping away the intimidation factor and sharing the exact, no-nonsense techniques I use to breathe life back into my wardrobe. We aren’t going to dive into complex tailoring that requires a degree; instead, I’ll show you the practical, essential skills you need to tackle everything from loose buttons to small tears. My goal is to help you save money and reduce waste, so you can spend less time replacing your favorites and more time actually wearing them.
Table of Contents
- Step-by-Step Instructions
- Mastering Needle and Thread Basics for a Fulfilling Life
- Invisible Mending Techniques to Save Your Favorite Pieces
- Beyond the Basic Stitch: My Pro-Tips for a Sustainable Wardrobe
- Small Stitches, Big Returns: My Three Golden Rules
- Investing in What Lasts
- Investing in What You Love
- Frequently Asked Questions
Guide Overview
Tools & Supplies
- Sewing needle [various sizes for different fabric weights]
- Fabric scissors [sharp blades for clean cuts]
- Thimble [to protect fingers during heavy stitching]
- Seam ripper [to remove old, incorrect stitches]
- Thread [matching colors for various fabric types]
- Fabric scraps [small pieces for patching holes]
- Sewing pins [to hold fabric in place]
Step-by-Step Instructions
- 1. First things first, gather your “repair kit.” Think of this like setting up your mise en place before a big dinner service; you don’t want to be hunting for a needle halfway through a delicate stitch. You’ll need a few sturdy needles, a variety of thread colors (try to match your fabric as closely as possible), and a pair of sharp fabric scissors. If you’re feeling extra fancy—or just want to be prepared—grab a small embroidery hoop to keep your fabric taut.
- 2. Next, clean and prep the area. I know it sounds tedious, but you wouldn’t cook with a dirty pan, right? Make sure the garment is freshly laundered and completely dry. If there’s a loose thread or a fraying edge, trim it carefully with your scissors. This ensures that when you start sewing, you’re working with a clean canvas rather than adding more chaos to the fray.
- 3. For those pesky small holes or snags, I highly recommend the invisible mend technique. Turn your garment inside out and thread your needle with a single strand of thread. Instead of sewing in a straight line, use tiny, overlapping stitches around the perimeter of the hole. This acts like a structural “buffer zone,” pulling the edges together without creating a bulky, unsightly ridge on the outside.
- 4. If you’re dealing with a larger tear, it’s time to bring in the heavy hitters: a patch. You can use a piece of scrap fabric from an old shirt or even a beautiful piece of vintage lace if you want to turn the “mistake” into a statement piece. Pin the patch to the underside of the hole, then sew around the edges using a whipstitch. This is where your creativity can really shine—it’s basically culinary fusion, but for your wardrobe!
- 5. Once you’ve secured the patch or the hole, don’t forget to reinforce the tension. I like to go over the area one more time with a slightly wider stitch to ensure the fabric won’t pull apart the next time you’re sitting down for a long lunch. It’s all about investing in the longevity of the piece, much like how I look at long-term asset growth.
- 6. Finally, give your work a “quality control” check. Turn the garment right-side out and look at it from a distance. If the repair looks a bit too obvious for your liking, don’t panic! You can always embrace the “visible mending” trend by adding a few decorative embroidery stitches over the area. It turns a repair into a unique design element, making your clothes feel even more personal and one-of-a-kind.
Mastering Needle and Thread Basics for a Fulfilling Life
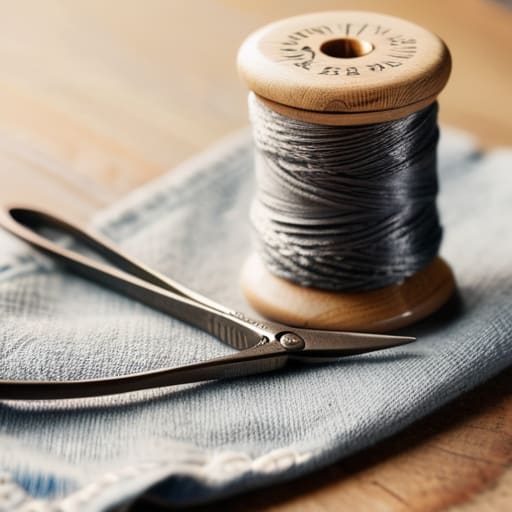
Beyond the technical steps, I’ve realized that mending is a lot like my old life in finance: it’s all about the small, incremental details that prevent a total collapse later on. When I first started, I thought I needed a professional studio, but honestly, you just need to curate your sewing kit essentials for beginners. A few high-quality needles, a variety of thread colors, and a decent pair of snips will get you through most minor crises. Think of it as building a small emergency fund for your wardrobe; being prepared saves you from the “panic-buy” cycle of replacing clothes that only needed a little love.
I also want to encourage you to view these repairs as an investment in your personal style rather than a chore. If you’re dealing with those stubborn jeans, learning how to patch denim holes with a contrasting fabric can actually turn a flaw into a unique design feature. It’s about shifting your mindset from “this is broken” to “this is evolving.” Whether you are repairing loose seams on a favorite blazer or fixing a hem, you are reclaiming your agency and choosing quality over mindless consumption.
Invisible Mending Techniques to Save Your Favorite Pieces
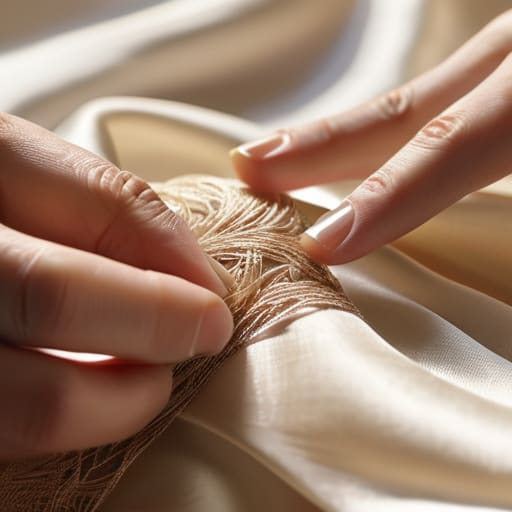
Sometimes, the most rewarding part of mending isn’t just fixing a garment, but doing it so seamlessly that no one ever knows it happened. I remember a vintage silk blouse I picked up at a flea market in San Francisco—it had a tiny snag that felt like a total dealbreaker. Instead of giving up on it, I leaned into some invisible mending techniques to pull the fibers back together. It’s almost like a little magic trick; you aren’t just masking a flaw, you’re actually restoring the integrity of the fabric.
If you’re working with something more rugged, like your go-to pair of Levi’s, you might want to look into how to patch denim holes from the inside using a scrap of similar weight. This “under-patching” method keeps the texture looking authentic rather than like a messy DIY project. Whether you are tackling a delicate knit or heavy-duty denim, the goal is to treat your clothes with the same respect you’d give a fine ingredient in a kitchen. When we invest time in these subtle repairs, we aren’t just saving money; we are cultivating a deeper connection to the things we own.
Beyond the Basic Stitch: My Pro-Tips for a Sustainable Wardrobe
- Invest in a high-quality sewing kit early on; think of it like buying a good chef’s knife—you don’t need a hundred tools, but the ones you do have should be reliable and sharp.
- Don’t be afraid to get creative with “visible mending”; sometimes a colorful embroidery patch over a tear looks even better than the original fabric, turning a flaw into a personal statement.
- Always match your thread weight to your fabric to avoid that bulky, amateur look; just like balancing flavors in a fusion dish, the right proportions make all the difference.
- Practice your tension before diving into a garment you love; there’s nothing more frustrating than a beautiful silk blouse being ruined by uneven, puckered stitches.
- View mending as a form of mindful investment rather than a chore; every minute you spend repairing a piece is money saved and a step toward a more intentional, less consumerist lifestyle.
Small Stitches, Big Returns: My Three Golden Rules
Treat your wardrobe like a long-term investment; mending a beloved piece isn’t just about saving money, it’s about honoring the items that make you feel most like yourself.
Don’t let the fear of a “messy” stitch stop you from starting; much like pivoting a career, the most important step is simply picking up the needle and finding your rhythm.
View mending as a form of mindfulness—a way to slow down and find joy in the little repairs, whether it’s a loose button or a tiny tear in your favorite vintage linen.
Investing in What Lasts
“Mending a favorite sweater is a lot like managing your finances: it’s about looking past the immediate cost and realizing that with a little intentionality, you can preserve something you love for years to come.”
Rachel Anderson
Investing in What You Love
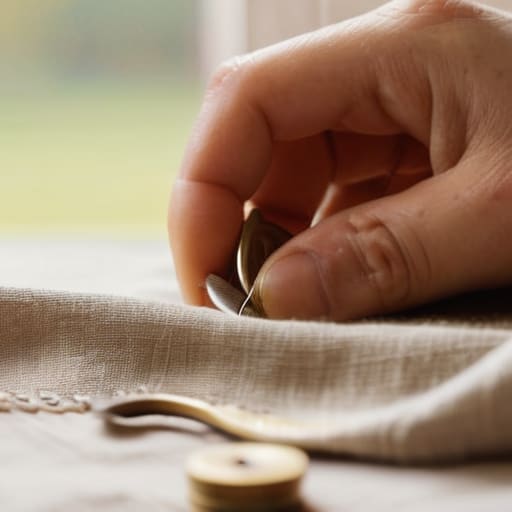
As we wrap up this guide, I hope you feel a little more empowered to pick up that needle and thread instead of reaching for your wallet. We’ve walked through everything from mastering the fundamental stitches to utilizing those subtle, invisible mending techniques that keep your wardrobe looking polished. By learning to repair your own garments, you aren’t just saving a few dollars; you are actively practicing intentional consumption. It’s about moving away from the disposable culture of fast fashion and instead choosing to curate a wardrobe that truly reflects your style and values, one careful stitch at a time.
Ultimately, mending is so much more than a simple DIY project; it’s a beautiful metaphor for how we approach our lives and our finances. Just like transitioning from a spreadsheet-heavy career to the unpredictable kitchen, mending requires patience, a bit of trial and error, and the courage to fix what is broken rather than discarding it. I want to encourage you to view every loose thread or small tear as an opportunity to grow and to reinvest in your passions. Life is far too short to spend it surrounded by things that don’t last, so let’s choose to nurture what we already have and build a life that is as durable as it is delicious.
Frequently Asked Questions
I’m a bit nervous about ruining my expensive silk blouses—are there specific fabrics that are just too delicate to try mending at home?
I totally get the nerves! When you’ve invested in high-end pieces, the fear of a “mending mishap” is real. Generally, ultra-fine silks, delicate lace, or heavily beaded garments are the ones I’d suggest leaving to a professional tailor. They require specialized machines and tension settings that are tough to replicate at home. Think of it like high-stakes financial modeling—sometimes you call in the specialist to ensure the integrity of the asset!
Since I'm trying to be more mindful with my budget, how can I tell if it's actually more cost-effective to fix a garment myself versus just taking it to a professional tailor?
This is the ultimate “ROI” question! From my analyst days, I’d say look at the garment’s value versus the labor. If it’s a $20 cotton tee with a small hole, DIY it—the cost of a tailor would dwarf the shirt’s worth. But for a structured vintage blazer or a high-end silk dress, pay the professional. Investing in expert tailoring preserves the item’s life, making it a smarter long-term play for your wardrobe and your wallet.
I have a few vintage pieces from my cookbook collection's era that have some wear and tear; do you have any tips for mending older, more fragile textiles without causing more damage?
Oh, I know that feeling all too well! When I’m handling my vintage cookbooks, I see so many beautiful, aging bindings that need a gentle touch. For fragile textiles, the golden rule is: less is more. Avoid heavy stitches that can tear the delicate fibers. Instead, try using a fine silk thread and a very small needle. Stabilizing the area with a lightweight piece of silk organza from the back can provide support without adding bulk. Patience is your best friend here!
