I was standing in the middle of my first studio apartment, staring at these heavy, mass-produced polyester drapes that looked like they belonged in a budget motel, and I realized something: I had spent my entire career analyzing spreadsheets, but I had zero control over the soul of my own space. I used to think that achieving a high-end, designer look required a massive budget or a professional decorator on speed dial, but that’s a total myth. The truth is, creating custom diy curtains is actually one of the smartest ways to inject personality into a room without draining your savings account.
In this guide, I’m stripping away the intimidation factor and giving you the real, no-nonsense blueprint for success. We aren’t just talking about sewing a straight line; we’re going to dive into choosing fabrics that feel expensive, calculating your yardage like a pro, and executing the hang so it looks effortlessly chic. Whether you’re a complete novice or just looking to refine your technique, I’ll show you how to master diy curtains so you can invest your money in experiences and delicious food, rather than overpriced home decor.
Table of Contents
- Step-by-Step Instructions
- Finding Magic in Fabric Selection for Window Treatments
- Measuring Windows for Custom Curtains With Confidence
- Pro-Tips for a High-End Look Without the Designer Price Tag
- Making the Most of Your DIY Journey
- Investing in Your Atmosphere
- Bringing Your Vision to Life
- Frequently Asked Questions
Guide Overview
Tools & Supplies
- Fabric scissors for clean edges
- Sewing machine for stitching hems
- Measuring tape for accurate dimensions
- Iron for pressing seams
- Fabric (2-3 yards depending on window size)
- Thread (1 spool matching fabric color)
- Pins (1 box for holding fabric in place)
- Curtain rod (1 set for hanging)
Step-by-Step Instructions
- 1. First things first, let’s talk budget. Before you run to the fabric store, grab a measuring tape and measure your window width and height. I always tell my friends that precision is your best friend here; you want your curtains to be about two to two-and-a-half times the width of the window so they have that beautiful, lush fullness when closed. Once you have your dimensions, head to the fabric aisle and look for something with a nice weight—linen blends are my absolute favorite because they feel high-end but are surprisingly forgiving for beginners.
- 2. Once you’re back in your kitchen (or your designated craft corner), lay your fabric out flat on a clean surface. You’ll need to cut your fabric pieces based on your measurements, but don’t forget to add a “seam allowance.” In my financial days, I used to talk about calculating your margins, and it’s the exact same logic here: add about 4-6 inches to your length for the top and bottom hems, and 1-2 inches for the sides. This ensures you aren’t left with a curtain that’s awkwardly short once you start sewing.
- 3. Now, let’s tackle the hems. Fold the raw edges of your fabric inward—first the sides, then the top and bottom—and pin them in place. I find that using pattern weights or heavy cookbooks from my collection is a great hack if you don’t have enough sewing pins to go around. Smooth everything out to ensure there are no lumps or bumps, as a clean fold is the secret to a professional-looking finish that doesn’t scream “I made this in my living room.
- 4. Time to break out the sewing machine! If you’re a bit nervous, start with a straight stitch along your pinned edges. If you’re using a heavier fabric, you might need to adjust your tension, but don’t sweat it too much. I like to think of sewing like experimenting with a new recipe; it might not be perfect the first time, but you’ll find your rhythm. Just keep a steady pace and make sure you’re sewing through all layers of the fold to keep those hems secure.
- 5. For the top of your curtains, you have a choice to make: do you want a rod pocket or curtain tabs? A rod pocket is much simpler for beginners—you just fold the top edge over twice to create a “tunnel” for the rod to slide through. If you want something a bit more modern and “boutique,” you can sew small loops of fabric onto the top to act as tabs. Personally, I love the effortless, breezy vibe that a simple rod pocket gives to a room.
- 6. Once you’ve finished sewing, give your curtains a good shake and, if you have one, a quick steam with an iron. This is the part where the magic really happens. Steaming out those sewing creases makes the fabric drape naturally, transforming your project from a “craft” into a legitimate piece of home decor. It’s such a small investment of time that yields a massive return on your aesthetic.
- 7. Finally, slide your new creations onto the rod and step back! Take a moment to admire what you’ve built. You’ve just saved a significant amount of money compared to high-end retail prices, and more importantly, you’ve created something that reflects your personal style. It’s all about that balance of creativity and smart spending, and honestly, seeing your vision come to life is the best reward.
Finding Magic in Fabric Selection for Window Treatments
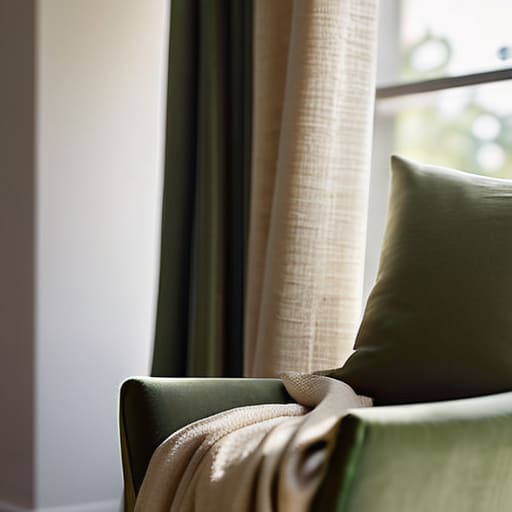
When I first started my transition from spreadsheets to sourdough, I realized that the same principles of “quality over quantity” apply to both a budget and a linen closet. Choosing the right material is where your vision truly comes to life. If you’re aiming for a breezy, coastal vibe, lightweight linens are your best friend; however, if you want to block out the morning sun for a cozy reading nook, you’ll want to look into heavier velvets or blackout weaves. When navigating fabric selection for window treatments, don’t just look at the color—feel the weight and the drape. A fabric that’s too stiff can make even the most expensive-looking room feel a bit clinical.
One pro tip from my “vintage cookbook” brain: think about how the light interacts with the texture. A subtle weave can add incredible depth to your window dressing decor styles without needing extra knick-knacks. If you’re feeling a bit intimidated by the technical side, remember that you don’t need to be a master tailor to get professional results. Using a bit of hem tape for no-sew projects can be a total game-changer, allowing you to focus more on the creative joy of the design rather than the stress of a sewing machine.
Measuring Windows for Custom Curtains With Confidence
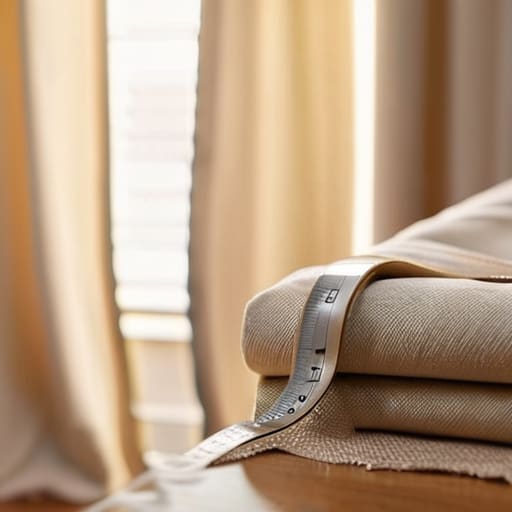
Now, I know what you’re thinking: “Rachel, I can handle a whisk, but a measuring tape? That’s where things get dicey.” Trust me, I get it. Coming from a background in financial analysis, I used to obsess over precision—if a decimal point was off in a spreadsheet, the whole model crumbled. When it comes to measuring windows for custom curtains, you need that same level of detail, but with a bit more grace for yourself. My biggest tip? Always measure your width three times. You want enough fullness so the fabric doesn’t look like a flat sheet stretched across the glass; aim for about two to two-and-a-half times the width of your actual window.
Don’t forget the vertical aspect either! Decide if you want your curtains to skim the floor or hover just above it for a cleaner, more modern look. If you’re feeling a bit intimidated by the math, just remember that precision is your best friend here. It’s much easier to trim a little excess than it is to realize your beautiful new fabric is three inches too short. Once you have those numbers locked in, you’ll move into the next phase with total peace of mind.
Pro-Tips for a High-End Look Without the Designer Price Tag
- Don’t skimp on the weight of your fabric; if you want that expensive, boutique hotel vibe, choose a heavier linen or a structured cotton that drapes beautifully instead of clinging awkwardly to the window.
- Invest in a high-quality iron or a handheld steamer before you start hanging anything, because nothing screams “I made this in my living room” quite like stubborn, messy fold lines.
- Think like an economist and look for high-quality remnants or end-of-bolt fabrics at local shops; you can often snag luxury materials for a fraction of the retail price, which is a huge win for your project budget.
- Always go wider and taller than you think you need to; hanging your rod a few inches above the window frame and using extra-wide panels creates the illusion of much larger, more grand windows.
- Double-check your hem allowance before you make that first cut, because in the world of DIY, you can always add more fabric, but you can’t magically conjure it back once it’s on the floor!
Making the Most of Your DIY Journey
Don’t let the fear of a “wrong” measurement stop you; precision is key, but remember that a little bit of extra fabric is a much safer investment than being a few inches short.
Think of your fabric choice as a long-term asset—invest in quality textiles that reflect your personal style and can withstand the test of time, much like a well-balanced portfolio.
Embrace the process as much as the result, because the real reward isn’t just having beautiful windows, it’s the confidence you gain from building something beautiful with your own two hands.
Investing in Your Atmosphere
“I used to think of home decor as just another line item in a budget, but making your own curtains taught me something deeper: when you invest your own time and creativity into your space, you aren’t just decorating a room—you’re building a sanctuary that actually feels like you.”
Rachel Anderson
Bringing Your Vision to Life
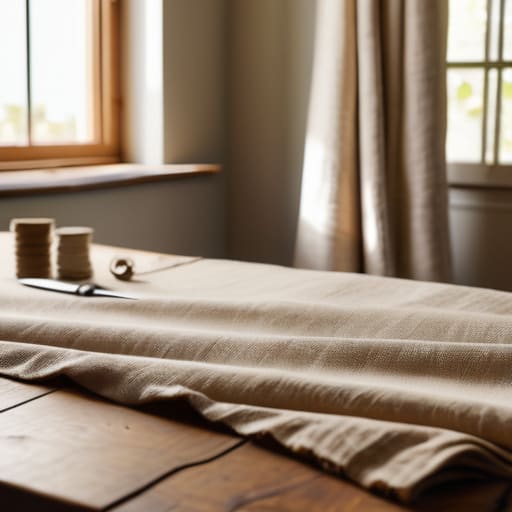
At the end of the day, creating your own window treatments is about more than just covering a pane of glass; it’s about the intentionality you bring to your space. We’ve walked through the essential steps, from the art of selecting the perfect fabric that speaks to your style, to the precision of measuring your windows so everything hangs just right. By taking the time to DIY, you aren’t just saving a significant amount of money—which, as someone with an economics background, I can tell you is a huge win for your long-term budget—but you are also ensuring that your home reflects your unique personality rather than a mass-produced catalog.
Transitioning from my spreadsheets at a firm to the tactile, sometimes messy world of culinary entrepreneurship taught me one vital lesson: the most rewarding things in life often require a bit of trial and error. Whether you are perfecting a complex fusion recipe or sewing your very first set of curtains, don’t let the fear of a crooked seam stop you. Embrace the process and remember that investing in your own creativity is the best way to build a life that feels truly rich. Now, go grab those shears and start creating the sanctuary you deserve!
Frequently Asked Questions
How do I choose between using a curtain rod versus a track system without breaking my budget?
Think of it like choosing between a reliable index fund and a high-growth startup. If you want an immediate, stylish upgrade that’s easy on the wallet, go with a curtain rod—they’re affordable and easy to swap out later. But, if you’re eyeing that sleek, high-end hotel look, a track system is a better long-term investment for a seamless aesthetic. My advice? Stick to rods for most rooms to keep your budget flexible for more fabric!
If I'm working with a smaller space, will heavy fabrics make my room feel too cramped?
That is such a great question, and honestly, it’s one I thought about constantly when I was redesigning my own studio apartment! Short answer: yes, heavy fabrics can definitely “eat” a small room. Think of it like an overstuffed budget—if you allocate too much to one area, everything else feels squeezed. To keep things airy, I’d opt for linens or light cottons. They let the light dance through, making your space feel expansive rather than closed-in.
What are some clever ways to finish the edges of my fabric if I don't own a professional sewing machine?
Don’t let a lack of heavy machinery stall your creativity! If you’re skipping the sewing machine, try a “hem tape” adhesive—it’s a total lifesaver for a clean, fused edge without any stitching. If you want a more artisanal, boho vibe, don’t be afraid to leave the edges raw and use a pinking shears tool to prevent fraying. It adds such a lovely, intentional texture that feels more “boutique” and less “DIY project.”