I was standing in my tiny kitchen last Tuesday, staring at a stack of vintage cookbooks that had absolutely nowhere to live, when it hit me: I didn’t need a massive renovation budget to fix this; I just needed a little bit of grit and some wood. Most people think that floating shelves diy projects require a master carpenter’s degree or a massive bank account, but honestly? That’s a total myth. When I first transitioned from my analyst role to opening my own culinary space, I learned that the most beautiful, high-end looks often come from resourceful handiwork rather than a pricey contractor.
In this guide, I’m stripping away the intimidation factor and giving you the real, no-nonsense blueprint for success. We aren’t going to talk about theoretical design principles; instead, I’m walking you through the exact tools, mounting hacks, and cost-saving tips I use to create professional-looking displays. Whether you want to showcase your spice collection or finally give those heirloom recipes a home, this is your practical roadmap to mastering floating shelves without the stress or the massive price tag.
Table of Contents
- Step-by-Step Instructions
- Mastering Custom Wood Shelf Design for a Soulful Home
- Essential Woodworking Tools for Shelving and Hidden Shelf Brackets
- Pro-Tips for Shelves That Look Expensive (But Aren't!)
- Bringing It All Together: My Final Thoughts on Your Shelving Journey
- The ROI of a Personal Touch
- Bringing Your Vision to Life
- Frequently Asked Questions
Guide Overview
Tools & Supplies
- Drill and bits for pilot holes and wall mounting
- Level to ensure shelves are perfectly straight
- Saw for cutting wood to desired length
- Measuring tape for precise layout
- Wood planks (2-3 pieces depending on size)
- Floating shelf brackets or hidden metal supports
- Wood glue for assembly
- Screws and wall anchors appropriate for wall type
- Sandpaper for smoothing edges
- Wood stain or paint for finishing
Step-by-Step Instructions
- 1. First things first, you’ll need to gather your supplies. Think of this like prepping your mise en place before a big dinner service—you don’t want to be hunting for a screwdriver halfway through! You’ll need some sturdy wood (I personally love a thick piece of reclaimed oak), heavy-duty floating shelf brackets, a level, a drill, some wall anchors, and a stud finder. Investing in high-quality hardware is the secret to ensuring your beautiful shelves don’t end up on the floor along with your favorite ceramic bowls.
- 2. Now, let’s find those studs. This is the most critical part of the process, much like performing a thorough market analysis before making a big investment. Use your stud finder to locate the wooden beams behind your drywall. If you can’t align your shelf with the studs, make sure you have heavy-duty drywall anchors ready to go. You want a foundation that is rock-solid so you can display your heavy cookbooks without a second thought.
- 3. Once you’ve mapped out your location, it’s time to mark your spots. Hold your bracket up to the wall and use your level to make sure it’s perfectly straight—nothing ruins the aesthetic of a cozy kitchen like a crooked shelf! Use a pencil to mark exactly where the screws will go. I always find it helpful to double-check my measurements twice before I even touch the drill, just to avoid any costly mistakes.
- 4. Time to get a little dusty! Drill your pilot holes into the marks you just made. If you’re mounting directly into a stud, you can go straight in, but if you’re using anchors, follow the specific instructions on the packaging for the right drill bit size. Think of this as the structural groundwork of your project; it might not be the most glamorous part, but it’s what keeps everything standing tall.
- 5. Secure your brackets to the wall. Drive your screws through the brackets and into the studs (or anchors) until they are tight and flush against the wall. Give the bracket a little tug to make sure it feels absolutely secure. If it wiggles even a tiny bit, it’s not ready for the weight of your culinary treasures just yet.
- 6. The moment of truth: sliding the wood onto the brackets. Carefully slide your wooden planks over the bracket arms. If you’re using a hollow-back shelf design, you’ll just slide it on; if you’re using a more custom approach, you might need to screw the wood into the bracket from underneath. I like to use a tiny bit of wood glue or small finishing nails to keep everything perfectly in place so the shelf feels like a seamless part of the wall.
- 7. Finally, let’s style! This is my favorite part because it’s where your personality truly shines. Arrange your vintage cookbooks, a few trailing plants, and perhaps a beautiful ceramic pitcher. Remember, you don’t have to overstuff them—leaving a little “white space” makes the display look intentional and sophisticated rather than cluttered. Now, grab a cup of tea and admire your handiwork!
Mastering Custom Wood Shelf Design for a Soulful Home
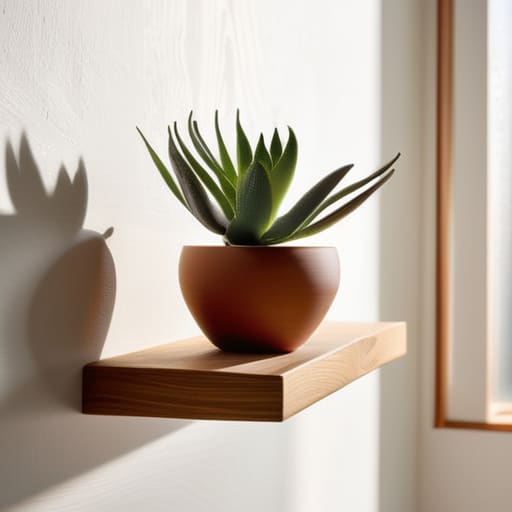
When I first transitioned from analyzing spreadsheets to working with timber, I quickly learned that the magic is in the details. A custom wood shelf design isn’t just about picking a pretty stain; it’s about choosing a grain pattern that tells a story. If you’re aiming for that minimalist, high-end look, I highly recommend investing in quality hidden shelf brackets. They allow the wood to appear as if it’s magically hovering against the wall, which is one of my favorite modern wall decor ideas for keeping a space feeling light and airy rather than cluttered.
However, as someone who still thinks like an economist, I have to remind you: aesthetics must meet utility. Before you go heavy on the decor, always consider your shelf weight capacity tips. There is nothing more heartbreaking than a beautiful piece of reclaimed oak bowing under the weight of your favorite vintage cookbooks! Make sure you are mounting floating shelves to studs rather than just relying on drywall anchors. It’s that little bit of extra structural planning that ensures your passion project remains a stable part of your home for years to come.
Essential Woodworking Tools for Shelving and Hidden Shelf Brackets
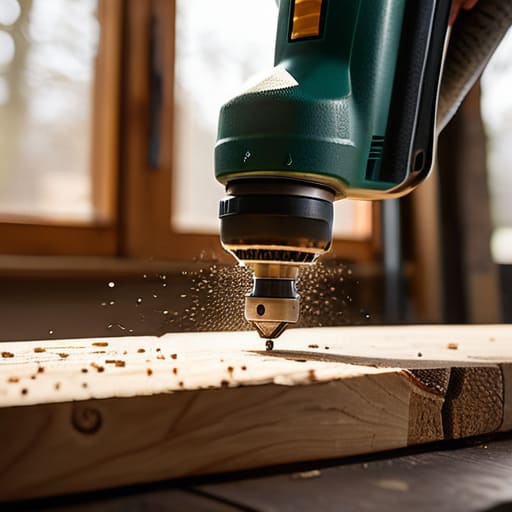
Before we dive into the sawdust, let’s talk about the gear. When I first started transitioning from spreadsheets to sawdust, I definitely made the mistake of thinking a basic screwdriver would cut it. To get that professional, seamless look, you’ll want to invest in some reliable woodworking tools for shelving, specifically a drill with a depth stop and a high-quality level. There is nothing more heartbreaking than realizing your beautiful piece of reclaimed oak is sitting at a slight tilt! If you’re aiming for that ultra-clean, minimalist aesthetic, you’ll definitely need a router to hollow out the back of your boards to accommodate those hidden shelf brackets.
Once you have your tools ready, the real secret to success lies in the prep work. I always tell my friends that the most important step isn’t actually the sawing—it’s the math. You absolutely must ensure you are mounting floating shelves to studs to avoid any mid-dinner disasters. Even with the sturdiest wood, your shelf’s stability depends entirely on that connection to the wall. Taking that extra ten minutes to locate your studs with a sensor will save you so much stress (and potentially a lot of expensive kitchenware!) down the road.
Pro-Tips for Shelves That Look Expensive (But Aren't!)
- Don’t skimp on the anchors! Since I spent years looking at spreadsheets, I’ve learned that stability is everything—if you’re mounting these into drywall, please use heavy-duty toggle bolts rather than those flimsy plastic plugs, or your beautiful collection of vintage cookbooks is going to take a dive.
- Play with texture to avoid that “big box store” look. Instead of buying pre-finished lumber, try picking up a raw piece of reclaimed wood or a beautiful slab of walnut; it adds so much soul to a kitchen and makes the whole DIY project feel like a high-end design choice.
- Level it like your life depends on it. It sounds tedious, but a shelf that’s even a tiny bit tilted is going to drive your perfectionist brain crazy, so use a high-quality spirit level every single time you mark your drill holes.
- Curate your styling with a “foodie” eye. I love mixing functional items like my favorite ceramic bowls with decorative pieces, but remember to leave some “white space” so the shelves feel airy and intentional rather than cluttered.
- Budget for the “oops” moments. When I transitioned from finance to food, I learned that unexpected costs are part of the adventure; always set aside an extra 15% of your budget for things like extra sandpaper, high-quality wood stain, or that one specific screw you inevitably misplace.
Bringing It All Together: My Final Thoughts on Your Shelving Journey
Don’t let the fear of a “wrong” measurement stop you; remember that DIY is about the process and the personal touch, not achieving factory-level perfection.
Treat your shelving project like a smart investment—by choosing quality wood and sturdy brackets now, you’re creating functional art that adds long-term value to your home.
Use your new shelves as a canvas to tell your story, whether that’s displaying your vintage cookbook collection or showcasing the beautiful tools of your favorite hobby.
The ROI of a Personal Touch
“Building your own floating shelves is more than just a weekend DIY project; it’s a way to invest in the soul of your home, proving that when you balance a little bit of grit with a lot of creativity, you can create a space that feels as rich and layered as a perfectly composed recipe.”
Rachel Anderson
Bringing Your Vision to Life
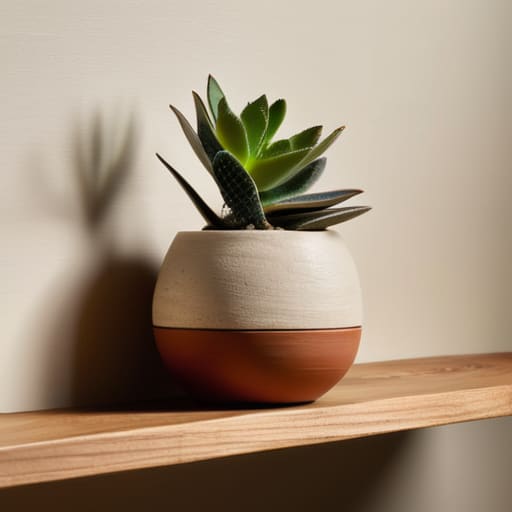
We’ve covered a lot of ground today, from selecting the perfect wood grain that speaks to your soul to mastering those tricky hidden brackets that give that seamless, high-end look. Whether you decided to go with a rustic reclaimed timber or a sleek, modern finish, remember that the magic lies in the details you choose. By investing a little bit of your own time and effort into these DIY floating shelves, you aren’t just organizing your kitchen or living room; you are creating a custom sanctuary that reflects your unique personality. It’s about more than just storage—it’s about building something tangible that adds both value and beauty to your home.
As I look back on my own journey of transitioning from spreadsheets to spice racks, I’ve learned that the most rewarding projects are often the ones where we step slightly outside our comfort zones. Building these shelves might feel a bit daunting at first, but I promise that the sense of accomplishment is worth every sawdust-covered moment. Don’t let the fear of a crooked line stop you from starting; instead, embrace the process of making something beautiful with your own hands. Life is far too short to live in a space that doesn’t inspire you, so grab your tools and let’s make your dream home a reality!
Frequently Asked Questions
How much weight can these DIY floating shelves actually hold before they start to sag or pull away from the wall?
This is the million-dollar question—literally! From my analyst days, I know we all want to know the “load capacity” before we commit. Honestly, it depends on your mounting strategy. If you’re using heavy-duty hidden brackets anchored directly into your wall studs, you can easily support 30–50 lbs per shelf. But if you’re just hitting drywall? Please, don’t risk it with heavy cookbooks! Stick to lighter decor to keep your investment (and your walls) intact.
I'm on a tight budget—can I repurpose old wood or reclaimed materials, or do I need to buy brand-new lumber for a professional look?
Oh, I love this question! Coming from a finance background, I’m all about maximizing ROI, and nothing beats the “return” on reclaimed wood. You absolutely do not need brand-new lumber to achieve a high-end look. In fact, using old pallet wood or salvaged timber adds a soulful, storied character that new boards just can’t mimic. Just sand them down well and maybe add a matte sealant—it’ll look intentional, professional, and incredibly chic!
What’s the best way to ensure my shelves are perfectly level without spending a fortune on high-end professional tools?
Honestly, I used to think you needed a professional contractor’s toolkit to get things right, but you definitely don’t! My best hack? Grab a decent spirit level from a local hardware store—it’s a tiny investment that pays off instantly. For that extra precision, use a laser level if you can borrow one from a friend. It takes the guesswork out of it, ensuring your beautiful new shelves don’t end up looking like a tilted leaning tower!
