I was staring at a stack of my most prized vintage cookbooks—the ones with the worn linen covers and the scent of decades-old kitchens—when I realized they were currently living in a cardboard box on my floor. It was a total mess, and honestly, it felt like a metaphor for my old life in finance: everything was organized on paper, but there was zero soul in the presentation. I knew I needed a real home for my collection, but I also knew I didn’t want to drop a small fortune on a pre-made piece from a big-box retailer. That’s when I decided to stop overthinking the logistics and finally learn how to build a bookshelf that actually felt like me.
In this guide, I’m stripping away the intimidating jargon and the “expert” fluff to give you a blueprint that actually works for real people with busy lives. We aren’t just talking about sawdust and measurements; I’m going to show you how to approach this project with a strategic mindset so you don’t waste money on the wrong materials. You’ll get my no-nonsense, step-by-step breakdown on how to create a sturdy, beautiful piece of furniture that perfectly fits your space and your budget.
Table of Contents
- Step-by-Step Instructions
- Choosing Your Style Wall Mounted vs Freestanding Shelves
- Mastering Custom Shelving Unit Plans for Your Space
- The Secret Sauce: 5 Pro-Tips for a Bookshelf That Holds Up (and Looks Stunning)
- Final Thoughts: Building Your Foundation
- The Architecture of a Life Well-Lived
- From Blueprints to Bookshelves: The Final Flourish
- Frequently Asked Questions
Guide Overview
Tools & Supplies
- Circular saw or hand saw for cutting wood to size
- Power drill for driving screws and pre-drilling holes
- Measuring tape for accurate layout
- Sandpaper for smoothing surfaces
- 1×4 or 1×6 lumber (approx. 4-5 boards)
- Wood screws (1.5-inch or 2-inch)
- Wood glue for joint stability
- Sandpaper (various grits)
Step-by-Step Instructions
- 1. First things first, we need to gather our “ingredients.” Just like I wouldn’t dream of starting a complex risotto without having my shallots minced and my stock simmering, you shouldn’t start a build without a solid inventory. You’ll need your wood (I personally love a sturdy oak or a reclaimed pine for that vintage feel), a saw, a drill, wood glue, sandpaper, and some sturdy screws. Double-check your measurements before you head to the hardware store; there is nothing more heartbreaking than realizing you’re short on lumber halfway through a project.
- 2. Once you have your materials, it’s time to measure and cut. This is where the precision of my old financial analyst brain kicks in—if your numbers are off by even a fraction, the whole structure can feel unstable. Lay out your side panels, the top, the bottom, and your individual shelves. When you’re cutting, remember to account for the thickness of the wood itself, or your shelves might end up being a little too snug to actually fit.
- 3. Now, let’s prep the surfaces. Before we start joining anything together, grab some sandpaper and give every piece a good once-over. You want to smooth out any rough edges or splinters that might snag your hands (or your precious book covers!). Think of this as the mise en place of woodworking; it’s the quiet, essential work that ensures the final result is polished and professional.
- 4. It’s time to assemble the outer frame. Apply a thin, even bead of wood glue along the edges where the pieces will meet—this is the secret to a shelf that lasts a lifetime rather than one that wobbles after a week. Use your drill to pre-drill small pilot holes; this is a crucial step to prevent the wood from splitting when you drive your screws in. Once the screws are in, you should have a sturdy rectangular skeleton of your bookshelf.
- 5. Next, we’ll add the internal shelves. Depending on how much you want to customize your display, you can either screw these directly into the sides for permanent placement or use small shelf pegs if you want more flexibility later on. I love using pegs because it allows me to reconfigure my library as my collection of vintage cookbooks grows and changes. Just make sure your shelves are level, or your books will slowly slide toward one side like a slow-motion kitchen spill.
- 6. For the final touch, we need to add a back panel. While it might seem optional, a thin sheet of plywood tacked onto the back does wonders for the structural integrity of the unit, preventing it from “racking” or leaning to the side. Once the back is secure, you can move on to staining or painting. I tend to go for a warm, natural finish that makes my space feel cozy and intentional, but the choice is entirely yours.
- 7. Finally, once the finish is completely dry, it’s time to move your creation into its permanent home. Give it a good wipe-down to remove any dust from the building process, and then—the best part—start loading it up. As you place your favorite reads on the shelves, take a second to appreciate what you’ve built. It’s not just a piece of furniture; it’s a sanctuary for your stories and a testament to your ability to create something beautiful from scratch.
Choosing Your Style Wall Mounted vs Freestanding Shelves
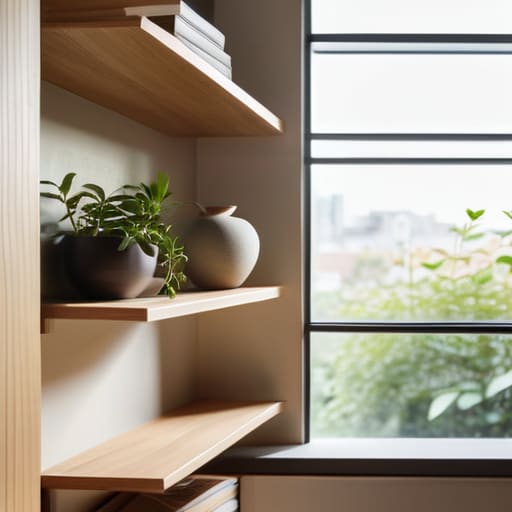
Now, before you start grabbing your tools, we need to have a little heart-to-heart about the “vibe” of your space. Deciding between wall mounted vs freestanding shelves is a lot like choosing between a structured corporate budget and the fluid, creative chaos of a pop-up kitchen—both have their place, but they serve very different purposes. If you’re working with a tiny studio apartment where every square inch feels like a premium ingredient, wall-mounted options are your best friend. They draw the eye upward, creating a sense of airy lightness that keeps your room from feeling cluttered.
On the other hand, if you want a centerpiece that feels grounded and substantial, go with a freestanding unit. These are fantastic if you’re looking to create a dedicated nook for your collection of vintage cookbooks or heavy art volumes. Just keep in mind that with a freestanding build, you’ll want to pay extra attention to shelf stability and support to ensure your beautiful new creation doesn’t wobble. Whether you’re aiming for a sleek, minimalist look or something more robust and traditional, choosing the right structure is the foundation of a project you’ll truly love.
Mastering Custom Shelving Unit Plans for Your Space
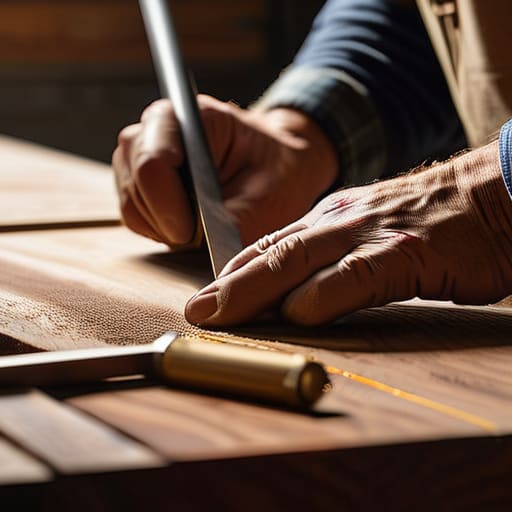
Now, if you’re feeling a bit adventurous, I want to talk about moving beyond the basics and diving into custom shelving unit plans. Think of this like transitioning from following a basic recipe to creating your own signature fusion dish; it requires a bit more intuition, but the payoff is so much more rewarding. When you’re designing for a specific nook in your home, you aren’t just building a storage unit; you’re tailoring a piece of furniture to fit the unique rhythm of your life. Just like I had to recalibrate my entire life when I left my analyst role in SF, you might find that your initial plan needs a little tweaking once you actually start measuring and cutting wood.
Don’t let the technical side intimidate you, though! You don’t need a professional workshop to get started. If you invest in a few essential woodworking tools for beginners, such as a reliable drill and a level, you’ll find that the process becomes much more manageable. My biggest tip? Always account for the weight of what you’ll be storing. Whether it’s heavy hardcover cookbooks or delicate ceramics, ensuring proper shelf stability and support is the difference between a beautiful centerpiece and a structural headache.
The Secret Sauce: 5 Pro-Tips for a Bookshelf That Holds Up (and Looks Stunning)
- Measure twice, cut once—seriously. Just like when I’m scaling a recipe for a dinner party, a tiny error in your measurements can lead to a total disaster. Grab that tape measure and double-check your dimensions before you even touch the saw.
- Don’t skimp on the quality of your wood. In my finance days, I learned that cutting corners on the foundation always costs more in the long run. Investing in a solid piece of oak or even a high-quality plywood will ensure your shelves don’t sag under the weight of your heavy hardcovers.
- Think about the “load-bearing” capacity of your design. A bookshelf isn’t just decor; it’s structural. If you’re planning to house a massive collection of vintage cookbooks (my personal weakness!), make sure your shelf spacing and support brackets are beefy enough to handle the heft.
- Sanding is your best friend for a professional finish. It’s a bit like the prep work in a kitchen—it might seem tedious, but it’s the difference between a rough, amateur look and something that feels smooth and high-end. Go through multiple grits to get that buttery texture.
- Plan for your aesthetic “plating.” Once the build is done, think about how you’ll arrange your treasures. Mix your books with small plants or even a few kitchen trinkets to create a visual balance that feels curated rather than cluttered.
Final Thoughts: Building Your Foundation
Treat your project like a recipe—measure twice, prep your workspace, and don’t rush the process, because a little patience in the planning stage prevents a lot of wasted “ingredients” later.
Balance your aesthetic desires with your actual budget; just like choosing between a high-end restaurant or a cozy bistro, you can create something stunning without breaking your financial stability.
Don’t aim for perfection on your first try; whether it’s a bookshelf or a new career path, the most important thing is that you’ve built something that reflects your personal style and holds what you love.
The Architecture of a Life Well-Lived
Building a bookshelf is a lot like perfecting a complex reduction sauce; it requires patience, the right tools, and a bit of foresight, but the end result is a beautiful structure that holds all the flavors—and stories—of your life.
Rachel Anderson
From Blueprints to Bookshelves: The Final Flourish
We’ve covered a lot of ground, from the initial decision between a sleek wall-mounted design and a classic freestanding unit to the intricate details of mastering your own custom plans. Building a bookshelf is a lot like perfecting a complex fusion recipe; it requires patience, the right tools, and a bit of a strategic mindset to ensure everything balances out perfectly. Whether you chose wood that matches your existing decor or opted for something more industrial, the most important part is that you’ve moved from a mere idea to a tangible, structural reality. Remember, the goal isn’t just to have a place to store things, but to create a piece that is functional and beautiful within your unique home environment.
As you stand back and look at your finished project, I hope you feel that same rush of satisfaction I get when a new business venture finally clicks or when a long-simmering sauce reaches its peak flavor. Transitioning from the planning phase to the execution phase can be intimidating, but it is truly where the magic happens. Don’t be afraid to make mistakes or pivot your design along the way—that’s just part of the creative process. Life is far too short to leave your dreams, or your books, sitting in a pile on the floor. So, go ahead, grab your tools, and start building a life—and a home—that truly feeds your soul.
Frequently Asked Questions
How can I make sure my bookshelf is sturdy enough to hold heavy cookbooks without the shelves bowing over time?
Trust me, I’ve learned this the hard way! When I moved my vintage cookbook collection from my apartment to my studio, I watched my first set of shelves sag under the weight of those heavy hardcovers. To prevent that “smile” effect, invest in thicker wood—at least 3/4 inch—and use more frequent supports. If you’re going wide, add a center vertical divider. It’s all about structural integrity, just like a solid financial plan!
What are some budget-friendly ways to give a DIY shelf a high-end, custom look without breaking the bank?
Think of this like elevating a simple pasta dish with one high-quality ingredient—it’s all about the finishing touches. To get that designer look on a budget, skip the cheap hardware and invest in heavy, brass-toned handles or knobs. Also, don’t underestimate the power of a fresh coat of paint in a sophisticated matte finish. It hides imperfections and makes even basic wood look like a custom piece from a high-end boutique!
If I'm working with a small apartment space, how do I balance aesthetic style with practical storage needs?
Living in a small apartment is a lot like managing a tight budget—you have to make every single cent (or square inch!) work harder. I always lean toward verticality; think tall, slender freestanding shelves that draw the eye upward rather than outward. To keep it from feeling cluttered, use “zoning.” Dedicate some shelves to your beautiful vintage cookbooks for style, and tuck the practical storage into stylish, uniform baskets on the lower levels. Balance is everything!