I was standing in my backyard last summer, staring at a tangled, heartbreaking mess of heirloom tomato vines sprawling across the dirt like they had given up on life entirely. It was a total disaster, and honestly, it felt like a metaphor for my old life in finance—everything was technically “there,” but it lacked any real structure or direction. I realized then that if I wanted my garden to thrive, I couldn’t just keep buying those flimsy, plastic supports from the big-box stores that snap the moment a heavy rain hits. Learning how to build a garden trellis that actually holds its own weight was the missing piece of the puzzle for my little urban oasis.
In this guide, I’m skipping the over-complicated architectural blueprints and getting straight to the practical, budget-friendly DIY solutions that actually work. I’ll walk you through selecting the right materials, ensuring your structure is sturdy enough for heavy harvests, and designing something that looks as good as it functions. Whether you’re looking to grow climbing beans or fragrant jasmine, you’ll learn how to build a garden trellis that supports your passion and your plate without breaking the bank.
Table of Contents
- Step-by-Step Instructions
- Choosing Wooden Trellis Design Ideas for Your Sanctuary
- Essential Garden Trellis Materials List for Lasting Beauty
- Pro-Tips for a Trellis That Stands the Test of Time (and Taste!)
- Final Thoughts: Planting the Seeds for Success
- Building More Than Just a Support System
- From Blueprint to Bloom
- Frequently Asked Questions
Guide Overview
Tools & Supplies
- Measuring tape for precise wood cuts
- Handsaw or miter saw for cutting lumber
- Drill with bits for creating pilot holes
- Screwdriver or drill driver for fastening
- Untreated cedar or pine wood (approx. 4-5 pieces)
- Exterior grade wood screws (1 box)
- Wood glue (optional for stability)
- Sandpaper (medium grit for smoothing edges)
Step-by-Step Instructions
- 1. First things first, you’ll need to gather your supplies. Think of this like prepping your mise en place before a big dinner service—having everything ready makes the process so much smoother. You’ll want some sturdy wooden stakes or cedar posts (cedar is great for longevity since it resists rot), some heavy-duty garden twine or wire, a drill, and some screws. If you’re feeling extra fancy, you can even pick up some decorative lattice panels from your local hardware store.
- 2. Once you have your materials, it’s time to map out your layout. I always find that a little bit of strategic planning saves a lot of headache later on. Decide exactly where your climbing plants—maybe some fragrant jasmine or those delicious heirloom cucumbers—will live. Use a stake to mark the spots where your main support posts will go, ensuring they are spaced evenly so your trellis has a solid foundation to stand on.
- 3. Now, let’s get those posts in the ground. This is the heavy lifting part of the job, much like the initial capital investment when you’re starting a new business venture. Dig holes about 12 to 18 inches deep at your marked spots. Place your posts in the holes and backfill them with soil, tamping it down firmly as you go. You want to make sure they are perfectly upright and won’t budge when the wind picks up or your plants start getting heavy.
- 4. With your vertical supports secure, it’s time to create the “webbing” that your plants will actually cling to. You can do this by stretching twine or wire horizontally between your posts. I personally love using a bit of a crisscross pattern with garden twine; it looks beautiful and gives the vines plenty of tiny little footholds to grab onto as they climb toward the sun.
- 5. If you’re using a pre-made lattice or a wooden grid, this is the stage where you marry the two components. Secure your lattice to the vertical posts using screws or heavy-duty zip ties. Just be careful not to over-tighten; you want the structure to be sturdy but flexible enough to handle the weight of a mature, fruit-bearing plant without snapping.
- 6. Finally, it’s time for the most rewarding part: introducing your plants to their new home! Gently guide your young vines or tendrils toward the twine or lattice. If they seem a bit stubborn, you can use a small piece of soft garden tie to help them along for the first few weeks. Seeing that first little green shoot wrap itself around your handiwork is honestly one of the best feelings in the world.
Choosing Wooden Trellis Design Ideas for Your Sanctuary
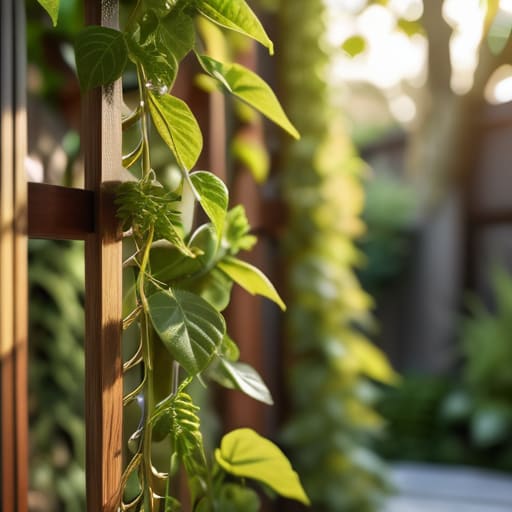
When you’re standing in your backyard, staring at a blank space, it’s easy to feel overwhelmed by the possibilities. I like to think of it like designing a new menu: you have the raw ingredients, but the magic happens in the presentation. When exploring wooden trellis design ideas, I always suggest thinking about the “vibe” of your sanctuary. Are you going for something rustic and cottage-core with uneven, reclaimed slats, or something more architectural and modern that mirrors the clean lines of a high-end bistro? If you’re working with a smaller footprint, leaning into vertical gardening techniques can transform a tiny patio into a lush, living wall that feels incredibly private and intentional.
Don’t forget that your trellis isn’t just a decoration; it’s a functional home for your plants. If you’re planning on growing heavy hitters like wisteria or even some climbing beans for your summer salads, you’ll need to prioritize weatherproof trellis construction. I’ve learned the hard way that choosing the right wood—like cedar or redwood—is much more cost-effective in the long run than replacing a weathered, rotting structure every two seasons. It’s all about that balance of aesthetic beauty and long-term stability.
Essential Garden Trellis Materials List for Lasting Beauty
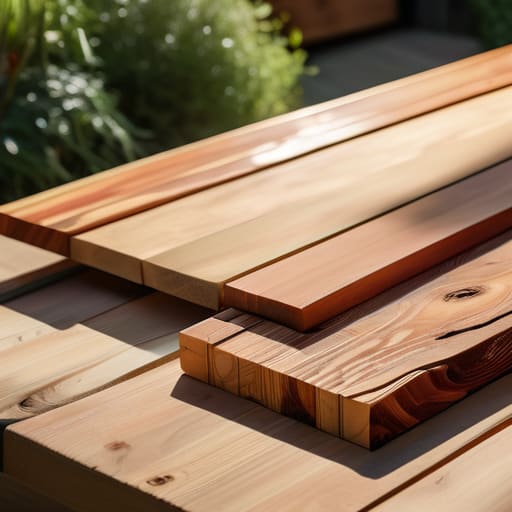
Before you dive into the actual assembly, let’s talk about the foundation of your project. When I was still crunching numbers in finance, I learned that the quality of your inputs dictates the strength of your final output—and gardening is no different! To ensure your garden trellis materials list is actually useful, you need to prioritize durability. I always recommend opting for cedar or redwood; they are naturally resistant to rot and insects, which makes them perfect for weatherproof trellis construction without needing a heavy coat of chemical stains.
If you’re working on a tighter budget, you can certainly use pressure-treated lumber, but keep an eye on the hardware. I’ve learned the hard way that cheap screws will rust and snap within a single season, leaving your beautiful vines in a heap on the ground. Invest in high-quality, stainless steel or galvanized screws to ensure your climbing plant support structures stay upright through heavy rains and summer winds. Think of it as a small upfront investment for long-term stability—much like building an emergency fund before launching a new business!
Pro-Tips for a Trellis That Stands the Test of Time (and Taste!)
- Think about your future harvest before you drive that first stake into the ground. If you’re planning on growing heavy-duty climbers like heirloom tomatoes or even some sturdy passionfruit, you’ll need a much more robust structure than if you’re just hosting delicate sweet peas. I learned this the hard way during my first summer in the garden!
- Don’t skimp on the weatherproofing. Since I spent years analyzing risk in the finance world, I can tell you that “preventative maintenance” is always cheaper than a total rebuild. Using cedar or treating your wood with a food-safe sealant ensures your trellis won’t rot away just when your vines are reaching their peak.
- Give your climbers some “breathing room” by spacing your trellis a few inches away from walls or fences. This airflow is crucial for preventing mildew and keeping your plants healthy, which ultimately means more delicious produce for your kitchen experiments.
- Stability is everything. I always recommend using a bit of extra bracing or even securing your main posts to a sturdy garden bed. There’s nothing more heartbreaking than a sudden summer storm knocking over your hard work and tangling up all those beautiful green vines.
- Plan for verticality with an eye on the sun. As I often tell my friends, you want to position your trellis where it will catch the most light without casting too much shade on your smaller, low-growing herbs. It’s all about that perfect balance of light and shadow to keep your little sanctuary thriving.
Final Thoughts: Planting the Seeds for Success
Don’t be afraid to invest a little extra in high-quality materials upfront; much like building a solid financial foundation, choosing durable wood and sturdy hardware now saves you from the “maintenance costs” of repairs later.
Let your creativity be your guide when choosing a design, because a trellis isn’t just a support structure—it’s a piece of living art that reflects your personal style and turns your garden into a true sanctuary.
Remember that the most rewarding projects are the ones that grow over time, so start with a design that feels manageable today, and give yourself the grace to learn and adapt as your garden (and your confidence!) flourishes.
Building More Than Just a Support System
“Building a trellis is about so much more than just providing a structure for your climbing vines; it’s about creating a framework for growth, much like how we build the foundations in our own careers—with intention, patience, and the belief that something beautiful is destined to rise.”
Rachel Anderson
From Blueprint to Bloom
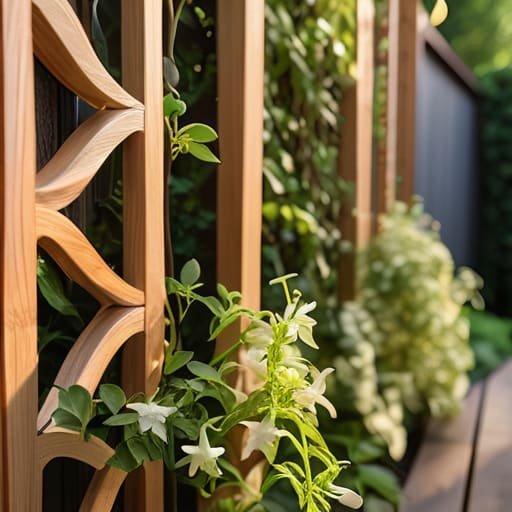
As we wrap up this little DIY project, I hope you feel more confident about bringing your garden vision to life. We’ve covered everything from selecting the right durable materials like cedar or treated lumber to picking a design that actually complements your sanctuary’s aesthetic. Remember, whether you’re building a simple lattice for your climbing jasmine or a heavy-duty structure for those massive heirloom tomatoes, the secret lies in the prep work. Taking that extra moment to ensure your foundation is sturdy means you won’t be out there fixing broken slats mid-season. It’s all about building a solid foundation—both for your trellis and for the beautiful, edible landscape you’re cultivating.
At the end of the day, building this trellis is about so much more than just supporting some vines; it’s about the intentionality we pour into our spaces. Just like when I transitioned from the high-stakes world of financial analysis to the unpredictable life of a chef, I learned that the most rewarding things often require a bit of grit and planning upfront. Don’t be afraid to get your hands dirty and embrace the learning curve. Whether you’re growing fragrant herbs for your kitchen or lush greenery for your soul, you are creating something that will grow alongside you. Happy building, and I can’t wait to see what blooms in your garden!
Frequently Asked Questions
How can I make sure my trellis is strong enough to support heavy climbing plants like heirloom tomatoes or squash?
When you’re dealing with heavy hitters like heirloom tomatoes or sprawling squash, you can’t just go with the lightweight stuff. Think of it like diversifying a portfolio—you need a solid foundation! I always recommend using thicker, pressure-treated lumber for the main posts and securing them deep into the ground with stakes. Adding extra cross-bracing or even a bit of heavy-duty wire mesh ensures your trellis won’t buckle under the weight of a bountiful harvest.
What are the best ways to protect my wooden trellis from rotting or warping if I live in a particularly rainy climate?
Living in a rainy climate can be a real test for your garden sanctuary! Since I’ve learned that longevity is all about the right investment, I highly recommend treating your wood with a high-quality, water-repellent sealant or a non-toxic exterior stain right after building. It’s like a protective hedge fund for your trellis! Also, ensuring good airflow and slightly elevating the base off the damp soil can prevent that dreaded rot from setting in.
Is it better to secure my trellis directly into the ground, or should I look into more portable options that I can move around my garden?
That’s such a great question, and it really comes down to how you view your garden’s “ROI.” If you’re planning a permanent culinary oasis with heavy climbers like heirloom tomatoes or squash, securing it directly into the ground offers that rock-solid stability you need. But, if you love experimenting with seasonal layouts—sort of like testing new fusion recipes—portable options give you the freedom to pivot without a massive permanent investment!
