I was standing in the middle of my first tiny studio apartment, staring at a massive, blank white wall that felt more like a cold interrogation room than a home. I had exactly forty-two dollars in my “fun budget” left for the month, and the thought of spending hundreds on high-end gallery pieces felt financially irresponsible. That’s when it hit me: you don’t need a massive inheritance or a designer budget to transform a space; you just need a little bit of vision. Learning how to make wall art isn’t about mastering fine arts or buying expensive canvases—it’s about the strategic, soulful process of turning what you already love into something visual.
In this guide, I’m stripping away the pretension and the “perfect” Pinterest aesthetic to give you a real, budget-friendly roadmap. I’ll show you how to leverage your existing collections—whether it’s those vintage cookbooks I’m obsessed with or simple botanical finds—to create professional-looking displays. We are going to dive into the practicalities of textures, framing, and layout so you can master how to make wall art that actually reflects your journey. Let’s build a sanctuary that feels as rich and layered as your favorite recipe.
Table of Contents
- Step-by-Step Instructions
- Budget Friendly Home Decor Projects for a Soulful Space
- Modern Minimalist Wall Art Ideas to Elevate Your Daily Life
- My Golden Rules for Creating Art That Actually Feels Like Home
- Making Your Space Work for You: My Final Thoughts
- Creating Your Visual Sanctuary
- Making Your Mark on Your Space
- Frequently Asked Questions
Guide Overview
Tools & Supplies
- Paintbrush or sponge for applying color
- Painter's tape for creating clean edges
- Pencil for sketching initial designs
- Canvas or wooden panel (1 piece)
- Acrylic paint set (1 set)
- Painter's tape (1 roll)
- Water container and paper towels (1 each)
Step-by-Step Instructions
- 1. First things first, let’s talk about the “budgeting” phase of our project. Just like when I was analyzing spreadsheets back in my finance days, you need to know your resource allocation before you dive in. Scour your house for materials—old vintage cookbook pages, leftover fabric scraps, or even those beautiful dried botanicals from your last garden trip. The goal isn’t to spend a fortune at an art supply store, but to repurpose what you already own into something meaningful.
- 2. Once you’ve gathered your treasures, it’s time to clear off your workspace. I like to use my large kitchen island for this because it gives me plenty of room to spread out my ideas. Lay out all your components—your frames, your adhesives, and your base materials—so you can visualize the composition before you make any permanent moves. It’s all about seeing how the colors and textures play together.
- 3. Now, let’s get into the actual assembly. If you’re using those gorgeous vintage cookbook pages I’m so obsessed with, I recommend using a high-quality acid-free adhesive to ensure they don’t yellow over time. Start by layering your background elements first, then slowly build up with your focal points. Think of it like building a flavor profile in a complex sauce; you want layers of depth that make people want to look closer.
- 4. This is where the magic happens: the “fusion” stage. Don’t be afraid to mix mediums! Maybe a piece of torn linen looks incredible against a printed botanical sketch, or perhaps a bit of gold leaf can add that unexpected pop of luxury to a rustic piece. This is your chance to let your personal style shine through, much like how I blend my SF roots with international spices in the kitchen.
- 5. Once your art is assembled and the glue has had plenty of time to set, it’s time to frame it. A frame acts as the “financial stabilizer” for your creativity—it provides the structure and boundaries that make the piece look polished and professional. You can go with a sleek, modern frame for a minimalist vibe, or find a weathered wooden frame from a thrift store to add a sense of history and soul.
- 6. The final, and arguably most important, step is the placement. Don’t just grab the first empty spot on your wall! Walk around your room, look at the lighting, and consider how the piece will interact with your existing decor. I always say that curating your environment is just as important as curating your career; you want your home to be a sanctuary that reflects the life you’ve worked so hard to build.
Budget Friendly Home Decor Projects for a Soulful Space
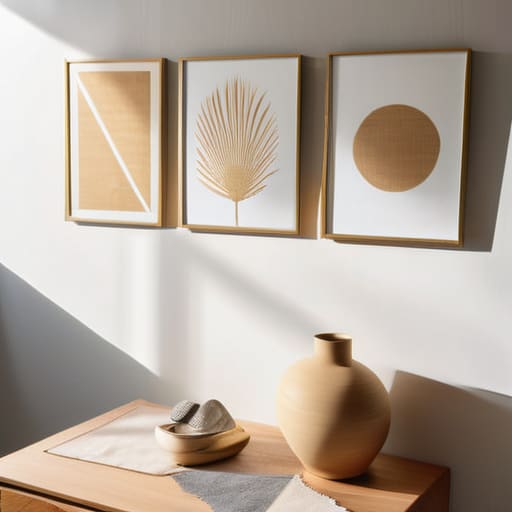
One thing I learned during my years in finance is that you don’t need a massive windfall to create a space that feels curated and intentional. In fact, some of my favorite pieces come from budget friendly home decor projects that cost less than a weekend brunch in the Mission. Instead of running to a high-end boutique, I love scouring thrift stores for old frames or even using leftover scraps of fabric. If you’re feeling a bit intimidated by a blank canvas, don’t sweat it! I often lean into modern minimalist wall art ideas, using simple geometric shapes or even just playing with shadows to create something sophisticated without the stress.
If you want to add a bit more depth to your walls, I highly recommend experimenting with some textured art DIY methods. You can actually use common household items like joint compound or even thick modeling paste to create those beautiful, tactile ridges you see in high-end galleries. It’s incredibly therapeutic—honestly, it’s my version of “kitchen therapy” after a long week. By focusing on texture rather than complex imagery, you can achieve a professional look that feels deeply personal and soulful without breaking your savings account.
Modern Minimalist Wall Art Ideas to Elevate Your Daily Life
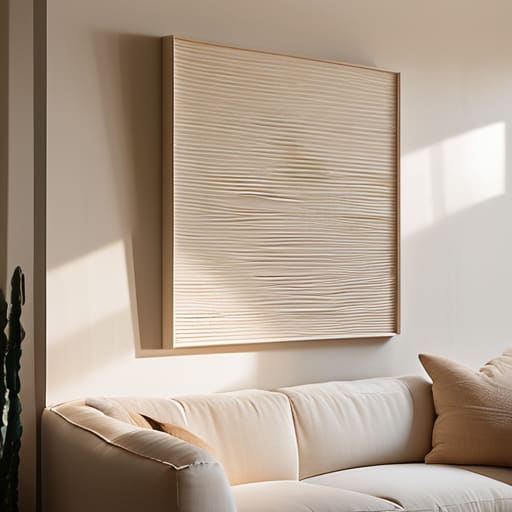
If you’re like me and find that a cluttered environment can make your brain feel just as chaotic as a messy spreadsheet, then leaning into modern minimalist wall art ideas is a total game-changer. Minimalism isn’t about having “nothing”; it’s about making sure everything you own has intention. I love using textured art DIY methods to create pieces that feel sophisticated without being overwhelming. Think subtle plaster effects or monochromatic tones that add depth to your walls without demanding all your visual attention. It’s that perfect balance of calm and character.
When I was working in finance, my apartment was all sleek lines and zero personality. Now, I use art to bridge that gap. You don’t need a massive budget to achieve this look; in fact, some of my favorite pieces come from experimenting with abstract wall art tutorials using simple tools like palette knives or even a sponge. By focusing on a limited color palette—think soft sands, muted terracottas, or deep charcoals—you can create a cohesive, high-end aesthetic that makes your home feel like a curated sanctuary rather than just a place where you sleep.
My Golden Rules for Creating Art That Actually Feels Like Home
- Don’t fear the “sunk cost” of a mistake. In finance, we hate losing money, but in art, a “failed” canvas is just an investment in your creative intuition. If a color palette isn’t working, pivot—don’t let perfectionism paralyze your progress.
- Think about the ROI of your energy. Instead of trying to master every medium, pick one that genuinely excites you, whether it’s watercolor or collage. When you enjoy the process, the “output” naturally feels more authentic and soulful.
- Curate, don’t just accumulate. Just like I wouldn’t clutter my portfolio with random stocks, don’t clutter your walls with random pieces. Choose art that tells a story or evokes a specific emotion, ensuring every piece has a purpose in your sanctuary.
- Mix high and low textures to create depth. I love combining something sophisticated, like a framed vintage print from my collection, with something tactile and raw, like a piece of driftwood or handmade paper. It creates that beautiful, lived-in balance.
- Scale matters more than you think. A common mistake is choosing art that’s too small for the space, making it look lost. Think about the “market value” of your wall real estate—ensure your art commands the room without overwhelming the senses.
Making Your Space Work for You: My Final Thoughts
Remember that your home should be a reflection of your journey, so don’t be afraid to mix high-end pieces with budget-friendly DIYs to create a space that feels authentically yours.
Don’t let the fear of a “messy” process stop you; whether you’re balancing a spreadsheet or a paintbrush, the most rewarding results often come from the courage to experiment.
Treat your home decor like a long-term investment—focus on pieces that feed your soul and bring you joy, because a space that inspires you is the ultimate foundation for a fulfilling life.
Creating Your Visual Sanctuary
“Think of your walls not as empty spaces to be filled, but as a canvas for your journey; creating your own art is just like building a new career—it takes a bit of calculated risk, a lot of heart, and the courage to turn a blank slate into something that truly reflects who you are.”
Rachel Anderson
Making Your Mark on Your Space
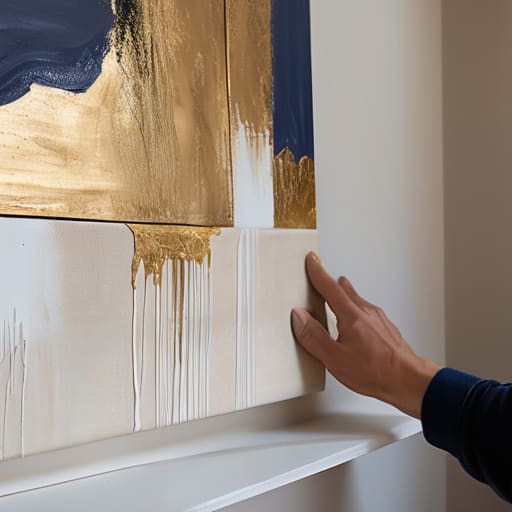
At the end of the day, creating your own wall art is about so much more than just following a set of instructions or picking out the right colors. Whether you opted for a high-end minimalist look or leaned into those budget-friendly, soulful DIY projects we discussed, you’ve successfully turned a blank surface into a reflection of your inner world. We’ve covered everything from the initial planning stages to the fine details of execution, proving that you don’t need a professional studio to create something truly breathtaking. By blending your personal aesthetic with a bit of creative grit, you are effectively curating an environment that supports your well-being and celebrates your unique journey.
If there is one thing my transition from the world of finance to the culinary arts taught me, it’s that the most rewarding investments are the ones we make in ourselves and our surroundings. Just like a perfectly balanced recipe or a well-managed portfolio, a beautiful home is built through intentionality and passion. Don’t be afraid to experiment, make a mess, or even fail on your first attempt—that’s just part of the creative process. Go ahead and hang that piece with pride, because you aren’t just decorating a room; you are building a life that feels as good as it looks.
Frequently Asked Questions
How do I choose wall art that actually reflects my personality without making my space feel cluttered or overwhelming?
Think of your walls like a well-curated menu: you want a few standout flavors rather than an overwhelming buffet. I always tell my friends to start with pieces that spark an immediate emotional connection—maybe a vintage print from a cookbook I love. To avoid clutter, stick to a cohesive color palette and leave some “white space” between frames. It’s all about intentionality; if a piece doesn’t tell your story, it doesn’t need a spot on your wall.
What are some ways to display my art if I'm renting and can't put a bunch of holes in the walls?
I totally get it—the “renter’s dilemma” is real! When I first moved into my tiny SF studio, I was terrified of losing my security deposit over a few stray nail holes. Don’t let it stop you, though. I swear by Command strips for lighter pieces, or even leaning larger canvases against the wall for that effortless, curated look. You can also use tension rods or even beautiful, heavy-duty easel stands to bring your art to life without a single drill bit in sight!
How can I balance my creative DIY projects with a budget so I don't end up overspending on supplies?
Look, I’ve been there—standing in an art supply aisle feeling that same rush I used to get looking at market trends, only to realize I’ve gone way over budget. To keep your creativity from draining your savings, I recommend treating your DIY hobby like a mini-startup. Set a monthly “creative capital” limit and stick to it. Prioritize quality over quantity; it’s better to have one high-end pigment than ten mediocre sets that don’t inspire you.
