I remember sitting in my tiny San Francisco apartment, staring at a stack of overpriced, mass-produced ceramic pots from a boutique shop, feeling that familiar pang of financial frustration. My old analyst brain was immediately calculating the markup, and I thought to myself, why am I paying a premium for something I could create with a bit of grit and a vision? I realized then that you don’t need a massive budget to cultivate a lush, green sanctuary; you just need a little creativity and some diy planters that actually reflect your personality.
In this guide, I’m stripping away the Pinterest-perfect illusions and giving you the real, no-nonsense blueprint for success. We aren’t just making crafts; we are building functional pieces of art that won’t break the bank. I’ll walk you through the essential materials, the structural basics to ensure your plants actually thrive, and my favorite ways to upcycle items you likely already have in your pantry. Whether you’re a seasoned gardener or just starting to grow your dream life, these steps will help you design a space that feels as vibrant and intentional as you are.
Table of Contents
- Step-by-Step Instructions
- Sustainable Gardening Projects for a Fulfilling Home Life
- Upcycled Container Gardening to Balance Style and Budget
- Smart Strategies for Growing Your Garden (and Your Savings)
- Cultivating Growth: My Three Golden Rules for Your DIY Garden
- Growing Beyond the Bottom Line
- Cultivating Your Own Little Oasis
- Frequently Asked Questions
Guide Overview
Tools & Supplies
- Drill and drill bits for making drainage holes
- Measuring tape for accurate sizing
- Sandpaper to smooth rough edges
- Upcycled container (tin can, plastic bottle, or wooden crate) 1 unit
- Potting soil 1 bag
- Small pebbles for drainage 1 small bag
- Seedlings or seeds 1 pack
Step-by-Step Instructions
- 1. First things first, let’s talk about your “vessel.” Since I’m a bit of a collector, I love hunting through thrift stores for unique vintage tins, old ceramic bowls, or even sturdy wooden crates. Just make sure whatever you choose is structurally sound and can handle a bit of moisture without falling apart on you.
- 2. Once you’ve found your perfect container, we need to address the most important part of plant health: drainage. Grab a drill and carefully create a few small holes at the bottom of your planter. If you’re working with something more delicate like a vintage tea tin, you might need to be a bit more gentle with your approach to avoid cracking the material.
- 3. Now, let’s add a layer of protection. If you’re using a container that doesn’t have built-in drainage, or if you’re worried about water staining your favorite wooden table, place a thin layer of pebbles or crushed charcoal at the very bottom. This creates a little reservoir that keeps the roots from sitting in stagnant water, which is a total game-changer for plant longevity.
- 4. It’s time to get your hands a little dirty! Grab a high-quality potting mix—don’t just grab any old dirt from the backyard, as it can be too dense and harbor unwanted pests. I always suggest choosing a mix specifically tailored to what you’re planting, whether it’s a thirsty herb for your kitchen windowsill or a hardy succulent for your desk.
- 5. Carefully place your plant into the center of the planter, making sure it sits at a depth similar to how it was in its original nursery pot. As you add more soil around the sides, gently press down to remove large air pockets, but don’t pack it so tight that the roots can’t breathe. It’s all about finding that perfect balance, much like my old spreadsheets!
- 6. Give your new green friend its first drink by watering it thoroughly until you see a little bit of moisture escaping through the drainage holes. This helps settle the soil and ensures the roots are immediately connected to their new home.
- 7. Finally, let your creativity run wild with the aesthetics! Since we’re all about making our spaces feel vibrant, feel free to paint your planters, wrap them in twine, or even add a little gold leaf detail. This is your chance to turn a simple DIY project into a true piece of art that reflects your unique personality.
Sustainable Gardening Projects for a Fulfilling Home Life
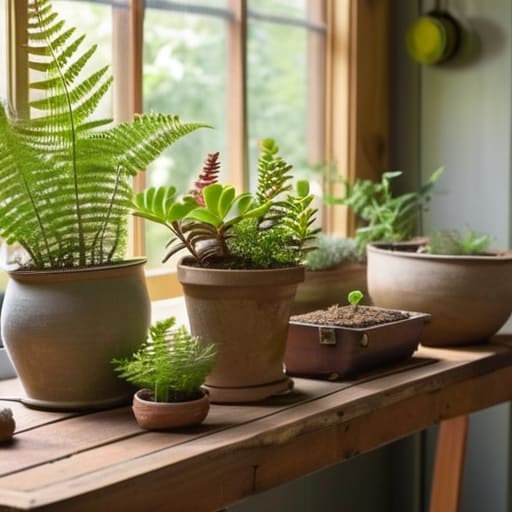
Beyond just making things look pretty, I’ve found that diving into sustainable gardening projects is a wonderful way to ground yourself after a long day of spreadsheets or kitchen prep. When I first started transitioning my career, I realized that my mental health benefited immensely from working with my hands. Instead of running to a big-box store every time I wanted something new, I started looking at what I already had in my pantry or garage. Using repurposed household items for plants—like those old vintage tea tins I collect or even sturdy wooden crates—isn’t just a way to save money; it’s a way to give an object a second life.
From a purely financial standpoint, this approach is a total win. Embracing upcycled container gardening allows you to build a lush, green sanctuary without the heavy price tag of designer pots. If you’re short on floor space, you can even look into hanging planter tutorials using old colanders or macramé scraps. It’s all about finding that sweet spot where creativity meets frugality, proving that you don’t need a massive budget to cultivate a life—and a garden—that feels truly abundant.
Upcycled Container Gardening to Balance Style and Budget
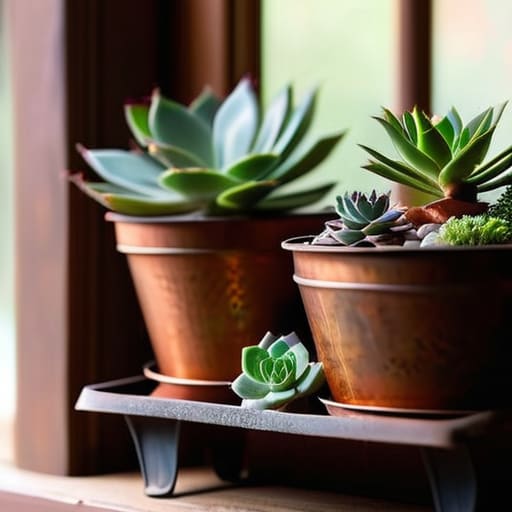
One thing I learned during my years analyzing spreadsheets is that you don’t need a massive capital outlay to see a high return on investment—and your home garden is no different. I’m a huge advocate for upcycled container gardening because it allows you to inject personality into your space without the hefty price tag of boutique ceramic pots. Instead of heading straight to the garden center, take a look in your pantry or recycling bin. An old, slightly chipped tea tin or even a vintage colander from one of my thrift store finds can become a stunning home for succulents.
The secret to making these repurposed household items for plants look intentional rather than cluttered is all in the styling. If you’re working with mismatched containers, try grouping them by color or texture to create a cohesive aesthetic. For those of us living in smaller urban spaces, I love using old tin cans as an indoor herb garden diy project; just drill a few drainage holes in the bottom, add some organic soil, and you have a windowsill chef’s dream. It’s all about finding that sweet spot where creativity meets fiscal responsibility.
Smart Strategies for Growing Your Garden (and Your Savings)
- Think like an analyst and prioritize drainage; even the most beautiful vintage tin can will fail your plants if you don’t drill a few strategic holes in the bottom to prevent root rot.
- Don’t underestimate the power of upcycling, because finding a unique ceramic bowl at a thrift store for three dollars is a much better ROI than buying a designer planter at a boutique.
- Match your container’s scale to your plant’s needs, as putting a tiny succulent in a massive, heavy pot is a bit like trying to run a startup with a million-dollar budget on day one—it’s just inefficient.
- Invest in high-quality potting mix rather than cheap dirt, because just like in my old finance days, the quality of your underlying assets determines your long-term growth.
- Layer in some personality with paint or texture, because your home should be a reflection of your journey, blending that professional polish with the creative spark that keeps life interesting.
Cultivating Growth: My Three Golden Rules for Your DIY Garden
Don’t let the fear of a “failed” project stop you; much like a risky stock or a new recipe, the real value is in the learning process and the joy of trying something new.
Prioritize upcycling and repurposing materials to keep your hobby budget-friendly, ensuring your passion for gardening nourishes your soul without draining your savings.
View your garden as a long-term investment in your mental well-being, creating a vibrant, living sanctuary that balances the hustle of your career with the peace of home.
Growing Beyond the Bottom Line
“Just like building a successful business or perfecting a complex fusion recipe, crafting your own planters is about more than just the final product; it’s about the intentionality of turning something raw and unformed into a space where life—and your passions—can truly take root.”
Rachel Anderson
Cultivating Your Own Little Oasis
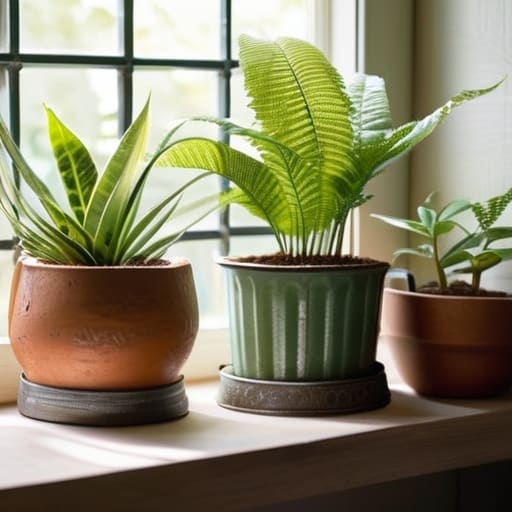
As we wrap up this journey of dirt, design, and a little bit of grit, I hope you see that DIY planters are about so much more than just holding soil. Whether you chose to upcycle vintage tins to keep your budget in check or went the sustainable route with eco-friendly materials, you’ve essentially built a living investment for your home. We’ve looked at how these small, creative projects can bridge the gap between aesthetic style and financial mindfulness, proving that you don’t need a massive bank account to create a space that feels lush and intentional. By taking these steps, you aren’t just decorating a windowsill; you are actively curating an environment that nourishes your soul.
At the end of the day, my transition from spreadsheets to sourdough taught me that the most rewarding things in life often require a bit of hands-on trial and error. Just like managing a portfolio or perfecting a complex fusion recipe, gardening is a practice of patience and growth. Don’t be afraid if your first planter looks a little messy or if a plant doesn’t quite thrive—that’s just part of the process. I truly believe that when we take the time to nurture something from scratch, we are actually nurturing ourselves. So, grab your trowel, trust your instincts, and start growing a life that tastes as good as it looks.
Frequently Asked Questions
How do I make sure my upcycled containers have enough drainage so I don't accidentally drown my plants?
This is such a common worry! I used to think I was a “black thumb” until I realized I was just drowning my plants. When upcycling, don’t be afraid to get a little hands-on. Grab a drill or even a hammer and a large nail to carefully puncture several holes in the bottom of your container. If you’re using something like a vintage tin, just ensure you’re working in a well-ventilated area. Proper drainage is the ultimate investment in your plant’s longevity!
Are there specific types of soil or potting mixes I should invest in to keep my DIY planters productive without breaking the bank?
Think of soil as the “capital investment” of your garden; if you skimp here, your ROI—those beautiful blooms—will suffer. I always recommend a high-quality organic potting mix rather than cheap garden soil, which can be too dense for containers. To save money, buy in bulk and mix it yourself! A blend of peat moss, perlite, and compost gives you that premium nutrient profile without the boutique price tag. It’s all about smart allocation!
Since I'm working with various materials, which ones are actually durable enough to withstand the weather if I move them outdoors?
That is such a smart question—and honestly, it’s the kind of “cost-benefit analysis” I used to run back in my finance days! If you’re moving these outdoors, you want to avoid a sunk cost. Stick to terracotta, cedar, or heavy-duty resin; they handle the elements beautifully. If you’re upcycling, ensure any metal or wood is treated for moisture. You want your beautiful planters to last as long as your passion for gardening!
