I remember sitting on my kitchen floor in San Francisco, surrounded by spilled soy wax and a mountain of expensive essential oils, feeling like a total failure. I had spent a small fortune on “professional” starter kits, only to end up with candles that smelled like nothing and had wicks that drowned in a pool of liquid sadness. It turns out, there’s a massive gap between the aesthetic Pinterest tutorials and the actual science of how to make candles that actually burn beautifully. I quickly realized that you don’t need a chemistry degree or a massive investment to create something high-end; you just need to understand the rhythm of the melt.
In this guide, I’m stripping away all the fluff and the overpriced marketing jargon to give you a real, hands-on blueprint. I’ll walk you through the essential gear, the math behind scent loads (my old economics brain won’t let me skip this!), and the little tricks to ensure your first batch is a success. Whether you’re looking for a meditative way to unwind after a long work week or you’re scouting for a profitable new side hustle, I’m going to show you exactly how to master this craft without breaking the bank.
Table of Contents
- Step-by-Step Instructions
- Mastering Candle Making for Beginners With Quality Soy Wax Candle Making Su
- Finding Your Scented Harmony With Essential Oils for Scented Candles
- Pro-Tips for Turning Your Kitchen into a Boutique Candle Studio
- My Golden Rules for Your Candle-Making Journey
- The ROI of a Little Creativity
- From Melting Wax to Meaningful Moments
- Frequently Asked Questions
Guide Overview
Tools & Supplies
- Double boiler or heat-proof bowl and pot for melting wax
- Thermometer to monitor wax temperature
- Pouring pitcher for easy handling
- Spoon or stirrer for mixing
- Soy or paraffin wax (1-2 lbs)
- Candle wicks (set of 5-10)
- Fragrance oils (1 oz)
- Candle jars or containers (2-4 units)
- Wick stickers or glue dots to secure wicks
Step-by-Step Instructions
- 1. First things first, you’ll need to gather your supplies, and think of this like setting up your mise en place before a big dinner service. You’ll want some high-quality soy wax (it burns cleaner, which I love), cotton wicks, some pretty glass jars or tins, a double boiler, and your choice of essential oils. Don’t forget a thermometer; when you’re working with wax, precision is your best friend to ensure everything sets perfectly.
- 2. Once your station is ready, it’s time to melt the wax. Using a double boiler is the safest way to do this—just like tempering chocolate—to avoid overheating the wax and ruining its integrity. Keep a close eye on the temperature and let it melt slowly until it’s completely liquid and clear.
- 3. While the wax is melting, take a moment to prep your containers. This is the part where you can really let your creativity shine with vintage finds! Take your wick and secure it to the bottom of your jar using a tiny bit of hot glue or a wick sticker. I always use a small wooden skewer or a pencil to keep the wick centered and upright while the wax pours.
- 4. Now, here is where the magic (and the science) happens: adding your scent. Once your wax reaches the optimal temperature—usually around 185°F—remove it from the heat and stir in your essential oils. You want to stir gently but thoroughly for about two minutes to ensure the scent molecules fully bind with the wax, otherwise, your candle might not throw much fragrance when it burns.
- 5. Next, carefully pour the warm wax into your prepared jars. Go slow! You want to avoid creating air bubbles, which can be a real nuisance. If you see any, just give the jar a very light tap on the counter to help them rise to the surface. This is also a great time to put on a favorite podcast and just breathe in the aroma filling your kitchen.
- 6. Patience is a virtue, especially in both finance and candle making. Let your candles sit undisturbed at room temperature for at least 24 hours. I know it’s tempting to light them immediately, but letting them cure properly is what ensures a long-lasting, high-quality burn.
- 7. Finally, once they are fully set and hard, trim the wicks to about a quarter-inch. If you’re planning on gifting these or even selling them as a little side hustle, this is the moment to add your personal touch, whether that’s a handwritten label or a beautiful ribbon. There is something so incredibly rewarding about seeing a finished product that you created from scratch!
Mastering Candle Making for Beginners With Quality Soy Wax Candle Making Su
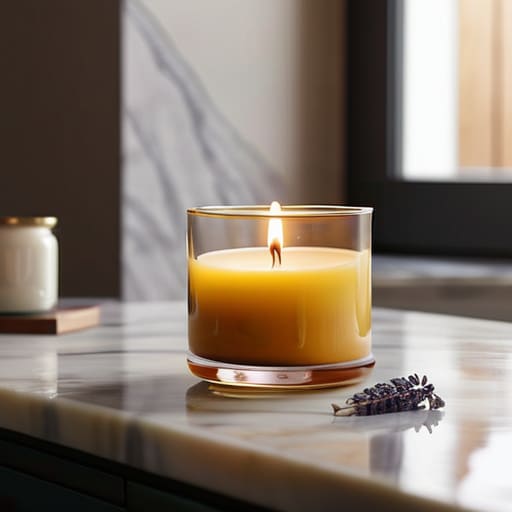
When I first started transitioning from spreadsheets to scent profiles, I quickly realized that the secret to a professional-grade burn isn’t just luck—it’s all in the chemistry of your soy wax candle making supplies. It can be tempting to grab the cheapest options available, but if you want that smooth, creamy finish that looks like it came from a high-end boutique, you have to invest in quality. I spent way too many late nights in my kitchen troubleshooting “frosty” wax before I learned that the quality of your base material dictates everything from how the scent throws to how long the candle actually lasts.
Another thing that tripped me up during my early days of candle making for beginners was the temperature game. It’s easy to get impatient, but if you aren’t following a strict candle pouring temperature guide, you might end up with sinkholes or a weak scent. I’ve learned that patience is just as important as your ingredients. Think of it like a delicate reduction in a sauce; if you rush the heat, you lose the magic. Take your time, respect the thermometer, and your results will be worth every extra minute of waiting.
Finding Your Scented Harmony With Essential Oils for Scented Candles
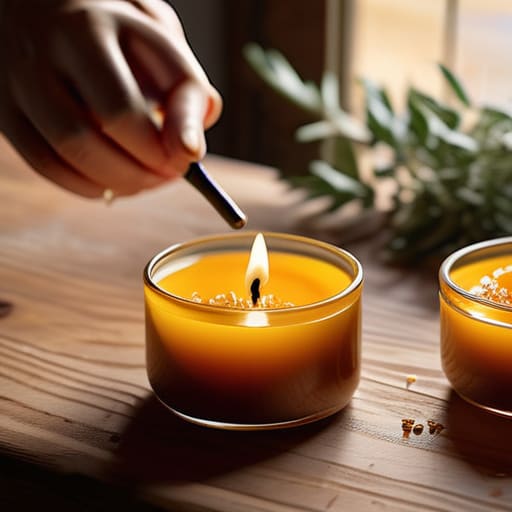
Once you’ve mastered the technical side of the pour, the real magic happens when you start playing with scent. For me, this is where the process shifts from a structured task to something truly soulful. When you’re working with essential oils for scented candles, you aren’t just adding a smell; you’re designing an atmosphere. I love treating scent profiles like a complex recipe—much like balancing acidity and fat in a reduction sauce. You might start with a heavy base note like sandalwood and layer in bright, citrusy top notes to keep it from feeling too weighed down.
One thing I learned the hard way during my early days of candle making for beginners is that essential oils behave differently than synthetic fragrances. They can be a bit finicky with heat, so patience is your best friend here. I always recommend testing your blends in small batches first to ensure the aroma doesn’t dissipate too quickly once the wax sets. It’s all about finding that sweet spot where the scent is present but never overwhelming. Think of it as creating a culinary experience for the nose—it should be a subtle, inviting hug for your home.
Pro-Tips for Turning Your Kitchen into a Boutique Candle Studio
- Don’t skimp on the thermometer; I learned the hard way that if you pour your wax when it’s too hot, you’ll end up with a surface that looks more like a cracked desert floor than a smooth, professional candle.
- Think of scent like a recipe—just like balancing acidity in a sauce, you need to test your fragrance load carefully so the scent is present but doesn’t overwhelm the room or clog up your wick.
- Always do a “burn test” with a single prototype before you commit to a full batch, because what smells amazing in the jar might behave totally differently once the flame is actually lit.
- Treat your workspace like a clean kitchen; keeping your melting pot and stirring tools meticulously clean is the difference between a high-end luxury candle and one that looks a bit DIY and messy.
- Keep an eye on your “ROI” by tracking your supply costs versus your finished products, because even though this is a passion project, treating it with a little bit of my old analyst mindset helps ensure your hobby stays sustainable and fun!
My Golden Rules for Your Candle-Making Journey
Don’t skimp on the ingredients; investing in high-quality soy wax and premium oils isn’t just a luxury, it’s the smartest way to ensure your little side hustle actually yields a product people (and you!) will love.
Treat your scent blending like a science experiment—start small with your essential oils to find that perfect, harmonious balance before scaling up your batches.
Remember that the goal is joy, not perfection, so embrace the messy process of learning and view every “failed” pour as a valuable data point in your creative business plan.
The ROI of a Little Creativity
“Making your own candles is more than just a DIY project; it’s about investing in those small, sensory moments of peace that recharge your soul—and honestly, there’s something incredibly empowering about turning a few simple ingredients into a luxury experience you can actually call your own.”
Rachel Anderson
From Melting Wax to Meaningful Moments
As we wrap up this little journey into the world of candle making, I hope you feel a bit more confident about diving in. We’ve covered everything from selecting the right soy wax to finding that perfect, soulful scent profile with essential oils. Remember, it’s not just about following a recipe; it’s about understanding how your materials interact to create something beautiful. Don’t be discouraged if your first few batches aren’t absolute perfection—even in my finance days, the first quarterly reports were a learning curve! The key is to trust the process and keep experimenting with different ratios and scents until you find what truly speaks to you.
At the end of the day, whether you are making these as a way to decompress after a long workday or looking at them as a potential small business venture, the goal is the same: creating something with intention. I truly believe that finding joy in these small, tactile crafts is what keeps us grounded while we chase our bigger professional dreams. So, light that first candle, take a deep breath, and celebrate the fact that you’ve turned a spark of curiosity into a tangible, glowing reality. You’ve got this, and I can’t wait to see what you create!
Frequently Asked Questions
Is it actually worth investing in high-end supplies right away, or can I start with budget-friendly basics from the grocery store?
Honestly, coming from a finance background, I’m a huge advocate for the “lean startup” approach. Don’t feel pressured to drop hundreds on professional-grade equipment immediately. Start with budget-friendly basics—even some grocery store finds—to test your intuition. Think of it as your R&D phase! Once you’ve mastered the basics and found your rhythm, then you can strategically reinvest your profits into those high-end supplies. It’s all about balancing passion with smart, incremental growth.
How do I make sure my candles actually smell good when they're burning and not just when the wax is melted?
This is the million-dollar question! I used to think more fragrance oil meant a better scent, but my economics brain eventually learned that it’s all about the “fragrance load” ratio. If you overdo it, you actually clog the wick and ruin the burn. Aim for about 6-10% oil by weight, and here’s my pro tip: make sure you stir gently but thoroughly at the exact temperature the wax manufacturer recommends. It’s all about that perfect molecular bond!
I’m worried about the safety aspect—what are the best ways to ensure my homemade candles burn cleanly without any soot or fire hazards?
I totally hear you—safety is everything, especially when you’re transitioning a hobby into something more serious. To avoid that annoying soot, always trim your wicks to about a quarter-inch before every single burn. It’s a small step, but it makes a massive difference in how cleanly they burn. Also, never leave a candle unattended and always use heat-resistant containers. Think of it like managing risk in a portfolio: a little precaution goes a long way!
