I was sitting on my kitchen floor last Tuesday, surrounded by a chaotic web of tangled cotton cord and half-finished plant hangers, feeling exactly like I did during my first year as a financial analyst: completely overwhelmed by data I couldn’t make sense of. Most people will tell you that macrame for beginners requires an innate “artistic eye” or a massive investment in expensive, specialized tools, but let me tell you the truth—it’s actually much more like following a recipe. If you can master a basic knot, you can master the rhythm of the craft, and you definitely don’t need a studio full of supplies to start creating something beautiful.
In this guide, I’m stripping away the fluff and the intimidating jargon to give you a straightforward roadmap to your first finished project. We aren’t going to get bogged down in overly complex patterns that lead to frustration and wasted cord; instead, I’ll show you how to build a solid foundation of essential knots that you can actually use. My goal is to help you find that same sense of creative flow I found when I left the spreadsheets behind, all while keeping your hobby budget as organized as a well-managed portfolio.
Table of Contents
- Step-by-Step Instructions
- Choosing the Right Cotton Rope for Macrame Crafts
- Essential Macrame Tools List for Your Creative Journey
- Knots, Budgeting, and Bliss: 5 Pro-Tips to Keep Your Creative Spark (and Your Savings) Intact
- Making It Your Own: My Final Thoughts for Your Creative Journey
- Finding Your Rhythm in the Knots
- Tying It All Together
- Frequently Asked Questions
Guide Overview
Tools & Supplies
- Scissors for clean cord cuts
- Measuring tape for length accuracy
- S-hooks or a dowel to hang work
- Cotton macrame cord (3mm or 4mm) 50-100 meters
- Wooden dowel or ring 1 unit
Step-by-Step Instructions
- 1. First things first, we need to gather our “ingredients.” Just like when I’m prepping for a new fusion recipe, you don’t want to be halfway through a sauce only to realize you’re out of shallots. For macrame, you’ll need some cotton cord (I personally love the 3mm or 4mm twisted variety for beginners), a wooden dowel or a sturdy ring, and a pair of sharp scissors. Grab a piece of masking tape to secure your cord to your desk—it’s a total lifesaver when you’re trying to keep tension while your hands are still learning the rhythm.
- 2. Once your station is set, it’s time to measure out your cord. I like to think of this as calculating my overhead before a big kitchen launch; you want to make sure you have enough to work with so you don’t run out mid-knot. Cut several lengths of cord, typically about four to eight times the length of your finished project. It feels like a lot of extra string at first, but trust me, you’ll need that extra breathing room to manipulate the knots comfortably.
- 3. Now, let’s tackle the foundation: the Lark’s Head knot. This is how we attach our cord to the dowel. Fold your cord in half to create a loop, place that loop over your wooden rod, and then pull the two loose ends through the loop. Give it a firm tug to tighten it. It’s a simple movement, but getting this foundation right is like setting a solid budget—it provides the stability everything else rests upon.
- 4. Next up is the Square Knot, which is the bread and butter of the macrame world. Take four strands of cord: two in the middle (the “core”) and two on the sides. Take the left cord, cross it over the center cords to form a shape like the number four, then take the right cord, pass it over the left tail, under the center cords, and up through the loop on the left. Flip it around and repeat the process in reverse to lock it in. It might feel a bit clunky at first, but consistency is key here, just like mastering a basic roux.
- 5. After you’ve mastered the Square Knot, try adding some “breathing room” to your design with a Half Hitch knot. This is how you create those beautiful diagonal lines or borders. Instead of knotting the strands together, you’ll use one strand as a stationary anchor and wrap the other strand tightly around it. This creates a structured, geometric look that adds a professional touch to your piece without requiring a massive investment in complex tools.
- 6. As you progress, don’t be afraid to experiment with your tension. In my finance days, I learned that being too rigid can lead to a break, but being too loose leads to chaos. The same applies to your knots! If you pull too hard, your pattern will look wonky; if you’re too limp, it’ll look messy. Aim for a steady, even rhythm that feels natural to your hands.
- 7. Finally, once you’ve reached the end of your pattern, it’s time for the most satisfying part: the trim. Lay your piece flat and use your scissors to cut the fringe or the bottom edge. If you want a clean, modern look, go for a straight horizontal cut; if you want something more bohemian and organic, try cutting it into a soft V-shape. This is your moment to step back, admire your work, and realize that you’ve just created something beautiful from nothing but string and patience.
Choosing the Right Cotton Rope for Macrame Crafts
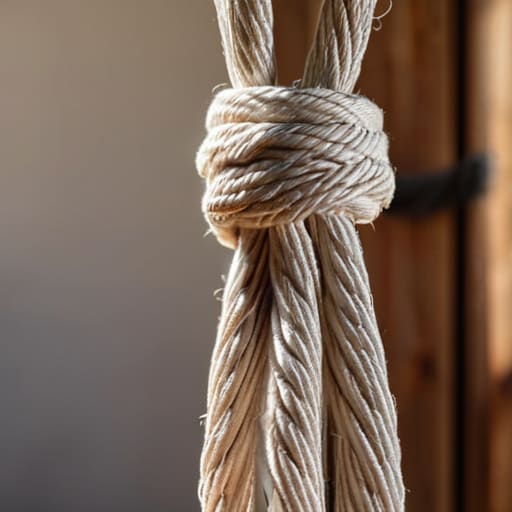
Now, let’s talk about the foundation of your project: the cord. When I first started diving into this hobby, I made the classic mistake of buying whatever pretty, shiny string I found at a craft store, only to realize it had zero structural integrity. For anyone just starting out, I cannot stress enough how important it is to select the right cotton rope for macrame crafts. You want something that feels substantial in your hands and, more importantly, something that holds those basic macrame knot patterns without fraying into a chaotic mess of fuzz.
If you’re looking at a wall of options, aim for a single-twist or a 3-ply cotton cord. Single-twist is lovely for a bohemian, organic look, but it can be a bit finicky if you aren’t used to it. On the other hand, 3-ply cord is much more forgiving and holds its shape beautifully, which is a total lifesaver when you’re working through your first macrame wall hanging tutorial. Think of it like choosing the right grade of flour for a sourdough starter; the quality of your base material determines how much joy (or frustration!) you’ll experience during the process.
Essential Macrame Tools List for Your Creative Journey
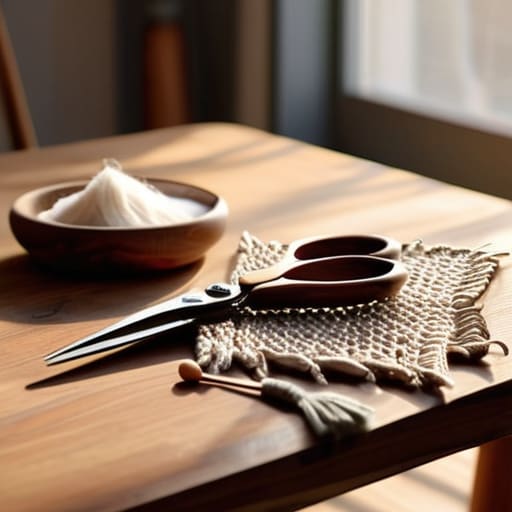
Before you dive into your first knot, let’s talk about the gear. I used to think that being prepared meant having a massive, expensive inventory, but my background in finance has taught me that efficiency beats excess every single time. To get started, you really only need a few key items. A sturdy pair of sharp fabric scissors is non-negotiable—nothing ruins a beautiful piece faster than a jagged, uneven cut. You’ll also want a wooden dowel or even a sturdy branch from your backyard to act as your base. To keep things organized, grab some S-hooks or even just some heavy-duty clothespins; these help hold your work in place so you can focus on mastering those basic macrame knot patterns without the frustration of your cord slipping away.
I also highly recommend investing in a small tabletop stand or a dedicated lamp. When I was first transitioning from spreadsheets to string, I realized how much my eyes strained during long sessions. Having good lighting makes a world of difference when you’re working through a macrame wall hanging tutorial. Don’t feel pressured to buy the most professional-grade equipment right away; start with the essentials and let your collection grow as your confidence does.
Knots, Budgeting, and Bliss: 5 Pro-Tips to Keep Your Creative Spark (and Your Savings) Intact
- Don’t get caught in the “perfectionist trap.” Just like when I first started experimenting with fusion recipes in my tiny SF kitchen, your first few knots might look a little wonky. That’s okay! Embrace the messy middle; it’s part of the learning curve and much better than never starting at all.
- Watch your “supply creep.” It is so easy to get seduced by those beautiful, expensive specialty cords you see on Instagram, but as someone who used to live by spreadsheets, I highly recommend mastering the basic single and square knots with affordable cotton first before investing in the high-end stuff.
- Create a dedicated “zen zone.” Even if it’s just a specific corner of your dining table, having a consistent space for your macrame helps your brain switch from “work mode” to “creative mode,” making the process a true mental escape rather than just another chore.
- Use a clipboard or a mounting board. One of the biggest frustrations for beginners is trying to hold the cord steady while you knot. Trust me, your hands will thank you if you secure your work to a solid surface—it makes the tension much more consistent and way less stressful.
- Document your progress (and your wins!). Take photos of your pieces, even the ones you aren’t proud of. Looking back at how far you’ve come is the best way to stay motivated when you’re feeling stuck, and it’s a beautiful way to see your growth, both as an artist and as someone stepping outside their comfort zone.
Making It Your Own: My Final Thoughts for Your Creative Journey
Don’t get paralyzed by perfection; just like a complex recipe, your first few knots might look a little messy, but that’s where the real learning—and the soul of your craft—happens.
Treat your supplies as an investment in your joy rather than an expense; starting with quality cotton rope might cost a few extra dollars now, but it saves you the frustration of unraveling subpar work later.
Balance your passion with a plan; use the same discipline you use to manage your budget to set aside “creative time,” ensuring your new hobby nourishes your spirit without draining your financial peace of mind.
Finding Your Rhythm in the Knots
“Starting macrame is a lot like pivoting a career; it’s intimidating when you’re staring at a pile of tangled string, but once you find your rhythm and master those first few knots, you realize that creating something beautiful is just as rewarding as building a solid foundation for your future.”
Rachel Anderson
Tying It All Together
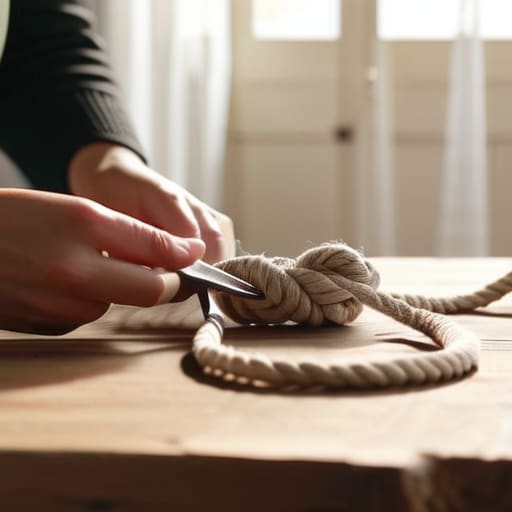
As we wrap up this introductory guide, I hope you feel a little more confident about diving into the tactile, beautiful world of macrame. We’ve covered a lot of ground—from selecting that perfect, soft cotton rope to gathering the essential tools that will become your new creative companions. Remember, the most important part of this process isn’t having a perfectly curated studio or mastering the most complex knot on day one; it’s about the rhythm of the craft and the patience you build along the way. Whether you are making a simple plant hanger to brighten your kitchen or a complex wall hanging, you now have the foundational knowledge to turn a simple spool of cord into something truly meaningful.
Transitioning from my life in spreadsheets to the unpredictable world of culinary entrepreneurship taught me one vital lesson: the most rewarding things in life often require a bit of a messy start. Macrame is much the same. There will be tangled cords and uneven knots, but that is where the magic happens. Don’t let the fear of a mistake keep you from picking up that rope; instead, view every knot as a step toward creative freedom. Life is far too short to stay stuck in a routine that doesn’t feed your soul. So, grab your tools, find your flow, and let’s start creating something beautiful together.
Frequently Asked Questions
How much should I realistically budget for my initial macrame setup before I know if I'll stick with it?
Let’s talk numbers, because I know that “passion project” can quickly turn into “financial headache” if we aren’t careful. To keep things realistic, I’d budget about $40 to $60 for your starter kit. This covers a decent spool of cotton cord, some basic scissors, and a wooden dowel. Think of it as a low-stakes investment in your new hobby—enough to get creative without feeling like you’re overextending your savings!
I'm worried about making a mess—what's the best way to set up a workspace that won't ruin my dining table?
I totally get it—I’ve definitely had a few “oops” moments with flour on my counters, so I know the anxiety! To protect your dining table, grab a thick cutting mat or even a heavy-duty silicone pastry mat; they’re lifesavers. If you’re on a budget, a piece of plywood or a thick felt pad works wonders. It keeps your knots steady and your furniture pristine, so you can focus on the craft, not the cleanup.
If I mess up a knot halfway through a project, is it possible to undo it, or am I stuck starting from scratch?
Oh, take a deep breath—we’ve all been there! I once spent three hours on a complex pattern only to realize my tension was totally off. The good news? You are definitely not stuck! Most macrame is incredibly forgiving. Just grab a seam ripper or some sharp scissors, carefully undo those knots, and work your way back. Think of it like a kitchen mistake; sometimes you have to un-whisk a sauce to get it right. You’ve got this!
