I was sitting on my floor last Sunday, surrounded by scraps of velvet and a mountain of staple remover teeth, staring at a mid-century armchair that looked more like a wounded animal than a piece of furniture. Most people will tell you that learning how to reupholster a chair is a specialized craft reserved for professionals with expensive workshops and decades of experience, but honestly? That’s a total myth. When I first transitioned from my structured life in finance to the beautiful chaos of the culinary world, I realized that everything—from a complex reduction sauce to a DIY home project—is just about breaking a big, intimidating task into manageable, logical steps.
In this guide, I’m stripping away the intimidation factor and giving you the real, no-nonsense blueprint for success. I won’t promise you a Pinterest-perfect masterpiece on your first try, but I will show you how to approach this project with the strategic mindset of an analyst and the soul of a creator. We’ll cover everything from selecting the right fabric to mastering those tricky corners, ensuring you can breathe new life into your space without breaking your budget. Let’s turn that worn-out seat into something you’re actually proud to sit on.
Table of Contents
- Step-by-Step Instructions
- Essential Upholstery Tools and Supplies for Your Creative Journey
- Choosing Upholstery Fabric Types That Spark Pure Joy
- Pro-Tips from My Workshop: Avoiding the Costly Mistakes
- Bringing It All Together: My Top Tips for Your Upholstery Adventure
- Investing in the Soul of Your Home
- From Old Frames to New Favorites
- Frequently Asked Questions
Guide Overview
Tools & Supplies
- Staple gun and staples for securing fabric
- Pliers for pulling old staples and tacking fabric
- Scissors or fabric shears for cutting material
- Needle-nose pliers for precision adjustments
- Screwdriver for removing seat components
- Upholstery fabric (2-3 yards depending on chair size)
- High-density foam padding (1 sheet)
- Batting or wadding (1 roll)
- Replacement staples (1 box)
- Dust cover fabric (1 yard for bottom finish)
Step-by-Step Instructions
- 1. First things first, you need to perform a little “audit” on your chair. Strip it down to the basics by removing the old fabric, staples, and foam. I like to think of this like clearing your books before a new fiscal year; you can’t build something beautiful on top of old, messy data. While the frame is bare, take a moment to inspect the wood for any wobbles or cracks. If it’s unstable, now is the time to tighten those joints so your hard work doesn’t literally fall apart later.
- 2. Once you have a clean slate, it’s time to address the padding. If the old foam is crumbly or lost its shape, don’t try to save it—it’s a bad investment. Instead, layer on some fresh high-density foam and perhaps a bit of batting to create a smooth, professional silhouette. Getting this foundation right is just like building a solid savings account; it might not be the flashy part, but it’s what supports everything else you do.
- 3. Now for the fun part: choosing your fabric. This is where my culinary soul meets my inner analyst. You want something that is aesthetically stunning but also durable enough to withstand real life (and perhaps a stray drop of red wine during a dinner party). When you lay your new fabric over the chair, make sure you leave plenty of extra material on all sides. You’ll want enough slack to work with as you pull it taut around the corners.
- 4. Start your stapling process from the center of each side to ensure even tension. Think of it like balancing a budget—you want to distribute the “weight” equally so nothing feels lopsided. Pull the fabric tight, but don’t pull so hard that you distort the pattern or create weird puckers. I always find that working in small increments helps keep the tension consistent and prevents those frustrating wrinkles that can ruin the whole look.
- 5. As you move toward the corners, you’ll need to get a little strategic with your folds. This is the “make or break” moment for a professional finish. Tuck the excess fabric neatly into the corners, creating clean, crisp pleats rather than bulky lumps. It takes a bit of patience and a steady hand, but seeing those sharp, clean lines emerge is incredibly rewarding and makes the chair look like it came straight from a boutique showroom.
- 6. Finally, give your work a thorough inspection and a quick clean. Check every single staple to make sure nothing is sticking out, and use a pair of pliers to tuck in any stray bits. If you used a fabric spray or if there’s a bit of dust from the process, a quick vacuum will do the trick. Now, grab a glass of wine, sit in your masterpiece, and celebrate your success—you’ve just turned a piece of “junk” into a high-value asset!
Essential Upholstery Tools and Supplies for Your Creative Journey
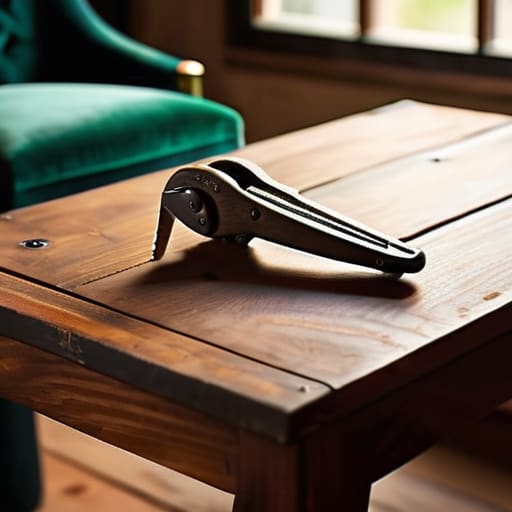
Before you dive into the actual work, let’s talk about your toolkit. I used to think that as long as I had a hammer and some nails, I was good to go, but I quickly learned that the right upholstery tools and supplies make the difference between a DIY disaster and a professional finish. You’ll definitely want a sturdy staple gun—don’t skimp here! Investing in a decent one will save your hands from a lot of unnecessary strain. Also, grab a pair of heavy-duty fabric shears; there is nothing more frustrating than trying to cut through thick velvet with dull kitchen scissors.
Beyond the hardware, don’t overlook the “soft” side of the project. If your seat feels a bit lumpy or sad, replacing chair foam padding is the secret to making that vintage find feel brand new again. It’s like adding the perfect seasoning to a dish—it elevates the entire experience. Lastly, when you’re choosing upholstery fabric types, think about both aesthetics and durability. Since I spend so much time hosting dinner parties, I always lean toward performance fabrics that can handle a little spilled red wine without losing their charm.
Choosing Upholstery Fabric Types That Spark Pure Joy
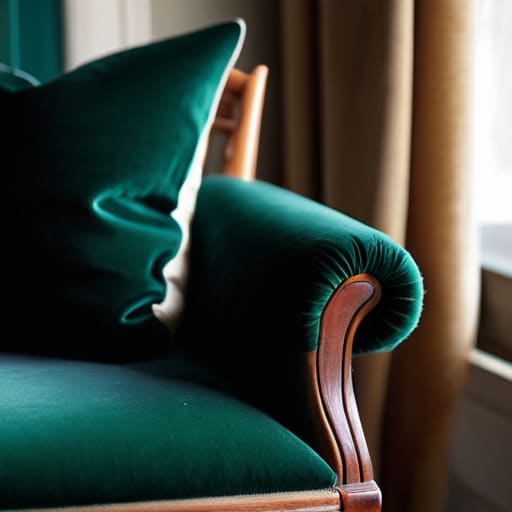
When you finally get to the stage of choosing upholstery fabric types, it feels a bit like being a chef selecting the perfect seasonal ingredient. You want something that looks stunning, but it also has to stand up to the “real life” of your home. If you’re reupholstering a dining chair that will host endless dinner parties, I’d steer you toward a durable synthetic blend or a heavy-duty cotton duck. On the flip side, if you’re working on a delicate accent piece for a reading nook, a luxurious velvet can add that touch of sophisticated soul that makes a room feel complete.
One thing I learned during my finance days—and it applies perfectly to DIY projects—is that you have to consider the long-term ROI. Investing a little more upfront in a high-rub-count fabric can save you from having to redo the job in a year. Also, don’t forget to think about your upholstery pattern making tips before you commit; a large, busy floral print can hide a multitude of sins, while a tight linen weave demands absolute precision. Choose a fabric that doesn’t just look good on a swatch, but one that truly sparks joy every time you sit down.
Pro-Tips from My Workshop: Avoiding the Costly Mistakes
- Don’t toss the old fabric just yet! I know it’s tempting to clear the clutter, but use those old scraps as a literal blueprint. Laying the original material over your new fabric is the best way to ensure your tension is right and your pattern alignment is perfect.
- Think like an economist: invest in quality staples. It’s tempting to grab the cheapest fasteners at the hardware store, but cheap staples can bend or pop out, turning your hard work into a frustrating (and expensive) redo. Go for the heavy-duty stuff.
- Work in small, incremental sections rather than pulling the fabric tight all at once. If you try to stretch the whole piece in one go, you’ll end up with those dreaded, unsightly wrinkles that make even the most expensive velvet look cheap.
- Always keep your “margin of error” in mind. When cutting your new fabric, add at least two to three inches beyond the dimensions of the original piece. Trust me, having a little extra to tuck into the corners is much better than realizing you’re an inch short halfway through.
- Take “progress photos” as you go. When I first started transitioning from spreadsheets to sewing, I realized I couldn’t remember exactly how the underside of the seat looked before I covered it. Documenting the structure helps you troubleshoot if something feels “off” later on.
Bringing It All Together: My Top Tips for Your Upholstery Adventure
Don’t be afraid to invest in quality tools early on; much like choosing the right chef’s knife, having the proper upholstery equipment makes the entire process smoother and much more rewarding.
View every worn-out chair as a fresh opportunity for ROI—both for your home’s aesthetic and your wallet—by breathing new life into pieces you already love.
Trust your creative instincts when picking fabrics, but remember that durability is just as important as beauty if you want your masterpiece to stand the test of time (and many dinner parties!).
Investing in the Soul of Your Home
“Think of reupholstering a chair not just as a DIY project, but as a way to reinvest in the pieces that hold our memories; it’s about taking something with history and giving it the vibrant, fresh life it deserves, much like how we pivot our own lives to find new passions.”
Rachel Anderson
From Old Frames to New Favorites
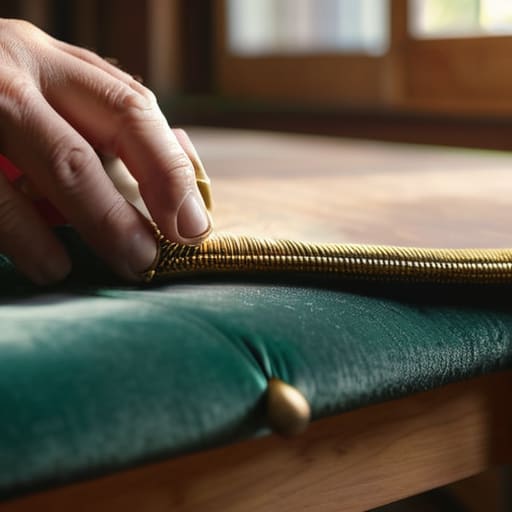
Taking a worn-out chair and breathing new life into it is such a rewarding process, even if it feels a bit daunting at first. We’ve walked through everything from gathering your essential toolkit to selecting that perfect, soul-stirring fabric that turns a piece of furniture into a statement. Remember, the magic really happens in the details—the way you tension the fabric or the way a specific texture catches the light in your dining room. It isn’t just about following a set of instructions; it’s about the art of transformation and the satisfaction of knowing you built something beautiful with your own two hands.
As I look back on my own leap from the structured world of financial analysis to the beautiful chaos of a kitchen startup, I’ve learned that the most worthwhile investments aren’t always found on a balance sheet. Sometimes, the best ROI comes from the time we spend nurturing our creativity and reclaiming the things we love. Whether you are reupholstering a vintage find or pivoting your entire career, don’t be afraid to embrace the messiness of the process. You are creating something uniquely yours, and that sense of accomplishment is worth every single stitch. Now, go grab a glass of wine, sit in your new masterpiece, and celebrate your hard work!
Frequently Asked Questions
How do I know if a chair is actually worth the investment of reupholstering versus just buying a new one?
This is the million-dollar question—literally! Coming from a finance background, I always look at the ROI. Before you commit, check the bones: is the frame solid wood or flimsy particle board? If the structure is sturdy and the silhouette is timeless, it’s worth the investment. I treat it like a vintage cookbook; if the “foundation” is high quality, it’s much more rewarding to restore than to replace with something disposable.
Can I reuse the old foam and padding, or is it better to start fresh for comfort and longevity?
Honestly, if you’re looking at this from a long-term investment perspective, I’d say go for the fresh start. Think of old foam like an expired ingredient in a recipe—it might look okay, but the quality just isn’t there. While reusing old padding saves a few dollars upfront, replacing it ensures your chair stays comfortable for years. Investing in new foam is the best way to guarantee that “sink-in” feeling every single time.
What are your best tips for dealing with tricky corners or curved edges without the fabric bunching up?
Dealing with those stubborn curves can feel a bit like trying to fold a delicate pastry—one wrong move and everything gets messy! My best tip is to work in small, incremental sections. Instead of pulling the fabric tight all at once, use plenty of upholstery pins to “sculpt” the material around the curves first. Think of it like seasoning a dish; you want to build it gradually to ensure a perfectly smooth, seamless finish.
