I was in the middle of prepping a massive batch of homemade pesto for a dinner party when my heavy marble mortar and pestle took a dive, landing squarely on my favorite vintage walnut dining table. My heart sank—not just because of the noise, but because those deep, jagged marks felt like a permanent scar on a piece of furniture I truly love. Most people will tell you that once you see those gouges, you’re looking at an expensive professional restoration or a total replacement, but I’m here to tell you that’s a total myth. Learning how to fix scratched wood doesn’t require a master carpenter’s degree or a massive hole in your budget; sometimes, it just takes a little patience and the right DIY approach.
In this guide, I’m stripping away the complicated jargon to give you the straightforward, no-nonsense steps to getting your surfaces looking flawless again. Whether you’re dealing with a light scuff on a cutting board or a deeper scratch on a centerpiece, I’ll walk you through the exact methods I use to restore my own collection of heirloom pieces. We’re going to focus on practical, cost-effective solutions that respect both your time and your wallet, so you can get back to what really matters: hosting beautiful meals and making memories.
Table of Contents
- Step-by-Step Instructions
- Mastering Wood Filler Application Techniques for Lasting Beauty
- Restoring Wood Finish to Bring Back Your Soulful Spaces
- Pro-Tips from My Kitchen Table: Getting That Flawless Finish
- Bringing It All Together: My Final Thoughts on Restoring Your Space
- The Beauty in the Repair
- Finding Beauty in the Repair
- Frequently Asked Questions
Guide Overview
Tools & Supplies
- Sandpaper (various grits for smoothing)
- Microfiber cloth (for cleaning debris)
- Wood filler (small container for deep scratches)
- Touch-up marker or stain pen (1-2 colors to match)
Step-by-Step Instructions
- 1. Before you dive in, grab a soft, lint-free cloth and some mild dish soap to give the area a good cleaning. You don’t want to be rubbing old food particles or grease into the wood while you’re trying to work, as that can really mess with your finish. Just a gentle wipe-down will ensure you’re working with a clean slate.
- 2. For those tiny, superficial scuffs that haven’t actually broken the surface, I like to use a little bit of walnut magic. Take a raw walnut—yes, a real one from your pantry—and rub the meat of the nut directly over the scratch. The natural oils will seep into the wood and help camouflage the mark almost instantly. It’s a simple, low-stakes trick that feels a bit like a kitchen hack.
- 3. If the scratches are a bit deeper and more stubborn, it’s time to break out the fine-grit sandpaper (I usually recommend something around 220 or 320 grit). You want to sand very lightly and always follow the direction of the wood grain. Think of it like seasoning a dish; you want to be precise and controlled so you don’t accidentally overdo it and create a dip in the surface.
- 4. Once you’ve sanded the area, it’s crucial to clear away every last bit of sawdust. Use a vacuum or a slightly damp cloth to make sure the surface is pristine. If you leave any dust behind, your repair will end up looking clumpy and uneven, which is the last thing we want when we’re trying to restore that beautiful grain.
- 5. Now, it’s time to bring the color back. Depending on the severity, you can use a furniture repair marker or a tiny bit of wood filler that matches your table’s tone. I always tell my friends to test a small, inconspicuous spot first—maybe on the underside of the table—just to make sure the color is a perfect match before committing to the main event.
- 6. To lock everything in and give it that professional glow, apply a thin layer of high-quality furniture wax or a matching wood polish. Buff it out with a clean cloth using circular motions. This step is what really makes the repair seamless and beautiful, turning a damaged piece back into a centerpiece that’s ready for your next dinner party.
Mastering Wood Filler Application Techniques for Lasting Beauty
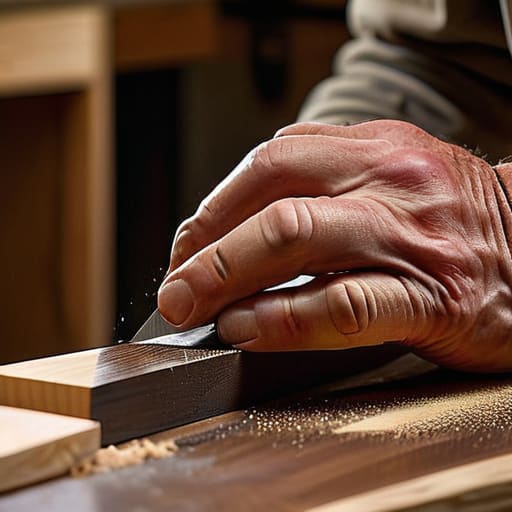
Now, here is where the real artistry happens. If you want to move beyond a quick patch and achieve something that looks professional, you have to master your wood filler application techniques. I like to think of it much like balancing a complex recipe: it’s all about the layering. Instead of trying to jam a huge glob of filler into the scratch all at once, apply it in thin, deliberate layers. This prevents air bubbles from getting trapped and ensures the filler actually settles into the grain rather than just sitting precariously on top.
One thing I learned while tinkering with my own vintage dining table is that matching wood stain colors is often the most intimidating part of the process. Don’t panic! My best advice is to test your stain on a hidden area—like the underside of a chair leg—before committing to the main surface. Once the filler is dry, take your time with the sanding. You aren’t just smoothing it out; you are buffing out wood imperfections to create a seamless transition between the original timber and your repair. It takes a little patience, but the result is worth every second.
Restoring Wood Finish to Bring Back Your Soulful Spaces
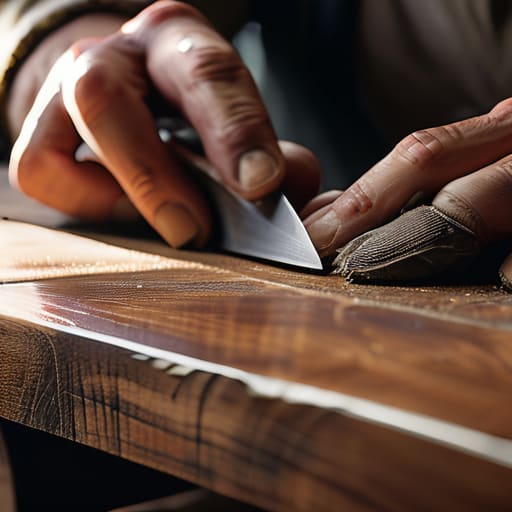
Once you’ve mastered the filler, the real magic happens when you focus on restoring wood finish to make those repairs truly invisible. I remember my first vintage bistro table—it had these deep gouges that made the whole piece look tired. I realized that even the best wood filler application techniques won’t save a piece if the sheen is mismatched. To get that seamless look, you’ll want to start by lightly sanding the area to ensure the surface is level before you even think about color.
If you’re dealing with lighter marks, you might find that buffing out wood imperfections with a fine-grit abrasive or a specialized polishing cloth does the trick without needing heavy pigments. However, if the scratches are deep, the trick is all in matching wood stain colors precisely. I always suggest testing your stain on a hidden corner of the furniture first—think of it like seasoning a sauce; you want to add just enough to achieve the perfect balance without overdoing it. Taking this extra step ensures your soulful, well-loved pieces look whole again.
Pro-Tips from My Kitchen Table: Getting That Flawless Finish
- Don’t rush the sanding process—think of it like slow-cooking a reduction; if you go too fast, you’ll lose the depth and texture you’re trying to preserve.
- Always test your wood filler or stain on a tiny, inconspicuous spot first, because what looks great in the light of a shop can look totally different under your dining room chandelier.
- Match your grain, not just your color; if you’re working on a piece with a beautiful, sweeping pattern, make sure your repairs follow that same natural flow so they don’t jump out at you.
- Invest in high-quality microfibers for cleaning between steps, because even a tiny bit of leftover dust can act like sandpaper and ruin all your hard work once you start polishing.
- Remember that perfection is overrated—sometimes a tiny, well-blended repair is better than over-working the wood and stripping away its unique character and history.
Bringing It All Together: My Final Thoughts on Restoring Your Space
Don’t sweat the small stuff—scratches are just part of a piece of furniture’s history, and a little bit of TLC is often all it takes to make it feel like home again.
Precision matters just as much as patience; whether you’re blending wood filler or buffing a finish, taking that extra minute to get the texture right makes all the difference in the final result.
Think of restoration as an investment in your environment; by taking care of what you already own, you’re creating a soulful, beautiful space that’s ready for years of shared meals and memories.
The Beauty in the Repair
“Just like a well-loved recipe that evolves over time, a scratched wooden table tells the story of every dinner party and late-night conversation it’s hosted; fixing those marks isn’t about erasing the past, but about polishing our favorite spaces so they’re ready for the memories yet to come.”
Rachel Anderson
Finding Beauty in the Repair
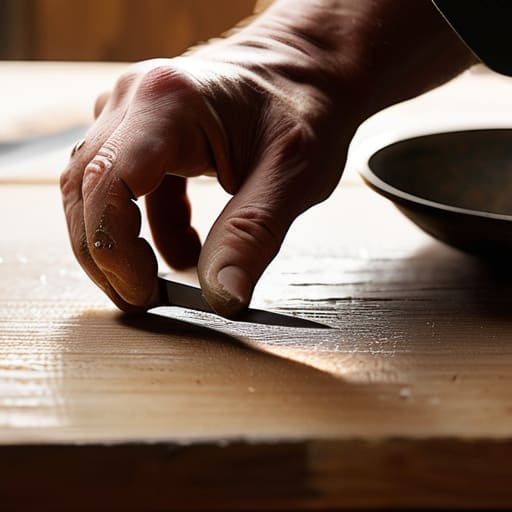
Taking the time to fix those scratches might feel like a daunting DIY project, but it’s truly all about the details. By carefully selecting the right wood filler, mastering your application technique to ensure a seamless surface, and being patient while restoring the finish, you’ve done more than just a quick patch job. You have successfully preserved the integrity of your furniture and prevented further damage from setting in. Whether it was a stray knife mark from a frantic dinner party or a scratch from moving a heavy heirloom, you now have the tools and the knowledge to ensure your favorite pieces look as beautiful as the memories they hold.
If there is one thing my transition from the high-stakes world of finance to the unpredictable culinary scene has taught me, it’s that imperfections are often where the story lives. Just like a well-seasoned cast iron skillet or a career path that isn’t a perfectly straight line, our things—and our lives—gain character through the marks left behind. Don’t let a few scuffs make you feel like something is broken beyond repair. Instead, view these moments as opportunities to restore, refine, and move forward with even more grace. Now, grab a glass of wine, sit down at that beautiful table, and enjoy the meal you’ve earned!
Frequently Asked Questions
I'm worried about making it look worse—how can I tell if a scratch is too deep for wood filler and actually requires sanding down the whole surface?
I totally get that anxiety—I remember feeling the same way when I first started DIYing my kitchen counters! Here’s my rule of thumb: run your fingernail gently across the scratch. If your nail catches deeply or you can see the raw, unsealed wood grain clearly, it might be too deep for a quick filler fix. If it feels like a canyon rather than a groove, it’s probably time to grab the sander and reset the surface.
Since I love using vintage wooden cutting boards and serving platters, are there any food-safe ways to seal the wood once I've fixed the scratches?
Since you’re working with vintage boards and platters, safety is everything! I always lean on food-grade mineral oil for a quick, easy refresh—it’s a staple in my kitchen. For a more durable, long-term seal, I highly recommend beeswax blends. They create a beautiful, protective barrier that makes your platters pop without any nasty chemicals. It’s the perfect way to honor those old pieces while making sure they’re ready for your next big dinner party!
If I'm working on a piece of furniture that has a really dark, expensive stain, how do I match the color of the filler without it looking like a patchy mess?
Matching a dark, expensive stain is definitely where the nerves kick in—I remember sweating over a vintage mahogany sideboard once! My best advice? Don’t try to hit the perfect shade with the filler alone. Use a slightly lighter filler, then layer on a wood stain marker or a tinted wax. It’s all about building depth. Think of it like seasoning a dish; you add layers to get that rich, seamless finish without the patchiness.
