I was standing in my backyard last Sunday, clutching a lukewarm latte and staring at a pile of cedar planks, wondering why I felt more intimidated by this DIY project than I ever did by a quarterly fiscal report. Most people think that learning how to build a birdhouse requires a master carpenter’s toolkit or a degree in structural engineering, but honestly? That’s just a myth that keeps us from actually doing the things we love. I realized that just like transitioning from the high-stakes world of finance to the unpredictable life of a chef, starting a new craft is mostly about embracing the mess and finding your rhythm amidst the sawdust.
In this guide, I’m stripping away the fluff and the overly complicated blueprints to give you a realistic, budget-friendly roadmap. I’ll walk you through exactly how to build a birdhouse that isn’t just a decorative piece, but a sturdy, functional little sanctuary that your local birds will actually want to move into. We’re going to focus on practicality over perfection, ensuring you walk away with a finished project and the confidence to tackle your next big passion project without breaking the bank.
Table of Contents
- Step-by-Step Instructions
- Choosing the Best Wood for Outdoor Birdhouses and Longevity
- Essential Woodworking Tools for Birdhouses and Creative Projects
- Pro-Tips from My Workshop: Small Details That Make a Big Difference
- Final Thoughts: Building Something That Lasts
- ## More Than Just Wood and Nails
- Bringing Your Project Home
- Frequently Asked Questions
Guide Overview
Tools & Supplies
- Handsaw or miter saw for cutting wood
- Hammer for assembling pieces
- Drill with spade bit for entrance hole
- Measuring tape for accuracy
- Cedar or pine board (1" x 6" x 4')
- Galvanized nails (1.5 inch)
- Wood glue (waterproof)
- Sandpaper (medium grit)
Step-by-Step Instructions
- 1. First things first, let’s talk about your “ingredients.” Just like sourcing the perfect organic heirloom tomato for a risotto, you can’t skimp on your materials. Head to your local hardware store and grab some untreated cedar or pine; you want to avoid anything chemically treated that might be harmful to our little feathered friends. You’ll also need a saw, a hammer, some galvanized nails, and a drill with a spade bit for that crucial entrance hole.
- 2. Once you have your supplies, it’s time for the prep work. Measure out your wood panels for the floor, the four walls, and the roof. I like to think of this as the foundational budgeting phase of any project—if your measurements are off now, you’ll be paying for it in frustration later! Use a pencil to mark your lines clearly so you aren’t guessing when it’s time to cut.
- 3. Now, let’s get cutting. Carefully saw your wood into the designated pieces. If you’re feeling a bit nervous about the saw, don’t sweat it; just take it slow and prioritize precision over speed. Once you have your pieces, use your drill to create the entrance hole on the front panel. A 1.5-inch hole is usually the “sweet spot” for many common backyard birds like bluebirds.
- 4. It’s time to assemble the structure! Start by nailing the sides to the floor piece, and then attach the back panel. As you work, think of this as building a diversified portfolio—each piece needs to be securely connected to create a stable, lasting whole. Make sure the joints are tight to keep the wind out and the warmth in.
- 5. Next, attach your front panel (the one with the hole) and the roof. When you’re installing the roof, I highly recommend giving it a slight overhang in the front. This acts like a little porch awning, protecting the entrance from heavy rain and keeping the interior cozy and dry.
- 6. For the final touch, let’s talk about placement. You don’t want to just toss this anywhere in the yard! Find a spot that is about five to ten feet off the ground, ideally in a place that feels safe and tucked away from predators. Mounting it on a pole or a tree trunk in a quiet corner of your garden is the perfect way to welcome your new neighbors.
Choosing the Best Wood for Outdoor Birdhouses and Longevity
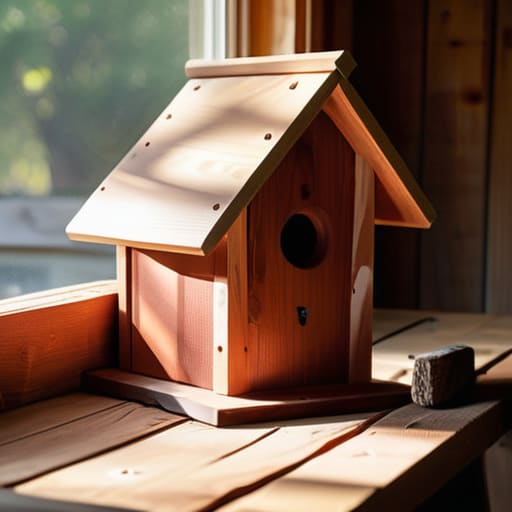
When I first started my transition from analyzing spreadsheets to analyzing sourdough hydration, I learned one huge lesson: your foundation matters more than anything else. The same applies here. If you’re wondering about the best wood for outdoor birdhouses, you really want something that can withstand the elements without constant maintenance. In my experience, there is a clear winner when it comes to the debate of cedar vs pine for birdhouses. While pine is affordable and easy to work with, it tends to rot quickly when exposed to rain and humidity. Cedar, on the other hand, is naturally rot-resistant and ages beautifully, much like a well-loved vintage cookbook.
If you’re on a tighter budget, you can use pine, but you’ll need to be much more diligent with eco-friendly sealants. However, if you want to “set it and forget it” so you can focus on enjoying your garden, I highly recommend investing in cedar or redwood. Just a quick tip from my own DIY mishaps: avoid using pressure-treated lumber. The chemicals used to preserve that wood can actually be harmful to the birds, and we want our backyard visitors to feel completely safe in their new homes.
Essential Woodworking Tools for Birdhouses and Creative Projects
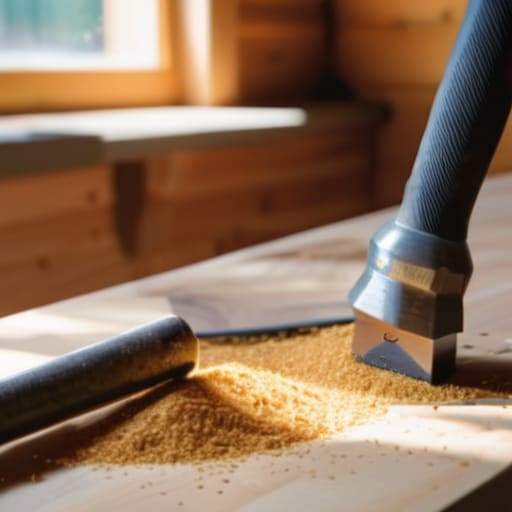
Now, before you go diving into your garage to see what you can scavenge, I want to talk about the gear. Transitioning from spreadsheets to sawdust has taught me one thing: having the right woodworking tools for birdhouses makes the difference between a stressful afternoon and a meditative creative session. You don’t need a professional-grade workshop, but a reliable handsaw, a hammer, and a drill with a few different bit sizes are non-negotiable. If you want to get fancy, a cordless drill is a total game-changer for making clean entrance holes, which is vital if you are trying to meet specific birdhouse dimensions for specific species.
I also can’t stress enough how important it is to invest in a good measuring tape and a speed square. In my old life, a decimal point error could ruin a financial model; here, a crooked cut just means your birdhouse looks a little “rustic.” If you’re feeling ambitious, a small orbital sander can help smooth out those edges, ensuring the finish is safe for your new feathered neighbors. Remember, the goal isn’t perfection—it’s about creating a sturdy, welcoming home that lasts through the seasons.
Pro-Tips from My Workshop: Small Details That Make a Big Difference
- Keep it natural—while I love a good aesthetic in my kitchen, birds aren’t as picky about color as we are. Skip the toxic paints and stick to natural finishes so your new feathered neighbors feel safe moving in.
- Mind the entrance hole size. This is actually a bit like market segmentation in economics; you have to be specific! If the hole is too large, bigger birds or predators might move in and take over the space.
- Don’t forget the drainage and ventilation. Just like a well-managed business needs airflow to thrive, a birdhouse needs small holes in the bottom for drainage and near the roof for airflow to keep the nestlings from overheating.
- Skip the perch. It might look cute in a Pinterest photo, but perches actually make it easier for predators to hang on and reach inside. Let the birds use their own natural agility to get in and out!
- Plan for easy cleaning. I always say, if you can’t audit it, you can’t manage it. Design your birdhouse with a side panel or a removable bottom so you can tidy it out once the nesting season is over.
Final Thoughts: Building Something That Lasts
Remember that choosing the right materials, like cedar or redwood, is an investment in the longevity of your birdhouse and the happiness of your local feathered friends.
Don’t let the fear of a complex tool list stop you; start with the essentials and let your creativity grow as you become more comfortable with your craft.
Much like transitioning careers or perfecting a new recipe, woodworking is a journey of patience—focus on the process and the joy of creating something with your own two hands.
## More Than Just Wood and Nails
Building a birdhouse isn’t just about following a blueprint or getting the measurements perfect; it’s about the intentionality of creating a little sanctuary, proving that even with a bit of planning and a lot of heart, we can build something beautiful from scratch.
Rachel Anderson
Bringing Your Project Home
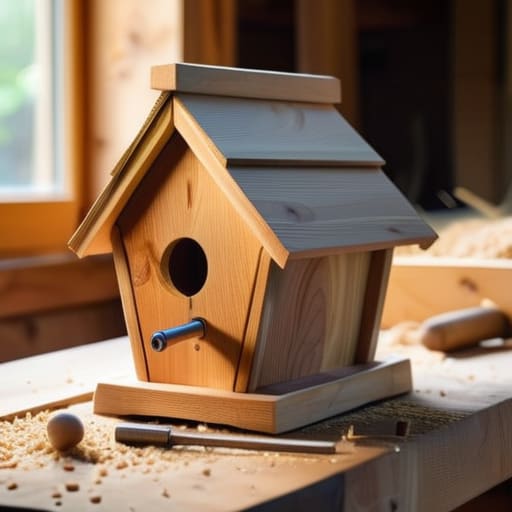
As we wrap up this little woodworking adventure, I hope you feel more confident about the process. We’ve covered everything from selecting the perfect, weather-resistant wood to ensuring you have the right tools to make the job smooth and enjoyable. Remember, building a birdhouse isn’t just about following a set of instructions; it’s about the intentionality behind the materials you choose and the care you put into the assembly. Whether you went with cedar for that classic look or used specialized tools to get those joints just right, you’ve successfully created something functional and beautiful that will serve your local ecosystem for years to come.
If there is one thing my journey from spreadsheets to sourdough has taught me, it’s that the most rewarding things in life often require a bit of hands-on patience. Just like perfecting a complex recipe or pivoting a career, building something from scratch can feel intimidating at first, but the sense of accomplishment is absolutely worth the learning curve. Don’t be afraid to make a few mistakes along the way—that’s where the real growth happens! So, grab your hammer, find a sunny spot in your garden, and get ready to welcome some new feathered friends to your home. You’ve totally got this!
Frequently Asked Questions
How can I make sure the birdhouse is safe for the birds and doesn't attract predators?
This is such a thoughtful question! Just like when I was calculating risk in finance, we want to minimize the “downside” for our little feathered friends. To keep them safe, avoid using treated lumber with harsh chemicals—stick to natural cedar or pine. Also, skip the perches; they actually help predators gain leverage! Instead, focus on a clean entrance hole size and perhaps a baffle on your mounting pole to keep the neighborhood cats at bay.
What's the best way to hang or mount my new birdhouse so it stays secure during a storm?
After all that hard work selecting the perfect wood, the last thing you want is a gust of wind sending your masterpiece tumbling! I like to think of mounting a birdhouse like managing a startup: you need a rock-solid foundation. For maximum security during storms, I recommend using galvanized screws rather than nails to prevent shifting. If you’re mounting it to a post, a sturdy metal bracket works wonders to keep everything steady and secure.
Do I need to paint or stain the wood, and are there specific non-toxic options I should look for?
That’s such a great question! Honestly, I’d lean towards leaving the wood natural or using a very light, non-toxic stain. Birds can be surprisingly picky about their homes! If you do want to add some color, stick to water-based, low-VOC finishes to keep things safe for your feathered neighbors. Think of it like choosing organic ingredients for a recipe—you want the best, safest stuff for the ones you’re caring for!
