I was standing in my kitchen last Tuesday, staring at a stack of vintage French cookbooks that were currently occupying precious real estate on my dining table, when I realized my dream of a curated culinary sanctuary was being held hostage by empty wall space. Most people will tell you that DIY home improvement is all about expensive power tools and a degree in engineering, but let me tell you the truth: knowing how to install a shelf is actually more about strategic planning than it is about brute strength. Just like transitioning from a high-stakes finance career to running a kitchen, it’s all about having the right foundation and knowing exactly where to place your support before you make your move.
In this guide, I’m stripping away the intimidating jargon to give you a straightforward, no-nonsense roadmap for getting those brackets into the wall with confidence. We aren’t just going to talk about hammers and nails; I’m going to show you how to measure with precision and choose the right anchors so your precious treasures—whether they are heavy cast-iron pans or delicate ceramics—stay exactly where they belong. Let’s turn that cluttered corner into a beautiful, functional part of your home.
Table of Contents
- Step-by-Step Instructions
- Mastering Wall Stud Finder Usage for Lasting Stability
- Choosing Between Heavy Duty Shelf Mounting Hardware and Anchors
- Pro-Tips for a Shelf That Actually Holds Your Culinary Treasures
- Final Thoughts: Building a Foundation for Your Passion
- More Than Just Wood and Screws
- From Studs to Style: The Final Touch
- Frequently Asked Questions
Guide Overview
Tools & Supplies
- Drill/Driver for creating holes and driving screws
- Level to ensure the shelf is straight
- Pencil for marking installation points
- Measuring tape for accurate spacing
- Shelf and brackets 1 set
- Wall anchors and screws 1 pack
- Wall screws 1 pack
Step-by-Step Instructions
- 1. Before you even touch a drill, grab your level, a pencil, and a measuring tape. I’ve learned the hard way that eyeballing it is a recipe for a crooked shelf that makes your beautiful vintage cookbooks look like they’re sliding off. Mark your desired height on the wall, then use the level to draw a light, straight line across the space where the shelf will sit.
- 2. Now, we need to talk about the “bones” of your wall. Take your stud finder and trace along your marked line to locate the wooden studs behind the drywall. If you can secure your brackets directly into a stud, you’re golden; it provides the structural integrity needed to hold heavy ceramic bowls or thick culinary encyclopedias without a second thought.
- 3. If your studs aren’t exactly where you want your shelf to be—which happens more often than I’d like—don’t panic. This is where high-quality drywall anchors come into play. Just make sure you select the right type for your wall; using the wrong anchor is a bit like underestimating market volatility—it might look fine for a moment, but eventually, things are going to crash.
- 4. Once you’ve marked your anchor or stud points, go ahead and drill your pilot holes. I like to use a drill bit that is slightly smaller than my hardware to ensure a tight, secure fit. Take your time here; precision is everything when you’re setting the foundation for something that will hold your most prized possessions.
- 5. Align your shelf brackets with your marks and screw them into place. If you’re using anchors, follow the specific instructions on the package to ensure they are seated firmly. I always give the brackets a little firm tug to make sure they aren’t budging before I even think about placing a single dish on the shelf.
- 6. Lay your shelf plank across the brackets and check it one last time with your level. Once you’re satisfied that it’s perfectly flat, secure the shelf to the brackets using the provided screws. It’s such a rewarding feeling to see the hardware disappear and the wood take center stage, ready to become a part of your home.
- 7. Finally, it’s time for the best part: the styling! Start by placing your heaviest items—like those heavy stoneware crocks or large cookbooks—on the ends near the brackets for maximum support. As you move inward, you can add lighter decorative elements, creating a look that is both functional and beautiful, much like a well-balanced investment portfolio.
Mastering Wall Stud Finder Usage for Lasting Stability
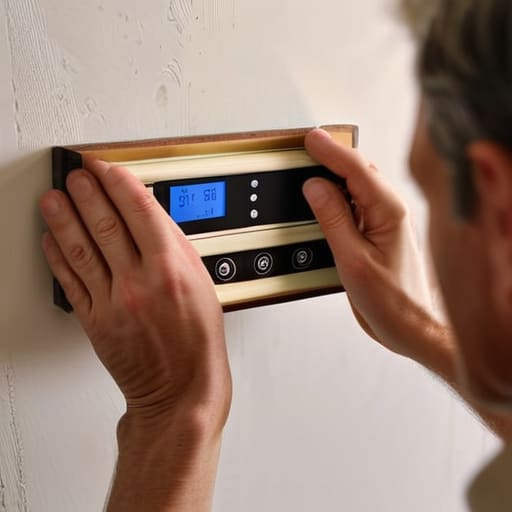
Now, if you’re anything like me, your dream shelf is going to eventually host a heavy collection of vintage cookbooks or perhaps a beautiful ceramic set from your travels. This is where most people make a costly mistake: they assume the drywall can do all the heavy lifting. While you can use wall anchors for floating shelves for light decor, anything substantial requires you to find the bones of the house. Mastering wall stud finder usage is essentially the difference between a Pinterest-worthy display and a midnight cleanup of shattered porcelain.
When you’re scanning the wall, don’t just rely on the first “beep” you hear. I always recommend marking both sides of the stud to ensure you’re hitting the center; there’s nothing more frustrating than realizing your screw is grazing the edge of the wood. If your layout doesn’t align perfectly with the studs, don’t panic. You can always bridge the gap by choosing specific shelf bracket types that allow for more flexibility, or by investing in some high-quality heavy-duty hardware. It’s all about building a foundation that lasts, much like the financial planning I used to do back in my analyst days!
Choosing Between Heavy Duty Shelf Mounting Hardware and Anchors
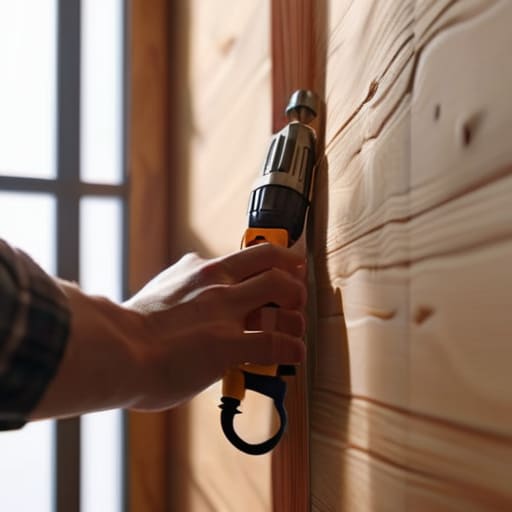
Now, this is where my background in financial analysis actually kicks in—it’s all about risk assessment. You wouldn’t invest your entire savings into a volatile startup without a backup plan, right? The same logic applies to your walls. If you’re planning to display a heavy collection of vintage cookbooks or a ceramic set, you really need to consider the difference between drilling into drywall vs studs. While wall anchors can work for light decor, they lack the long-term structural integrity needed for a heavy load.
If you’ve found a stud, you’re golden, but if your dream layout requires placing a shelf in an awkward, stud-less gap, don’t panic. This is where investing in high-quality heavy duty shelf mounting hardware becomes non-negotiable. I always tell my friends: don’t skimp on the hardware just to save a few dollars upfront; it’s much more expensive to repair a crumbled wall and a shattered heirloom later! Choosing the right shelf bracket types—whether they are sleek L-brackets or hidden supports for a floating look—will ensure your beautiful new display stays exactly where you put it.
Pro-Tips for a Shelf That Actually Holds Your Culinary Treasures
- Always double-check your level before you drill; there is nothing more heartbreaking than a beautiful display of vintage cookbooks that looks like it’s slowly sliding toward the floor.
- Think about the “weight budget” of your shelf—if you’re planning to display heavy ceramic bowls or thick art books, you’ll want to prioritize those stud connections we talked about over simple drywall anchors.
- Don’t forget to account for your “visual breathing room” by measuring the distance between shelves, ensuring you have enough vertical space to actually pull a recipe book out without knocking over your spice jars.
- Use a little bit of painter’s tape to mark your drill points beforehand; it’s a small step that saves you from making permanent mistakes on your walls that even the best designer can’t hide.
- Treat your shelf installation like a small business investment—take the extra ten minutes now to ensure it’s sturdy, because a collapsed shelf is a messy, expensive setback you don’t need!
Final Thoughts: Building a Foundation for Your Passion
Prioritize stability over aesthetics by always locating your studs; your collection of vintage cookbooks is far too precious to risk a collapsed shelf.
Match your hardware to your ambition—if you’re planning to display heavy ceramics or thick culinary encyclopedias, don’t settle for flimsy anchors when heavy-duty mounting is an option.
View this small DIY project as a metaphor for your bigger goals: taking the time to do the foundational work correctly ensures that your dreams (and your decor) stay securely in place.
More Than Just Wood and Screws
“Installing a shelf is about so much more than just finding a stud or driving a screw; it’s about creating a dedicated space for the things that nourish your soul—whether that’s a collection of vintage cookbooks or the tools of your next big passion project.”
Rachel Anderson
From Studs to Style: The Final Touch
Now that we’ve navigated the technicalities, you’re officially ready to transform that empty wall into something functional and beautiful. Remember, the secret to a shelf that doesn’t just look good but actually lasts a lifetime lies in the prep work we discussed. By accurately locating your wall studs and selecting the right heavy-duty hardware instead of relying on flimsy anchors, you’ve essentially built a solid foundation for your home. It’s a lot like my old life in finance: you can have the most ambitious growth strategy in the world, but if your underlying structural integrity is weak, the whole thing is going to crash. You’ve done the heavy lifting, and now it’s time to reap the rewards.
As you start placing your favorite vintage cookbooks or those hand-thrown ceramic bowls on your new display, take a second to appreciate the work you put in. Building something with your own hands—whether it’s a sturdy shelf or a brand-new career path—requires patience, the right tools, and a little bit of courage to tackle the “scary” parts. Don’t let the fear of a misplaced drill hole stop you from creating a space that truly reflects who you are. Life is far too short to live among clutter or unfulfilled dreams. Go ahead, hang that shelf, and make room for the things that bring you genuine joy.
Frequently Asked Questions
What if I don't have any wall studs nearby—can I still hang my heavy vintage cookbooks safely?
Don’t panic! I’ve definitely been there—staring at a beautiful stretch of drywall and wondering how on earth my collection of heavy, vintage cookbooks is going to stay put. If you can’t find a stud, high-quality toggle bolts are your best friend. They create a secure anchor behind the wall that can handle serious weight. Just remember: invest in the good hardware. It’s much better to spend a few extra dollars now than to see your precious culinary treasures end up on the floor!
How do I make sure my shelf is perfectly level without it looking wonky in my kitchen?
There is nothing more frustrating than hanging a beautiful row of spices only to realize they’re slowly sliding toward one side! To avoid that “wonky” look, ditch the guesswork and grab a bubble level. Once you’ve marked your holes, place the level on top of the shelf. If the bubble isn’t dead center, adjust your marks before drilling. It’s just like balancing a budget—a little precision upfront saves a lot of headache later!
Are there specific types of hardware I should use if I'm mounting these shelves into drywall versus a brick wall?
This is where my old analyst brain kicks in—it’s all about assessing the foundation before you commit your capital! For drywall, please, skip the basic nails; use heavy-duty toggle bolts or specialized drywall anchors to prevent that dreaded “sag.” But if you’re facing a brick wall, you’ll want masonry drill bits and expansion anchors or concrete screws. It’s a bit more work upfront, but it ensures your beautiful collection stays exactly where it belongs.
