I remember standing in my tiny San Francisco kitchen, surrounded by expensive essential oils and a mountain of half-finished, lumpy bars that looked more like sidewalk chalk than luxury skincare. I had spent a small fortune on “expert” kits, convinced that learning how to make soap required a chemistry degree and a massive startup budget. But here is the truth I learned the hard way: you don’t need a laboratory or a massive bank account to create something beautiful. In fact, the most rewarding part isn’t the complexity; it’s the soulful simplicity of turning raw, natural ingredients into something that nourishes both your skin and your spirit.
In this guide, I’m stripping away the intimidating jargon and the unnecessary fluff to give you a real-world roadmap. I’ll walk you through the essential tools, the safety basics, and the precise steps to master the craft without breaking your budget. Whether you’re looking for a way to decompress after a long work week or you’re scouting for a profitable side hustle to supplement your main income, I promise to share the no-nonsense, practical advice I wish I had when I first started. Let’s get making!
Table of Contents
- Step-by-Step Instructions
- Mastering Cold Process Soap Making Methods for Creative Profits
- Essential Oils for Natural Soap and Soulful Scents
- Small Tweaks for Big Success: My Top 5 Pro-Tips for Soap Makers
- Making the Most of Your Sudsy Side Hustle
- The Art of the Pivot
- From Suds to Success: Your Next Chapter
- Frequently Asked Questions
Guide Overview
Tools & Supplies
- Digital scale for precise measurements
- Stick blender for emulsifying oils and lye
- Heat-resistant glass beaker or pitcher for lye solution
- Silicone molds for shaping the soap
- Coconut oil (approx. 500g)
- Olive oil (approx. 500g)
- Sodium hydroxide/Lye (approx. 140g)
- Distilled water (approx. 330g)
- Essential oils (30ml for scent)
Step-by-Step Instructions
- 1. First things first, we need to gather our “capital”—and in this case, I’m talking about your ingredients and gear. You’ll need olive oil, coconut oil, and lye (sodium hydroxide), along with a digital scale because precision is everything when you’re dealing with chemistry. Grab a stainless steel pot, a silicone spatula, and a stick blender; trust me, trying to hand-stir this is a recipe for a very sore arm and a lot of wasted time.
- 2. Safety is the ultimate investment, so please don’t skip this part. Before you even touch an ingredient, put on your gloves, long sleeves, and eye protection. When you mix the lye into your distilled water, it’s going to get quite hot and release some fumes, so make sure you’re working in a well-ventilated space to keep things safe and comfortable.
- 3. Once your lye-water mixture has cooled down to a lukewarm temperature, it’s time to prep your oils. Melt your coconut oil and combine it with your olive oil in a large mixing bowl. You want both your lye solution and your oils to be within a similar temperature range—roughly between 90°F and 110°F—to ensure the perfect emulsion later on.
- 4. Now, we get to the heart of the process: combining the two. Slowly pour your lye solution into the oil mixture while using your stick blender. You’ll start seeing the mixture thicken, a stage we call “trace.” It’s a bit like watching a successful stock trend upward; you’ll know you’re there when the mixture reaches a consistency similar to pudding.
- 5. This is where you can get really creative and add your personal flair. If you have essential oils or natural colorants like clays or dried botanicals, now is the time to fold them in. Think of this as the “fusion” stage of your recipe, where you blend your unique vision with the foundational science to create something truly special.
- 6. Once everything is perfectly blended, pour your soap batter into a silicone mold. Tap the mold firmly on the counter a few times to release any trapped air bubbles—it’s a small detail that makes a massive difference in the final texture. Cover the mold with a piece of parchment paper and a towel to help insulate the heat as it sets.
- 7. Finally, patience is your best friend. You’ll need to let your soap sit in the mold for about 24 to 48 hours until it’s firm enough to unmold. Once it’s out, cut it into your desired bar shapes and set them on a drying rack. Now comes the hardest part: you have to let them cure for 4 to 6 weeks to ensure the bar is hard, long-lasting, and gentle on your skin.
Mastering Cold Process Soap Making Methods for Creative Profits
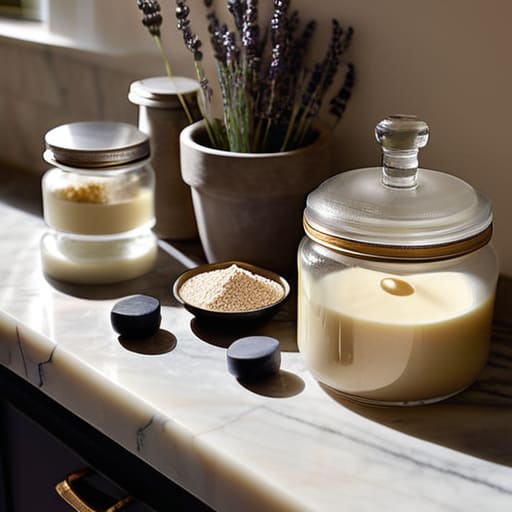
Once you’ve mastered the basics, the real magic happens when you start treating your kitchen like a boutique laboratory. Transitioning from a hobbyist to someone who can actually turn a profit requires a deep dive into cold process soap making methods that prioritize both consistency and cost-efficiency. I always tell my friends that while it’s tempting to throw random ingredients together, scaling a business means understanding your margins. Investing in a high-quality soap making equipment list early on—like a reliable stick blender and precise digital scales—will save you so much heartache (and wasted ingredients) as you move from small batches to larger production runs.
To really set your brand apart in a crowded market, you have to lean into the sensory experience. This is where your choice of scents becomes your signature. I’ve found that using high-grade essential oils for natural soap not only elevates the product to a luxury tier but also appeals to the growing demographic of eco-conscious consumers. Remember, people aren’t just buying a bar of soap; they are buying a moment of intentional self-care. When you blend that premium feel with smart financial planning, you’re not just making soap—you’re building a legacy.
Essential Oils for Natural Soap and Soulful Scents
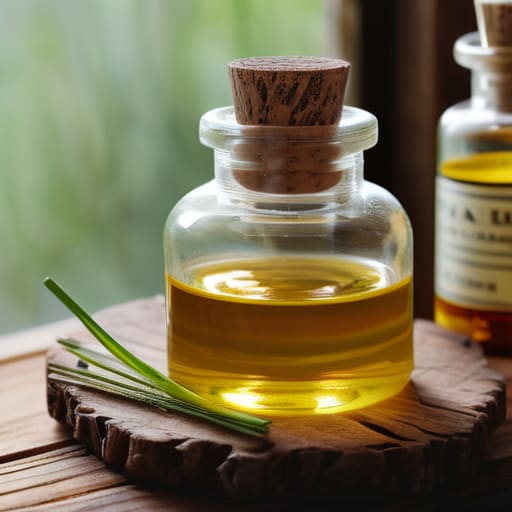
When it comes to scenting your creations, I always tell my friends that choosing your aromatics is where the real magic—and the soul—of your craft happens. While synthetic fragrances are easy, I’m a firm believer in using essential oils for natural soap to create a truly sensory experience. There is something so grounding about the earthy aroma of cedarwood or the bright, uplifting zing of lemongrass. Just a little tip from my own kitchen experiments: always scent your oils at the trace stage to ensure the fragrance holds up during the curing process.
However, don’t let the “natural” label fool you into thinking it’s all sunshine and roses; precision is still your best friend. Since essential oils are potent, I recommend keeping a small notebook to track your exact ratios. It’s a lot like my old days in finance—consistency is the key to scalability. If you eventually want to turn this hobby into a side hustle, mastering these scent profiles now will help you build a signature brand that smells like luxury and feels like home.
Small Tweaks for Big Success: My Top 5 Pro-Tips for Soap Makers
- Safety first, always! When you’re working with lye, think of it like handling high-stakes financial data—precision is everything. Invest in a good pair of goggles and gloves, and always add your lye to the water (never the reverse!) to avoid any unexpected “market crashes” in your kitchen.
- Don’t be afraid to play with your “portfolio” of scents. While I love the classics, experimenting with unique botanical infusions or unexpected spice blends is where your creative brand really starts to shine and sets you apart from the crowd.
- Patience is your best friend when it comes to curing. I know, I know—it’s tempting to want to see the finished product immediately, but letting your bars cure for the full 4-6 weeks ensures a harder, longer-lasting bar that your customers (and your bank account) will thank you for.
- Keep a meticulous “ledger” of your recipes. Just like tracking expenses, documenting every single gram of oil and every drop of essential oil is crucial. If you hit a home run with a specific lavender-lemon blend, you’ll want that exact formula ready to scale when demand picks up!
- Master the art of the “swirl” to add value. You don’t need expensive equipment to make a visually stunning bar; a simple toothpick or a small spatula can create beautiful, artisanal patterns that turn a basic soap into a premium product people are willing to pay a little extra for.
Making the Most of Your Sudsy Side Hustle
Treat soap making as both a creative outlet and a strategic investment; by mastering the cold process method, you’re building a high-quality product that can eventually turn your passion into a profitable boutique brand.
Don’t skimp on the sensory experience—using high-quality essential oils isn’t just about the scent, it’s about creating a premium, soulful product that stands out in a crowded market and keeps customers coming back.
Balance is everything, so remember to view this craft as a way to decompress from your day job rather than just another task on your to-do list; the goal is to nourish your soul while you build your financial future.
The Art of the Pivot
“Learning to craft your own soap is so much more than just a DIY project; it’s a beautiful metaphor for life. Just like a successful career pivot, you start with raw, disparate elements, apply a little patience and the right formula, and eventually, you transform them into something entirely new, fragrant, and incredibly rewarding.”
Rachel Anderson
From Suds to Success: Your Next Chapter
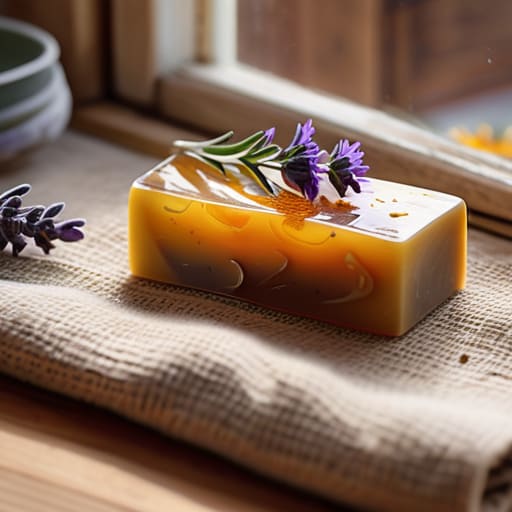
As we wrap up this deep dive, I hope you feel more confident about stepping into the world of soap making. We’ve journeyed through everything from mastering the technical nuances of the cold process method to selecting those perfect, soul-soothing essential oils that turn a simple bar of soap into a sensory experience. Remember, whether you are crafting these for your own self-care rituals or looking at them as a potential side hustle to boost your creative bank account, the key is to start small and stay consistent. By focusing on high-quality ingredients and a bit of patience during the curing stage, you are setting yourself up for long-term success and quality results.
If there is one thing my transition from the high-stakes world of finance to the kitchen has taught me, it’s that the most rewarding investments often require a little bit of mess and a lot of heart. Don’t let the fear of a failed batch hold you back from trying something new. Every mistake is just another ingredient in your unique recipe for growth. I truly believe that when you align your financial goals with your creative passions, you create a life that feels as rich and fulfilling as a perfectly balanced meal. So, grab your lye, pick your favorite scent, and go make something beautiful!
Frequently Asked Questions
How do I figure out if I'm actually making a profit on my handmade soaps after accounting for all those expensive essential oils and supplies?
This is where my Berkeley economics brain kicks back into gear! To find your true profit, you need to calculate your “COGS”—Cost of Goods Sold. Don’t just track the oils; factor in the labels, shipping, and even the electricity for your workspace. Subtract every single one of these tiny expenses from your sale price. If that number isn’t comfortably above your labor time, it’s time to adjust your pricing or source supplies more strategically!
Is it safe to sell my soap creations to friends and family, or do I need to jump straight into more formal business regulations?
It’s tempting to just start swapping bars for cash at Sunday brunch, but let’s talk strategy. While selling to friends feels low-stakes, even a small side hustle needs a foundation. I always recommend getting your labeling and basic liability insurance sorted early. Think of it as protecting your passion—and your bank account! Transitioning from a hobby to a micro-business is much smoother when you respect the regulations from day one.
Can I use leftover ingredients from my kitchen to make soap, or do I need to keep my culinary supplies and soap-making supplies completely separate?
This is such a great question, and honestly, it’s where my two worlds collide! While I love the idea of a zero-waste kitchen, I have to be the “financial analyst” side of my brain for a second: please, keep them separate. Using kitchen oils or spices can introduce impurities that mess with your saponification. For the sake of your skin—and your sanity—treat your soap-making supplies like a professional kitchen: dedicated, clean, and distinct.
