I was standing in my kitchen last Tuesday, staring at a particularly stubborn patch of grime between my subway tiles, feeling that familiar wave of “career-pivot burnout” wash over me. It’s funny; after years of analyzing complex market trends in a high-rise, I never thought I’d find a sense of profound accomplishment in the simple mechanics of home maintenance. I used to think that learning how to clean grout required expensive, industrial-strength chemicals that would probably cost more than my monthly grocery budget for artisanal spices. But here’s the truth I’ve learned while balancing my culinary startup: you don’t need a massive capital investment to achieve professional-grade results in your own home.
In this guide, I’m stripping away the marketing hype and the overwhelming “deep clean” checklists that make you want to give up before you even start. Instead, I’m sharing my tried-and-true, cost-effective methods for restoring your surfaces without breaking the bank or your spirit. We’ll walk through the exact tools you need and the most efficient techniques to get that sparkling finish, so you can spend less time scrubbing and more time doing what you actually love—like hosting that perfect dinner party.
Table of Contents
- Step-by-Step Instructions
- Embracing Natural Grout Cleaning Solutions for a Peaceful Home
- Mastering Grout Scrubbing Tools to Refresh Your Sacred Space
- Pro-Tips for a Flawless Finish: My Secret Sauce for Sparkling Grout
- Bringing It All Together: My Final Thoughts on a Fresh Start
- The Philosophy of a Clean Slate
- The Sweet Afterglow of a Job Well Done
- Frequently Asked Questions
Guide Overview
Tools & Supplies
- Stiff-bristled brush or grout brush for scrubbing
- Microfiber cloths or sponges for wiping
- Baking soda (1 cup)
- White vinegar (1/2 cup)
- Warm water (2 cups)
Step-by-Step Instructions
- 1. First, I like to gather all my “ingredients” before I dive in, much like prepping a mise en place for a new recipe. You’ll need a stiff-bristled brush—a dedicated grout brush or even an old toothbrush works wonders—a bucket, some warm water, and a good cleaning agent. If you’re looking to keep things eco-friendly (and save a little money!), a simple mixture of baking soda and water creates a fantastic, non-toxic paste that does most of the heavy lifting.
- 2. Once your supplies are ready, start by sweeping or vacuuming the floor to remove any loose crumbs or dust. There’s nothing more frustrating than scrubbing dirt directly into the grout lines, so making sure the surface is clear of debris first is a crucial step for a professional-looking finish.
- 3. Now, it’s time to apply your cleaning solution. If you’re using the baking soda method, spread your paste generously over the grout lines. If you’re using a store-bought cleaner, follow the bottle’s directions, but I always recommend letting the solution sit for about 5 to 10 minutes. This “dwell time” allows the cleaner to break down the grime so you don’t have to spend unnecessary elbow grease later.
- 4. Grab your brush and start scrubbing. This is the part that requires a bit of patience, but think of it as a meditative moment rather than a chore. Use circular motions to ensure the bristles reach deep into the porous texture of the grout. If you hit a particularly stubborn spot—maybe a coffee spill from last week’s brunch—don’t be afraid to apply a little extra pressure.
- 5. After you’ve thoroughly scrubbed the lines, it’s time to rinse everything away. Use a clean cloth or a sponge soaked in plain, warm water to wipe away the residue. I find that using a damp microfiber cloth is the most efficient way to lift the loosened dirt without leaving behind streaks that might make your hard work feel wasted.
- 6. Once the floor is clean and rinsed, take a moment to let it dry completely. If you have particularly deep grout, you might want to consider applying a grout sealer once everything is bone-dry. From my experience, sealing is the best “investment” you can make for your home; it acts like a financial hedge, protecting your cleaning efforts and preventing future stains from setting in so deeply.
Embracing Natural Grout Cleaning Solutions for a Peaceful Home
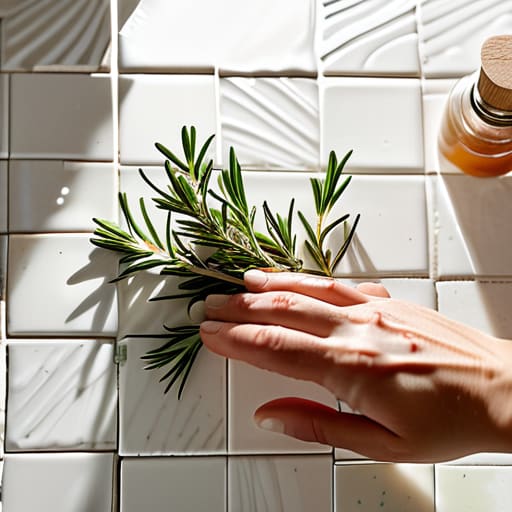
Whenever I’m deep in a kitchen renovation or just tackling a weekend deep clean, I find myself leaning toward natural grout cleaning solutions rather than reaching for harsh, industrial chemicals. Coming from a background where I spent years analyzing spreadsheets, I’ve learned to appreciate the long-term ROI of a little extra effort. Using a simple mixture of baking soda and white vinegar might take a few more minutes of elbow grease, but it keeps your home smelling like a fresh herb garden rather than a laboratory. Plus, it’s much gentler on your lungs—and your wallet!
If you’re dealing with more stubborn issues, like removing mold from tile grout in a damp bathroom, a splash of tea tree oil can work wonders as a natural antifungal. I always tell my friends that the goal isn’t just to have a spotless house, but to create a sanctuary that feels safe and inviting. Once you’ve finished cleaning those pesky lines, don’t forget about grout sealer application; it’s the ultimate “insurance policy” for your hard work, ensuring that your beautiful tiles stay pristine for much longer.
Mastering Grout Scrubbing Tools to Refresh Your Sacred Space
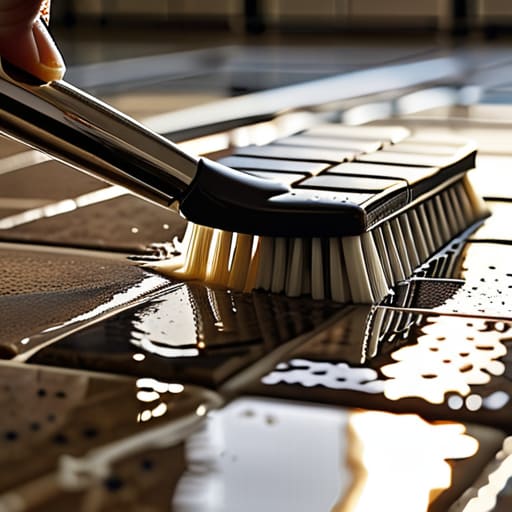
When I first transitioned from the high-stakes world of finance to my kitchen, I realized that precision matters just as much in home maintenance as it does in a spreadsheet. To truly see results when cleaning dirty tile grout lines, you can’t just rely on a generic sponge. I’ve found that investing in a few specialized grout scrubbing tools makes all the difference. A stiff-bristled toothbrush is a classic for a reason—it’s perfect for those tight corners around the faucet—but if you’re tackling a larger area, a dedicated grout brush with a long handle will save your wrists from unnecessary strain.
Think of your tools as the “mise en place” of cleaning; having the right equipment ready ensures the process is efficient rather than overwhelming. If you are dealing with stubborn discoloration or the dreaded task of removing mold from tile grout, a medium-stiff nylon brush allows you to apply just enough pressure to lift the grime without damaging the delicate surface of your tiles. It’s all about finding that perfect balance of friction and care to restore your space to its former glory.
Pro-Tips for a Flawless Finish: My Secret Sauce for Sparkling Grout
- Don’t underestimate the power of a good old-fashioned toothbrush; it’s the perfect size for getting into those tiny crevices where dirt loves to hide.
- Always test your cleaning solution on a small, inconspicuous corner first—just like I’d vet a new recipe before serving it to a crowd, you want to make sure there are no unexpected reactions!
- Let your cleaning mixture sit for at least ten minutes; giving the solution some “dwell time” allows it to do the heavy lifting so you don’t have to scrub quite as hard.
- If you’re dealing with stubborn stains, try a little bit of heat; warm water can help loosen grime much more effectively than cold.
- Once you’ve got it clean, consider applying a grout sealer; think of it as an insurance policy for your hard work, keeping that beautiful finish looking fresh for much longer.
Bringing It All Together: My Final Thoughts on a Fresh Start
Think of grout cleaning not as a tedious chore, but as a small investment in your home’s “equity”—it’s a quick way to refresh your space and create a more inviting environment for your next culinary adventure.
You don’t need harsh, expensive chemicals to see results; embracing natural solutions is much kinder to your budget, your home, and your peace of mind.
Consistency is the secret ingredient—just like maintaining a balanced budget or perfecting a new recipe, a little bit of regular maintenance goes a long way in preventing big headaches down the road.
The Philosophy of a Clean Slate
“I like to think of cleaning grout much like pivoting a career: it’s about digging deep into the messy, gritty details to reveal the beautiful, solid foundation that was there all along.”
Rachel Anderson
The Sweet Afterglow of a Job Well Done
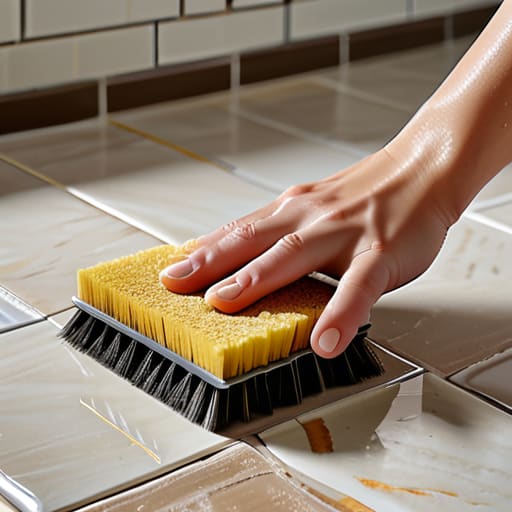
Taking the time to tackle those stubborn grout lines might feel like a daunting investment of your energy, but as we’ve seen, the returns are incredibly high. Whether you opted for the gentle power of natural, eco-friendly solutions or leaned into the precision of specialized scrubbing tools, you’ve effectively restored the foundation of your space. By following these steps—from choosing the right cleaner to mastering your technique—you aren’t just removing stains; you are maintaining the integrity of your home. It’s all about finding that perfect balance between the effort we put in and the pristine results we get to enjoy every single day.
As I often tell my friends who are contemplating big life shifts, whether it’s a career pivot or a home renovation, the magic is in the process. Cleaning your grout might seem small in the grand scheme of things, but it’s a beautiful metaphor for how we care for our lives: with intention, patience, and a little bit of grit. Once your kitchen tiles are sparkling, I hope you take a moment to pour yourself a glass of wine, perhaps whip up a quick fusion snack, and simply savor the harmony of a refreshed space. You’ve earned this moment of peace, so go ahead and enjoy it!
Frequently Asked Questions
How often should I be deep cleaning my grout to prevent permanent staining?
Think of grout maintenance like managing a diversified portfolio: consistency is key to preventing long-term “losses.” For high-traffic areas like your kitchen or entryway, I recommend a deep clean every three to six months. If you’re a heavy cook or have kids, you might need to lean closer to quarterly. Staying ahead of the grime prevents permanent staining, saving you the “emergency expense” of professional restoration later on!
Is it safe to use these cleaning methods on colored or decorative grout without fading the pigment?
That’s such a smart question—it’s all about protecting your investment! If you’re working with colored or decorative grout, I’d suggest being extra cautious. While natural methods are gentler, some acidic cleaners (like straight vinegar) can eventually dull the pigment. My advice? Always do a tiny patch test in an inconspicuous corner first. It’s just like testing a new recipe; you want to make sure the results are beautiful before committing the whole batch!
Are there any specific sealants I should apply after cleaning to make sure the grime doesn't just come right back?
Think of sealing your grout like protecting a good investment—it’s all about long-term sustainability! Once your tiles are bone-dry, I highly recommend applying a high-quality penetrating sealer. It creates a barrier that prevents liquids and grime from sinking in, making your future cleaning sessions much easier. It’s a little extra effort upfront, but just like diversifying a portfolio, it pays massive dividends in keeping your space looking pristine for much longer.
